Learn how to color white chocolate easily and add a pop of fun to your sweet creations.
Key takeaways:
- Use high-quality white chocolate for best results.
- Only use oil-based food coloring, not water-based options.
- Melt white chocolate gently to avoid scorching.
- Add food coloring drop by drop, mixing thoroughly.
- Temper the chocolate for a glossy finish and proper snap.
Inside
Tools and Ingredients
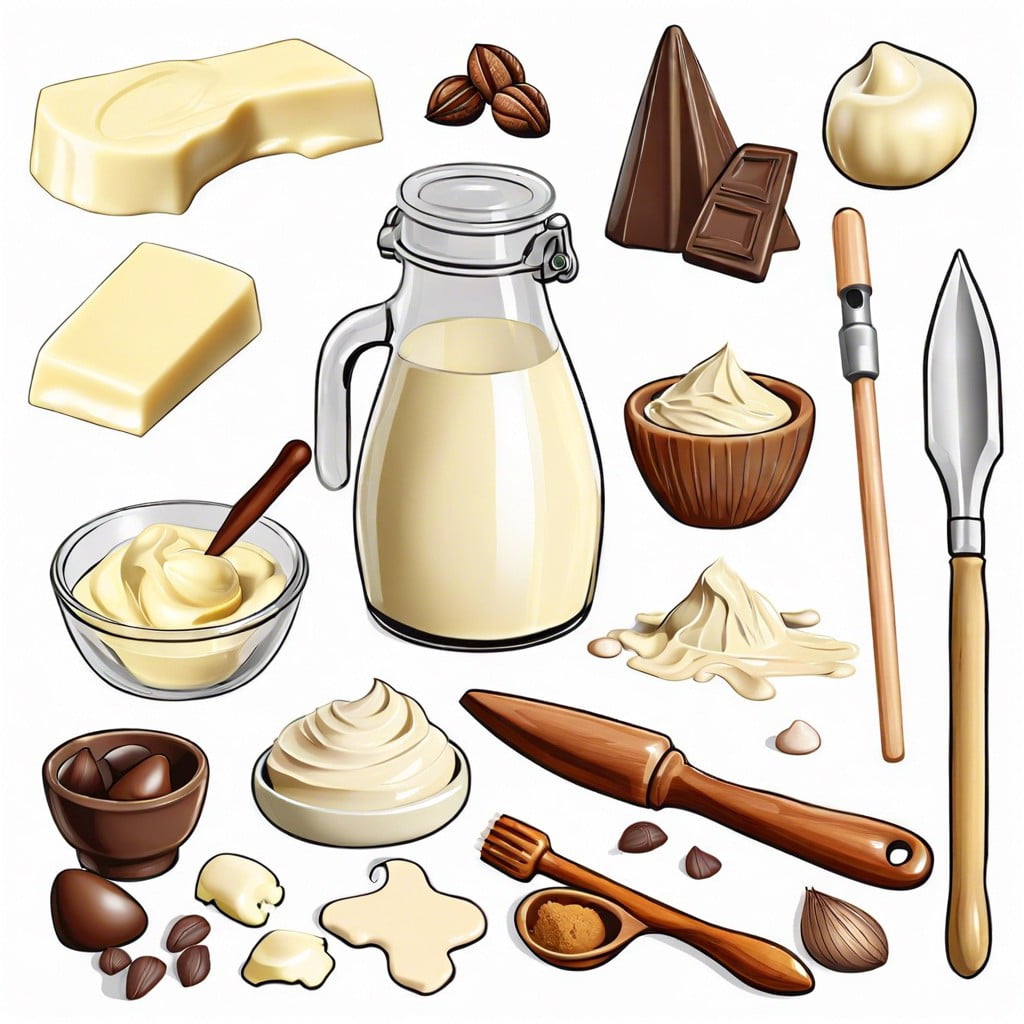
You’ll need a few essential items. First up, grab some high-quality white chocolate. No one wants to color mediocre chocolate, right?
Get your hands on oil-based food colorings. Water-based options will mess things up. Chocolate and water mix like cats and dogs. Spoiler: they don’t.
A heatproof bowl for melting chocolate is key. Microwaves or double boilers are your best friends here.
A spatula or spoon will do wonders for stirring. And parchment paper or silicone molds are perfect for letting your masterpieces set. Don’t forget toothpicks for precision.
Melting Chocolate
Grab your microwave-safe bowl or a double boiler. Melt white chocolate gently to avoid a scorching disaster.
- Microwave:
- Chop chocolate into even pieces for uniform melting.
- Nuke on a low heat, 30-second bursts. Stir between bursts. Seriously, stir it.
- Be patient, you’re not making popcorn.
- Double Boiler:
- Fill a pot with water, let it simmer.
- Place a heatproof bowl on top, but don’t let it touch the water.
- Stir constantly. Chocolate’s not a fan of neglect.
Once silky smooth, you’re ready for the fun part with colors!
Add Food Coloring
Choose oil-based or powdered food coloring. Water-based colorings can cause the chocolate to seize up, turning your smooth, creamy bliss into a gritty mess.
Add color drop by drop. This isn’t a race, it’s chocolate art. Mix thoroughly after each addition until you achieve your desired hue. You can always add more, but you can’t take it out.
Stir gently but firmly. Think of it like giving a tiny, delicious massage. This helps distribute the color evenly, so no unwanted streaks ruin your masterpiece.
If you’re feeling adventurous, mix colors to create custom shades. Just be mindful of the basic color mixing rules—blue and yellow make green, and so on.
And voilà! Your white chocolate is now a vibrant canvas waiting to be devoured.
Temper Chocolate
Grab your kitchen thermometer; it’s time to get technical. Heating and cooling the chocolate to precise temperatures ensures a glossy finish and proper snap. Here’s the lowdown:
First, melt your chocolate up to 115°F (46°C).
Next, cool it down by adding more unmelted chocolate chunks until it hits 82°F (28°C).
Lastly, gently reheat to about 88-90°F (31-32°C) for the perfect temper.
Think of it as giving your chocolate a little spa day—complete with hot stones and a cool-down dip. If done correctly, you’ll avoid that dreaded bloom and achieve a pro-grade final product. Enjoy the shiny magic!
Let Chocolate Set
Pop your beautifully colored chocolate onto a piece of parchment paper or a silicone mat. This is its comfy resting spot where it gets to chill out and harden.
Patience, young chocolatier: let the chocolate cool at room temperature. No shoving it into the fridge like an overdue library book. Rushing this process can lead to a dull finish or weird texture. Who wants sad, streaky chocolate?
If you’re in a hurry, stick a fan nearby. Not too close, though—your chocolate isn’t looking for a spa day. Just a gentle breeze to encourage it to firm up.
Once it’s set, tap the back of the parchment or mat. The chocolate should release effortlessly, revealing a smooth, glossy surface. Ready for admiration—and let’s be honest—devouring.
Here's Something More
 Mouth-Watering Chocolate Sourdough Recipe: A Baker’s Dream
 Decadent Chocolate Pizza: Your Sweet Tooth’s Best Friend
 Perfect Chocolate Bonbon Recipe: Impress With Homemade Delights
 Ultimate Chocolate Biscuit Recipe for Sweet Cravings
 Elevate Your Treat Game: Chocolate Chip Shortbread Recipe