Discover the art of creating a delicious hollow chocolate ball with this straightforward guide.
Crafting a hollow chocolate ball is an art that blends culinary skill and a touch of creativity. This process involves tempering chocolate, creating a shell using a mold, and then carefully removing the chocolate ball without breaking it.
The beauty of this technique lies in the endless possibilities for fillings, from candies to mousse, or even a surprise gift. This article will guide you through all the necessary steps, offering detailed instructions on how to temper chocolate, choose the right mold, and successfully create a hollow chocolate ball.
Stick around to discover a world of delicious opportunities.
Key takeaways:
- Choose high-quality chocolate for best results
- Consider different brands of chocolate for melting
- Use proper methods to melt chocolate
- Gather the necessary ingredients for making hollow chocolate balls
- Follow the step-by-step process to create hollow chocolate balls
Inside
Choosing the Right Chocolate for Hollow Chocolate Balls
Chocolate choices impact both the taste and appearance of hollow chocolate balls. High-quality dark or semi-sweet chocolate create a rich and satisfying flavor profile. Milk chocolate offers a smoother, creamier taste. Consider the latter for a more subtle product, especially when the fillings are already pretty rich.
For the desired glossy finish, couverture chocolate is an exceptional choice. Although a bit on the expensive side, its high cocoa butter content rewards with shine and snap, the hallmarks of expertly prepared chocolate items.
Choose white chocolate for a neutral canvas, it lends itself to coloring and various artistic experiments. However, be wary, as it can be tricky to work with and may demand lower temperatures when melting.
Remember to avoid any chocolate labeled ‘compound.’ Containing vegetable oils instead of cocoa butter, it may leave an unpleasant residue in the mouth and compromise your hollow chocolate balls’ quality.
Finally, opt for chocolate that’s fresh, as old or improperly stored chocolate can become grey and grainy over time. Follow the storage instructions on the packaging to ensure the best results. Craft stores and gourmet food shops often offer ample variety for different chocolate preferences, so feel free to explore selections there.
Best Brands of Chocolate for Melting
Caliber chocolates are renowned for their consistent melting properties and rich, robust flavor, making them a prime choice for serious confectioners. While they offer a wide range of tastes, their Dark Chocolate Baking Discs are particularly recommended for crafting hollow chocolate balls.
Ghirardelli is a beloved favorite in homes and professional kitchens alike, not least because of its easy-to-melt texture and sumptuous, smooth finish. Their Semi-Sweet Chocolate Baking Bars are comprised of premium cocoa and sweet ground chocolate that will yield excellent results.
For a more budget-friendly option without sacrificing quality, Nestlé’s Semi-Sweet Morsels are widely accessible and reliable for achieving a smooth, glossy consistency ideal for shaping and molding.
Valrhona is another high-end option much cherished by chocolate artisans worldwide. Their Guanaja Dark Chocolate boasts a 70% cocoa content, providing a bold, intense flavor that pairs well with a variety of fillings for hollow chocolate balls.
On the fair trade and organic front, Equal Exchange’s Organic Very Dark Chocolate, noted for a high cocoa content of 71%, guarantees a delectable taste. Their ethical sourcing is an excellent bonus, assuring you a guilt-free enjoyment as you indulge in your homemade creations.
Lastly, Merckens’ Dark Chocolate Coating offers a superb balance between cost-effectiveness and quality and is touted for its shiny finish when set, providing your hollow chocolate balls with a aesthetically pleasing sheen.
Methods to Melt Chocolate: Microwave, Double Boiler, Melting Pot
Microwaving chocolate is a quick and convenient method, albeit slightly tricky. Break the chocolate into small, equal pieces and place in a microwave-safe bowl. Heat in 20-second increments, stirring after each until fully melted. Beware, as over-microwaving can burn the chocolate.
Using a double boiler is a traditional and reliable method. Fill a pot with a few inches of water, place a heatproof bowl on top ensuring it doesn’t touch the water. Bring the water to a slow simmer, then add the chocolate pieces to the bowl, stirring occasionally till it melts completely. It offers gentle, slow and even melting, minimising the risk of burning.
Opting for a chocolate melting pot provides a fuss-free approach. Simply add pieces into the pot and follow the appliance’s instructions. Offering temperature regulation and consistent heat, it takes guesswork out of the equation.
While each method has its nuances, the fundamentals remain the same: use low, gentle heat and constant stirring to create a smooth, silky melted chocolate. Always ensure your utensils are dry, even a drop of water can make chocolate seize up, rendering it unusable. Also, never cover melting chocolate as condensation droplets may fall in, causing the same problem.
Ingredients Required for Hollow Chocolate Ball With Candy Inside
High-quality dark, milk, or white chocolate is at the core of the ingredient list, offering flexibility depending on preference. Select chocolate with a high cocoa content for best melting and setting results. A chocolate mold is necessary to shape the hollow chocolate balls.
To fill the chocolate balls, opt for small candy pieces or fun-sized chocolate bars. They must be small enough to fit in the hollow center, and sturdy enough not to melt when the warm chocolate is poured.
Finally, for an added touch of creativity, consider edible glitter or colored sugar for decoration. These can be dusted on the outside of the finished chocolate balls for a festive touch.
For the melting process, make sure to have a heat-proof glass bowl or a double boiler. A silicone spatula for stirring the chocolate and a thermometer to check the chocolate’s temperature are crucial to avoid overheating.
Additionally, a small paint brush or a pastry brush could come in handy for evenly spreading the chocolate within the mold. This will ensure the chocolate shells are thick and sturdy enough to hold the candy filling.
Environment-wise, a cool, dry workspace will aid in the chocolate setting properly. Too much warmth can cause the chocolate to remain soft and not form a perfect ball.
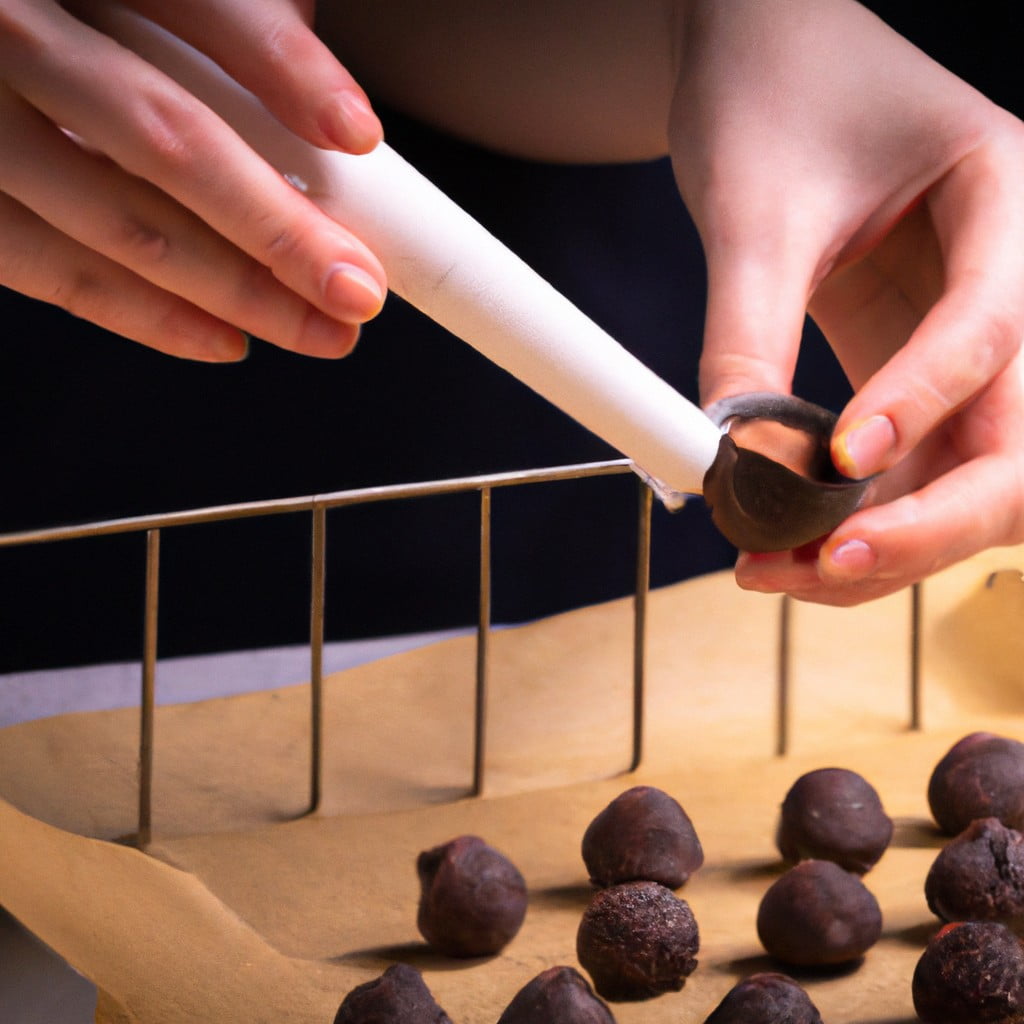
Step By Step Process of Making a Hollow Chocolate Ball
Begin by melting your chosen chocolate, ensuring it reaches a smooth consistency without any lumps. A double boiler, microwave, or melting pot can be used for this step.
Once the chocolate is melted, use a pastry brush to paint the inside of your chosen mould with a thin layer of the chocolate. Ensure the layer is thick enough to hold, but thin enough that it’s not overly heavy.
Place the chocolate-coated mould in the refrigerator for 10 minutes to allow it to set. Repeat the coating process 2-3 times till you achieve the desired thickness. Remember to chill the mould between each layer to ensure the chocolate hardens properly.
After the final layer, leave the chocolate in the refrigerator for about 20 minutes or until it’s completely set.
To remove the chocolate ball from the mould, gently tap it. The chocolate should easily come out. If any parts stick, chill for an additional few minutes.
Now that you have a hollow chocolate ball, you can fill it with your favorite candies or treats.
To seal the chocolate ball, either melt the edges slightly and stick them together, or create a chocolate “glue” by melting a small amount of chocolate and applying it to the edges. Press together until set.
Finally, chill the completed chocolate ball in the refrigerator for another 10 minutes to properly set before enjoying it or giving it as a gift.
Tips for Properly Melting Chocolate for Hollow Balls
When melting chocolate, delicate handling is vital. A common error is overheating. Low heat and continuous stirring ensure even melting, preventing the formation of lumps. Chocolate pieces should be of the same size to melt at the same rate. Use a rubber spatula to stir, avoiding introducing water or steam which can cause chocolate to stiffen or clump. Patience is the key, melt the chocolate gradually.
If using a double boiler, melting should occur when the pot is not directly on the heat source but sitting on boiling water. Note that the bottom of the pot should not touch the water. The steam from the boiling water provides enough heat to melt the chocolate.
If microwaving, use a heatproof bowl. Heat at 50% power for 1-minute intervals, stirring after each interval until smooth. Avoid overheating as it leads to hard, grainy chocolate due to sugar crystallization.
Melting pots or slow cookers are also options to consider. These provide steady low heat ideal for melting chocolate. Regardless of the method, the key remains: low heat, even pieces, constant stirring, and no moisture.
Food Safety Tips: Using Food Coloring in Candy Melts or Chocolate
It’s important to consider certain factors when coloring chocolate or candy melts for your hollow chocolate balls:
Select food-grade coloring: It’s crucial to use coloring specifically formulated for chocolate. Regular liquid-based food colorings may cause the chocolate to seize. Oil-based or powder food colors are typically the best choice.
Adding the color: Once the chocolate or candy melts are melted entirely, add the color gradually and stir gently until evenly distributed. Over-mixing can alter the consistency.
Test the color: Before you begin to form your hollow balls, pilot test the colored chocolate on a small piece of parchment paper. This can save you from re-melting chocolate and adjusting color.
Clean utensils: Ensure all equipment is dry and clean. Even a small amount of water can ruin your melted chocolate.
Temperature control: Keeping the chocolate at the right temperature is vital. Too hot, and it can become discolored; too cool, and it may not hold the color properly.
Remember, the process might require a bit of practice, but these tips can guide you towards creating vibrantly colored hollow chocolate balls. Encapsulate your guests in awe with your safe and beautiful chocolate creations.
How to Make Chocolate Shiny for Aesthetic Hollow Chocolate Balls
The key to achieving a shiny finish on the hollow chocolate balls is the tempering of the chocolate, which is a heating and cooling process that aligns the cocoa butter crystals to produce a glossy, smooth texture.
High-quality chocolate, particularly couverture chocolate, is recommended for tempering due to its high percentage of cocoa butter.
Begin by finely chopping the chocolate to ensure even melting. Melt two-thirds of the chocolate in a heatproof bowl set over a simmering pot of water, stirring occasionally. Be careful not to let the base of the bowl touch the water or overheat as this can ruin the tempering process.
Once melted, remove the bowl from the heat. Add the remaining one-third of the chocolate. Stir gently but continuously as this starts the cooling process. Use a chocolate or instant-read thermometer to monitor the temperature. Dark chocolate should be tempered at 88-90 degrees Fahrenheit (31-32 degrees Celsius), milk chocolate at 86-88 degree Fahrenheit (30-31 degrees Celsius), and white chocolate at 82-84 degrees Fahrenheit (28-29 degrees Celsius).
To maintain the temperature of the chocolate while creating the hollow balls, place the bowl of tempered chocolate over a heating pad set to low. The chocolate should stay in temper for about 15-20 minutes. If it starts to cool, reheat it gently to the correct tempering temperature.
Coating the molds with the tempered chocolate will yield a smooth, glossy finish. Pour tempered chocolate into the chocolate mold. Swirl it around to coat evenly, then pour out the excess. Scrap off any excess chocolate from the edges. Repeat the process to build up a thicker layer if needed.
Remember that patience is a key element to this process. It may take several attempts to perfect the tempering of chocolate but the end result of elegant, glossy hollow chocolate balls will surely be worth it.
Troubleshooting: Why Melted Chocolate Might Not Harden
Several factors may affect the hardening process of your melted chocolate.
Firstly, improper tempering can lead to a soft set. Tempering involves heating and cooling chocolate to align the cocoa fat molecules. Ensure accurate temperatures are followed: dark chocolate should never exceed 120°F, and milk or white chocolate 105°F.
Next, consider the type of chocolate used. Compound chocolate, which contains vegetable fats instead of cocoa butter, doesn’t harden as naturally as couverture chocolate. Therefore, choose high-quality couverture chocolate for best results.
Exposure to moisture, including steam or a humid environment, can cause chocolate to seize, making it grainy and hard to set. Always melt chocolate in a dry, humidity-free environment.
Lastly, sweating or condensation can cause the chocolate not to harden correctly. This can occur if the chocolate is refrigerated or frozen too quickly after being melted. To avoid this, let the chocolate come to room temperature before placing it in the fridge.
To address these issues: ensure proper tempering adhering to correct temperatures, select an appropriate type of chocolate, avoid any moisture during the melting process, and let the chocolate cool at room temperature prior to refrigeration. By following these tips, you should achieve a perfectly hardened hollow chocolate ball.
FAQ
How do you fill hollow chocolate molds?
To fill hollow chocolate molds, spoon melted chocolate into each cavity, evenly spread it using the back of the spoon, and then freeze the mold for 5 minutes to set.
What type of chocolate is best for creating hollow chocolate balls?
Couverture chocolate, known for high cocoa butter content and smooth texture, is the best choice for creating hollow chocolate balls.
How can you prevent the chocolate from cracking when creating hollow chocolate balls?
To prevent chocolate from cracking when creating hollow chocolate balls, ensure the chocolate is tempered correctly, and the balls are cooled gradually to avoid any sudden temperature changes.
What are some unique fillings you can use for hollow chocolate balls?
Unique fillings for hollow chocolate balls can include caramel, fruit jam, praline, nut butters, liqueur and flavored ganaches.
Here's Something More
 Mouth-Watering Chocolate Sourdough Recipe: A Baker’s Dream
 Decadent Chocolate Pizza: Your Sweet Tooth’s Best Friend
 Perfect Chocolate Bonbon Recipe: Impress With Homemade Delights
 Ultimate Chocolate Biscuit Recipe for Sweet Cravings
 Elevate Your Treat Game: Chocolate Chip Shortbread Recipe