Learn the proper techniques for melting chocolate to ensure a smooth and glossy finish for your culinary creations.
Key takeaways:
- Choose the right type of chocolate for melting
- Use microwave in short bursts, stirring frequently
- Use a double boiler on the stovetop for gentle melting
- Chop chocolate into small, even pieces for even melting
- Consider tempering chocolate for a shiny, crisp finish
Inside
Choosing Your Chocolate
Selecting the right type of chocolate is pivotal. Dark chocolate, with higher cocoa content, is ideal for a smooth melt due to less sugar and milk solids. Meanwhile, milk chocolate requires extra caution to prevent scorching, as it has more sugar. White chocolate, sensitive to heat, necessitates the gentlest approach.
For consistency in melting and flavor, opt for chocolate bars or high-quality chips. Chocolate with additives like nuts or caramel might not melt properly. Couverture chocolate, containing higher proportions of cocoa butter, offers a professional finish, ideal for dipping and coating. Always avoid using chocolate that has bloomed, indicated by white streaks or spots, as this can affect texture and melting properties.
Microwave Instructions
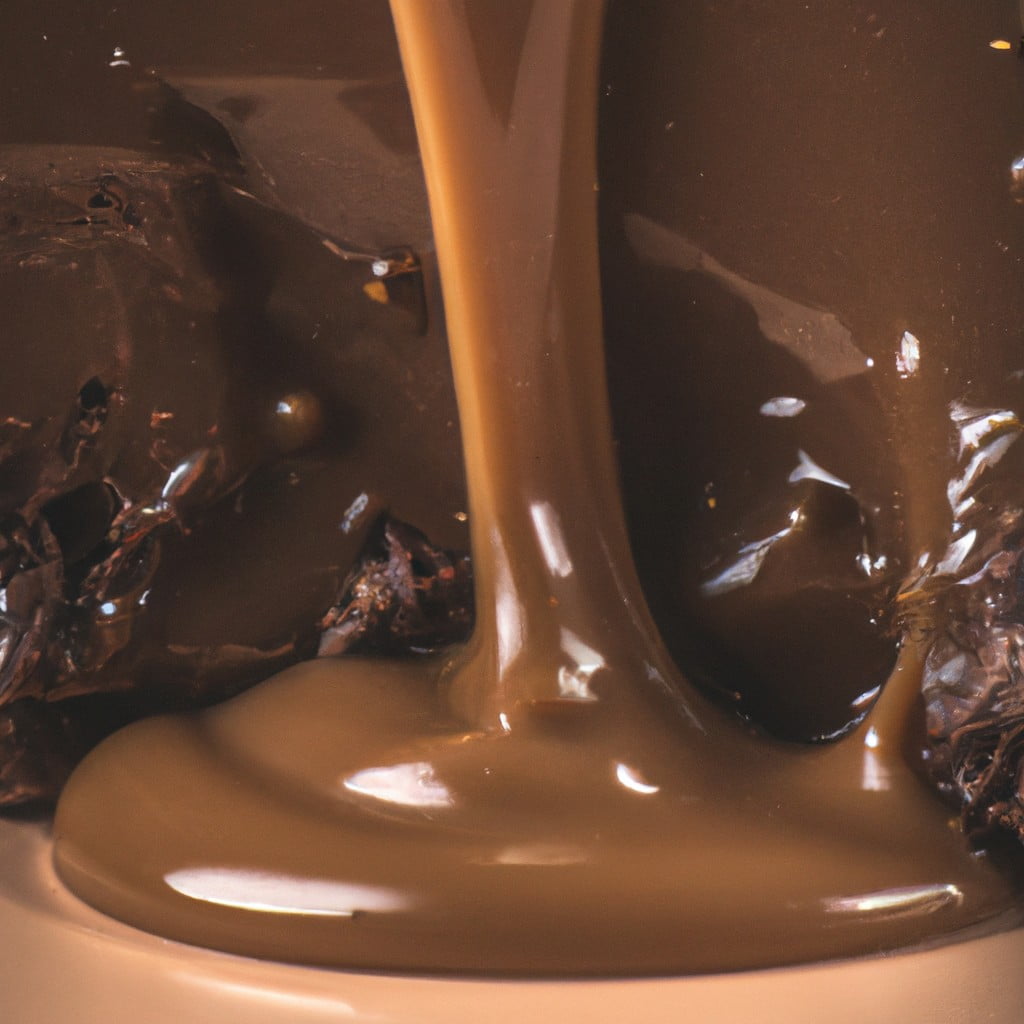
Begin by chopping the chocolate into small, even pieces, which promotes uniform melting. Place the chocolate in a dry, microwave-safe bowl. Heat on medium power (50%) for one minute, then stir. Chocolate retains its shape when melted, so stirring helps gauge the actual progress. Continue heating in 15 to 20-second bursts, stirring after each interval. Overheating can cause chocolate to become gritty or seize, so short spurts prevent this. Once glossy and smooth, it’s ready to use. If any unmelted pieces remain, let the residual heat of the chocolate melt them, stirring gently.
Stovetop Instructions
Begin by filling a medium saucepan with a couple of inches of water, bringing it to a simmer over low heat. Choose a heatproof bowl that fits snugly over the saucepan without touching the water — this setup is called a double boiler.
Place your chocolate, finely chopped for even melting, in the bowl, making sure no water or steam enters the bowl, as even a small drop can cause the chocolate to seize, turning it grainy and stiff.
Stir the chocolate occasionally with a rubber spatula, not a wooden spoon, as wood can retain moisture. Melt the chocolate gently; overheating can cause it to become too thick. If you’re using a thermometer, aim to keep the chocolate below 120°F for dark varieties, or 105°F for milk and white chocolates.
Once the chocolate is smooth and glossy, remove the bowl from the heat — the residual heat will continue to melt any small, unmelted pieces. Use a dry cloth to carefully remove any condensation from the bottom of the bowl to prevent water from getting into the melted chocolate.
Employ the melted chocolate as needed for your recipe, whether that’s for dipping, drizzling, or incorporating into a chocolate-based dessert. Remember to work relatively swiftly, as the chocolate can start to solidify once it begins to cool.
Tips for Melting Chocolate
Ensure chocolate is chopped into uniform pieces to promote even melting. For chocolate bars or large chunks, use a serrated knife to create smaller, manageable bits.
Avoid water contact as it can cause chocolate to seize, turning it grainy and unworkable. Even a small droplet can have this effect, so ensure all utensils and bowls are completely dry before beginning.
Consider using a heat-proof spatula or wooden spoon to stir chocolate frequently while melting. This helps distribute heat and prevents the bottom from scorching.
Control heat exposure by using low to medium heat. High temperatures can cause chocolate to burn, which imparts a bitter taste.
Incorporate a double boiler method for gentle melting if not using a microwave. This involves placing a heatproof bowl over a pot of simmering water, ensuring the bottom of the bowl does not touch the water.
Prevent overheating by removing chocolate from the heat source just before it’s fully melted. Continue stirring off the heat to utilize residual warmth for complete melting.
Add-ins like shortening or oil should be minimal. They can change the chocolate’s consistency, making it too thin for some recipes. Use only when thinning is necessary for dipping or drizzling.
If using high-quality chocolate, temper it after melting to maintain a shiny, crisp finish when it sets. This involves careful temperature control and is crucial for professional-looking chocolates.
Recipes Using Melted Chocolate
Melted chocolate serves as a versatile ingredient for an array of recipes.
Chocolate-Dipped Treats: Strawberries, pretzels, and marshmallows are elevated with a simple dip in glossy melted chocolate. Ensure items are dry to avoid seizing.
Chocolate Ganache: Combining equal parts of melted chocolate and heavy cream creates a rich ganache, perfect for cake fillings or truffles.
Molding Chocolate Shapes: Pour melted chocolate into molds for custom candies or decorative cake elements. A smooth, temper-like finish is achievable by carefully controlling temperature.
Brownie and Chocolate Cake Recipes: Incorporate melted chocolate into batters for a dense, fudgy texture and deep chocolate flavor.
Chocolate Drizzle: A piping bag or spoon can be used to drizzle melted chocolate over pastries, ice cream, or fruit platters for an artistic and delicious touch.
Homemade Chocolate Bars: Blend melted chocolate with nuts, dried fruit, or cereal, then cool in a tray for customized chocolate bars.
Each use requires attention to chocolate consistency and temperature to ensure the best texture and presentation.
Here's Something More
 Mouth-Watering Chocolate Sourdough Recipe: A Baker’s Dream
 Decadent Chocolate Pizza: Your Sweet Tooth’s Best Friend
 Perfect Chocolate Bonbon Recipe: Impress With Homemade Delights
 Ultimate Chocolate Biscuit Recipe for Sweet Cravings
 Elevate Your Treat Game: Chocolate Chip Shortbread Recipe