This how-to guide provides step-by-step instructions for selecting, melting, and utilizing dipping chocolate to enhance desserts with a professional finish.
Key takeaways:
- Select high-quality couverture chocolate for smooth melting and shiny finish.
- Use a double boiler to melt chocolate without scorching or seizing.
- Chop chocolate into uniform pieces for even melting and prevent burning.
- Follow specific dipping techniques for different treats to ensure an even coating.
- Control temperature to avoid overheating or hardening of the chocolate.
Inside
Ingredients & Substitutions
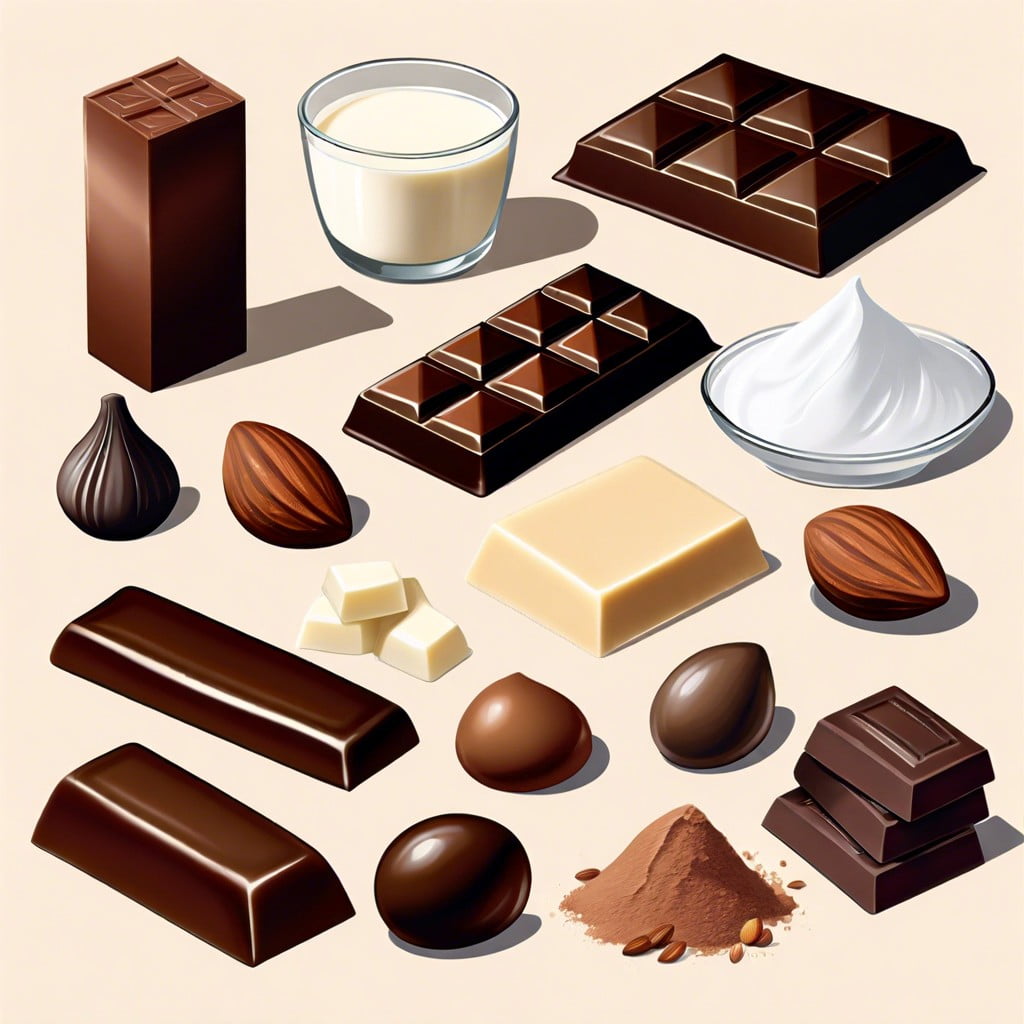
Selecting high-quality chocolate is crucial for successful dipping. Couverture chocolate, containing a higher percentage of cocoa butter, is preferred for its smooth melting and shiny, crisp finish. Dark, milk, and white chocolate varieties can all be used, with distinct flavor profiles to match the dipped items.
Substitute with chocolate chips if couverture is unavailable, though the final texture may be less ideal. To enhance the fluidity of chocolate chips, a small amount of coconut oil or shortening can be mixed in. Avoid using oil-based flavorings or water-based liquids, as these can cause the chocolate to seize.
For a vegan or dairy-free alternative, dark chocolate is typically suitable, but always check the ingredients to confirm the absence of dairy. For those with nut allergies, ensure that the chocolate is labeled nut-free, as some brands may process nuts in the same facility, risking cross-contamination.
When it comes to sweeteners for those avoiding sugar, opt for chocolates sweetened with substitutes like stevia or maltitol. However, be aware that sugar-free chocolates may behave differently when melted.
Remember, the quality and type of chocolate chosen will affect both the ease of dipping and the outcome’s taste and texture.
How to Create a Double Boiler for Melting Chocolate
Select a pot and a heatproof bowl that fits snugly on top of the pot. The bowl should be large enough to hold the chocolate pieces but not touch the water beneath. Fill the pot with about an inch or two of water, ensuring the water does not touch the bottom of the bowl when it is seated on the pot.
Heat the water over a medium-low flame until it simmers gently. The steam from the simmering water will warm the bottom of the bowl, melting the chocolate without direct contact with the heat, which can cause scorching.
Chop the chocolate into uniform pieces for even melting. Place the chocolate in the dry bowl before setting it over the simmering water. The chocolate will start to melt from the residual heat. Stir occasionally with a spatula or whisk to promote uniform melting and prevent overheating.
Keep a close eye on the water ensuring it doesn’t boil vigorously. This can cause moisture to seep into the chocolate, leading to seizing. If the water gets too hot, lower the flame or briefly remove the bowl from the pot to manage the temperature.
Once the chocolate is mostly melted with only a few small unmelted pieces, you can remove the bowl from the heat. The residual heat will continue to melt the remaining pieces, resulting in a smooth and evenly melted dipping chocolate.
Steps to Melt Chocolate for Dipping
Chop the chocolate into uniform pieces to promote even melting. This not only reduces melting time but also prevents the chocolate from burning.
Fill the bottom of the double boiler with water, making sure it does not touch the top pan when fitted in. The steam from this water, once simmering, will gently heat the chocolate above.
Turn on the heat to medium and wait for the water to simmer. Avoid bringing it to a full boil to prevent steam from entering the chocolate, which can cause it to seize.
Place the chocolate into the top pan of the double boiler. Stir consistently with a rubber spatula to aid melting, ensuring the movement is gentle to minimize air bubbles.
Monitor the chocolate’s temperature with a candy thermometer. For dark chocolate, aim for 115°F (46°C) and for milk or white, no higher than 110°F (43°C). Exceeding these temperatures may lead to burnt or gritty texture.
Once melted, remove the chocolate from the double boiler. Wipe the bottom of the pan to prevent any water dripping into the chocolate. Cooling the chocolate to around 82°F (28°C) and then reheating it to working temperature—88°F (31°C) for dark chocolate and 86°F (30°C) for milk or white chocolate—can enhance its gloss and snap, a process known as tempering.
The chocolate is now ready for dipping. Keep it over a pan of warm water to maintain a dipping consistency as it cools quickly at room temperature.
Dipping Techniques for Various Treats
When dipping treats in chocolate, it’s crucial to keep the coating even and aesthetically pleasing. Here are some proven techniques for different types of treats:
For strawberries or large fruit, hold by the stem or use a skewer, dip into the chocolate, and gently shake off excess.
Cookies and shortbread can be half-dipped for a visually appealing treat. Hold one side and dip the other, letting excess chocolate drip off before placing it on parchment.
Pretzels and rods are best dipped by holding one end and rolling them into the chocolate, ensuring coverage of all the nooks and crannies.
For truffles or small balls, use a fork to roll them in chocolate, then lift and tap the fork on the bowl’s edge for a smooth finish.
Marshmallows benefit from a skewer for dipping and twirling to cover, then gently tapping to remove excess chocolate.
Always let the dipped treats rest on a parchment-lined tray to set, which prevents sticking and makes for easy clean-up. Rotate treats gently while cooling to ensure an even shape and to avoid flat spots; cooling racks can aid in this process.
Temperature control is crucial; warm chocolate will coat smoothly, but it shouldn’t be too hot, as it can cause treats to soften or melt. If the chocolate begins to harden during dipping, gently reheat it, ensuring it doesn’t burn or seize.
Avoiding Common Mistakes When Making Dipping Chocolate
Ensuring a smooth and high-quality finish on dipped chocolates requires attention to detail to avoid common mistakes:
Temperature control is crucial. Remember, chocolate is sensitive to heat; overheating can cause it to seize or burn, leaving a grainy texture. Use a candy thermometer to monitor and maintain the chocolate between 115°F and 120°F for dark chocolate or 110°F for milk and white chocolates.
Moisture is chocolate’s enemy. Even a small drop of water can cause chocolate to seize, becoming clumpy and unworkable. Always dry utensils and equipment thoroughly before use.
Be mindful of the chocolate’s composition. High-quality chocolate with a higher cocoa butter content yields a smoother finish. Chocolate chips, engineered to hold their shape, may not melt as intended for dipping.
Prevent chocolate bloom by avoiding drastic temperature shifts. Allow the chocolate to cool gradually at room temperature after dipping to prevent the unappealing white streaks or spots known as fat or sugar bloom.
Use a fork or dipping tool for even coating and excess chocolate removal. Tap it gently to shake off excess before placing the dipped item on parchment paper to set.
Incorporate these practices to master the art of creating impeccably dipped chocolates that not only taste delicious but also boast a professional appearance.
Here's Something More
 Mouth-Watering Chocolate Sourdough Recipe: A Baker’s Dream
 Decadent Chocolate Pizza: Your Sweet Tooth’s Best Friend
 Perfect Chocolate Bonbon Recipe: Impress With Homemade Delights
 Ultimate Chocolate Biscuit Recipe for Sweet Cravings
 Elevate Your Treat Game: Chocolate Chip Shortbread Recipe