This article will provide a simple step-by-step guide on how to properly melt chocolate for dipping.
Key takeaways:
- Choose the right chocolate for dipping: couverture or compound.
- Create a double boiler with a heatproof bowl and simmering water.
- Chop chocolate into small, uniform pieces for even melting.
- Stir frequently and avoid introducing water to prevent seizing.
- Troubleshoot common issues with moisture, burning, thickness, and hardening.
Inside
Types of Chocolate for Dipping
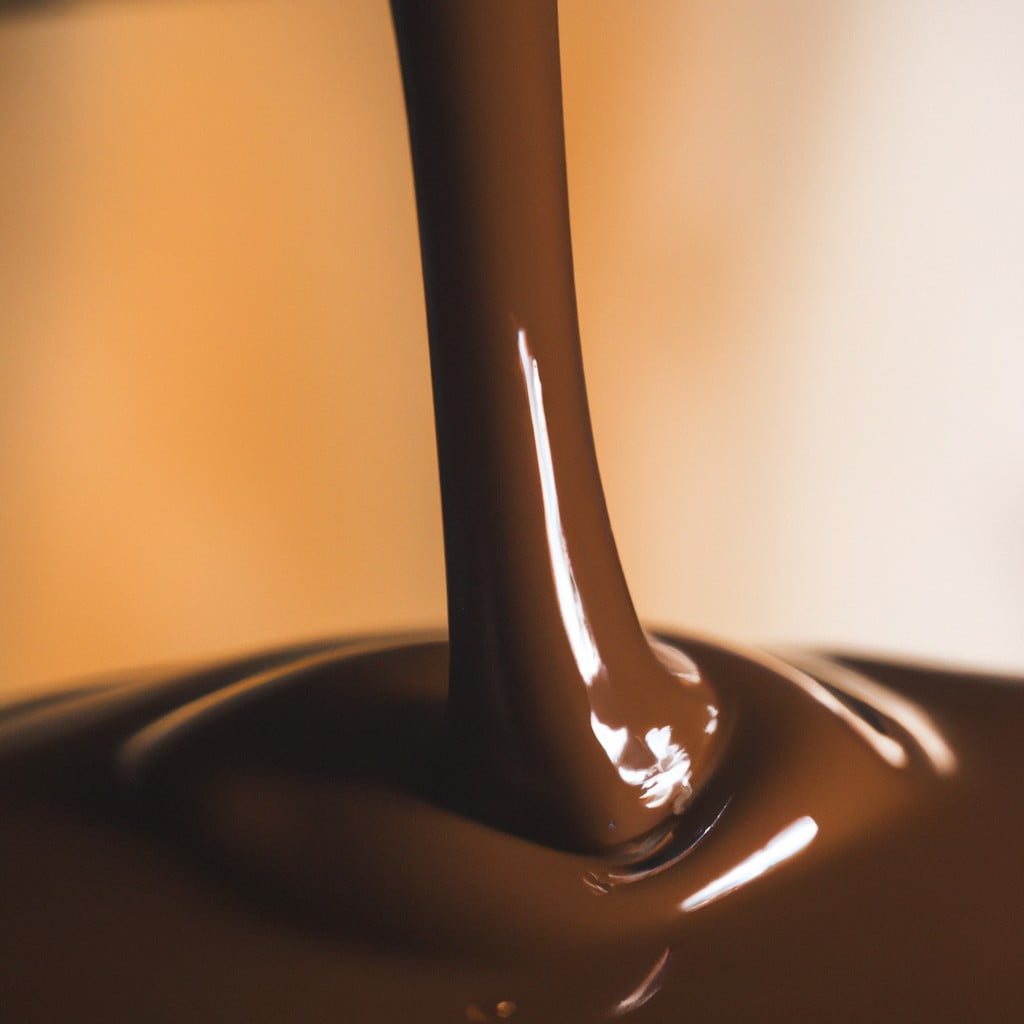
For an optimal dipping experience, it’s important to select the right kind of chocolate. Couverture chocolate, known for its high cocoa butter content, ensures a smooth and glossy finish ideal for dipping fruits, cookies, and candies. It comes in dark, milk, and white varieties to cater to different flavor profiles.
Alternatively, compound chocolate, which contains vegetable fats in place of cocoa butter, can be used for a more forgiving melting process, though it lacks the richness of couverture. Regardless of choice, always opt for high-quality chocolate for better taste and melting properties. Make sure to chop the chocolate into even, small pieces to promote uniform melting. Avoid chips designed for baking as they contain stabilizers that prevent them from melting smoothly.
How to Create a Double Boiler
Begin by filling a saucepan with about an inch of water and bring it to a simmer over medium heat, not a boil, as too much heat can cause the chocolate to seize. Choose a heatproof bowl that will fit snugly over the mouth of the pan without touching the water; this indirect source of heat will melt the chocolate gently. Glass or stainless steel bowls are ideal for this task.
Place your chocolate pieces in the bowl, ensuring they are roughly the same size for uniform melting.
Stir the chocolate frequently with a rubber spatula, scraping the sides to prevent overheating and promote even melting. As the steam from the simmering water warms the bowl, the chocolate will begin to melt. Keep a close eye on the consistency, and once melted to a smooth and glossy texture, remove the bowl from heat, taking care to avoid any steam escaping from the saucepan as it can introduce moisture and cause the chocolate to seize. Your double boiler is now ready to use for dipping your desired items.
Tips for Melting Chocolate
Ensure your chocolate is chopped into small, uniform pieces to promote even melting. Avoid introducing water, as even a small droplet can cause the chocolate to seize, becoming grainy and thick.
Stir the chocolate frequently with a dry, heat-resistant spatula to distribute heat. If you’re using a microwave, heat in short intervals, stirring between each to prevent overheating. Keep the heat low and constant when using a double boiler—chocolate burns easily at high temperatures.
To enhance the end product’s gloss and snap, consider tempering the chocolate, especially if using high-quality couverture chocolate. To maintain the chocolate’s melted state for dipping, keep it over a warm water bath, ensuring the water doesn’t simmer or touch the bottom of the bowl. If the chocolate begins to thicken, gently reheat it, but avoid exceeding 120°F for dark chocolate and 105°F for milk or white chocolate.
Troubleshooting Common Issues
If your chocolate seizes, becoming grainy and thick, it’s often due to moisture. To remedy this, add a teaspoon of vegetable shortening for every ounce of chocolate, and slowly reheat.
When chocolate burns, it has a distinct taste and cannot be salvaged. Always melt chocolate at low temperatures, and never let it exceed 120°F (for dark varieties) or 105°F (for milk or white chocolates).
If the chocolate is too thick for dipping, it might need a touch more fat. Stir in a small amount of cocoa butter or coconut oil to achieve a smoother consistency.
Should the chocolate harden too quickly when dipping, it might be too cool. Maintain a consistent warm temperature for the chocolate, and keep dipped items on a cool surface to set properly.
To avoid fat bloom, where cocoa butter rises to the surface, causing a white coating, ensure that the chocolate cools slowly and evenly. Do not refrigerate immediately after dipping.
Recipes Using Melted Chocolate for Dipping
Once your chocolate is smoothly melted, the possibilities for dipping are nearly endless. Strawberries are a perennial favorite, offering a refreshing taste contrast between the rich chocolate and the juicy fruit. For a crunchier option, pretzel rods or banana pieces can be dipped and then laid out on parchment paper to harden.
To elevate your creations, try experimenting with a variety of items such as marshmallows, cherries, or cookies. For a gourmet touch, dip orange slices or dried apricots, and sprinkle them with a pinch of sea salt or chopped nuts before the chocolate sets.
To ensure the chocolate adheres well, make sure all items are dry and at room temperature. Dip each piece in the chocolate, let the excess drip off, then place it on a tray lined with waxed paper to set. If desired, drizzle dipped items with a contrasting type of chocolate for a visually appealing effect.
Incorporating these simple treats into gift baskets or serving them at parties can add a personal touch that is sure to delight guests. Remember to store your chocolate-dipped creations in a cool, dry place until ready to enjoy.
