This how-to guide will provide clear, concise instructions for successfully melting chocolate to perfection without scorching or clumping.
Key takeaways:
- Choose high-quality chocolate for even melting and superior flavor.
- Use a double boiler for slow, gentle melting to avoid scorching.
- Microwave in short intervals, stirring thoroughly between bursts.
- Troubleshoot seized or overheated chocolate with hot water or unmelted chocolate.
- Follow proper storage guidelines to maintain melted chocolate quality.
Inside
Choosing Your Chocolate
Select high-quality chocolate with a high cocoa butter content for a smooth, even melt and superior flavor. Chocolate bars tend to melt more uniformly than chips, which may contain stabilizers that hinder melting.
Consider the final application – dark, milk, or white varieties bring different levels of sweetness and intensity. For consistent melting, finely chop the chocolate, ensuring even pieces for uniform heat distribution.
Be mindful that different chocolates have unique melting points; dark chocolate requires more heat than milk or white chocolate.
Double Boiler Method
Fill the bottom pot of a double boiler with an inch or two of water, making sure that the water doesn’t touch the bottom of the top pot. Heat the water on medium until it simmers, not boils.
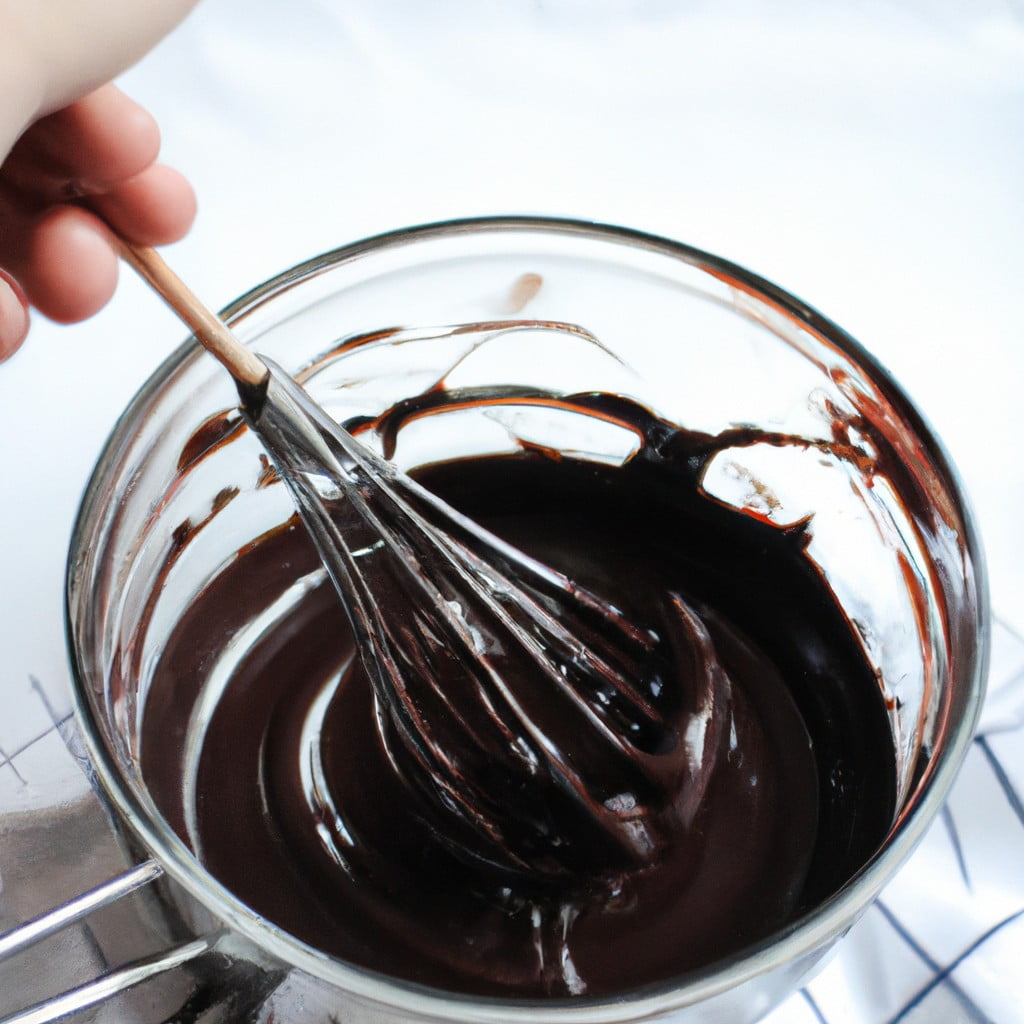
Chop the chocolate into uniform pieces for even melting, and add them to the top pot. Stir the chocolate constantly but gently with a rubber spatula, ensuring that it melts evenly. Keep the water at a simmer to avoid overheating, which can cause the chocolate to seize.
If water or steam gets into the chocolate, it can turn grainy. Melting should be done slowly and at low heat for a smooth, glossy finish. Once melted, carefully remove the top pot from the heat as the chocolate will retain heat and continue to melt even after being taken off the stove.
Microwave Method
Using a microwave is a quick and efficient way to melt chocolate. Start by chopping the chocolate into small, even pieces to ensure uniform melting. Place the chocolate in a microwave-safe bowl, ideally made of glass or ceramic for consistent heat distribution.
Microwave the chocolate at a medium power level (50%) for short intervals, about 30 seconds to begin with, then reducing to 15-second bursts. After each interval, remove the bowl and stir the chocolate thoroughly. This stirring helps to evenly distribute the heat, preventing overheating and ensuring a smooth melt.
Be aware that the chocolate may retain its shape even when it’s melted, so don’t rely on appearance alone. Always stir between intervals to assess the consistency. Continue this process until most of the chocolate has melted with some small unmelted pieces remaining. The residual heat will melt these last pieces as you stir, resulting in a smooth, evenly melted chocolate ready for your recipes.
Troubleshooting Melted Chocolate
If the chocolate seizes and becomes grainy, it’s likely due to moisture. To rescue it, gradually add hot water, one teaspoon at a time, while stirring, until the mixture smooths out.
Sometimes chocolate can overheat, resulting in a clumpy texture. To cool it down, add chunks of unmelted chocolate, stirring constantly until the consistency returns to a smooth, glossy fluid.
In the event of chocolate blooming, where fats or sugars rise to the surface creating a white coating, simply melt the chocolate completely and then temper it to restore the shine and texture.
Avoid direct exposure to heat or sunlight after melting. This can cause the melted chocolate to harden unevenly or develop an unappetizing texture.
When fixing any melted chocolate issue, always remember to be patient and maintain a consistent heat, to ensure the chocolate doesn’t burn or become unworkable.
Storage Tips for Melted Chocolate
To preserve the quality of your melted chocolate, consider these storage guidelines:
1. Cooling: Before storing, allow the chocolate to cool to room temperature to prevent condensation.
2. Airtight Containers: Use airtight containers to protect the chocolate from moisture and odors.
3. Refrigeration: While not always necessary, if your environment is warm or humid, refrigerate chocolate and let it come to temperature gradually to avoid shock.
4. Labeling: Mark containers with the date to ensure you use the oldest chocolate first and do not exceed its shelf life.
5. Shelf Life: Stored properly, dark chocolate lasts up to two years, milk and white chocolate up to one year.
6. Re-Melting: If needed, gently re-melt using the same method to ensure consistency and quality.
Here's Something More
 Mouth-Watering Chocolate Sourdough Recipe: A Baker’s Dream
 Decadent Chocolate Pizza: Your Sweet Tooth’s Best Friend
 Perfect Chocolate Bonbon Recipe: Impress With Homemade Delights
 Ultimate Chocolate Biscuit Recipe for Sweet Cravings
 Elevate Your Treat Game: Chocolate Chip Shortbread Recipe