Learn how to whip up delicious chocolate chip muffins with ease, achieving perfect texture and flavor with every batch.
Key takeaways:
- Proper ingredient balance is key to perfect chocolate chip muffins.
- Follow a precise baking method to achieve tall muffin tops.
- Store muffins at room temperature in an airtight container.
- Freezing muffins helps preserve their fresh-baked taste.
- Thaw muffins on the counter before enjoying or briefly warm in the microwave.
Inside
Chocolate Chip Muffin Recipe Ingredients
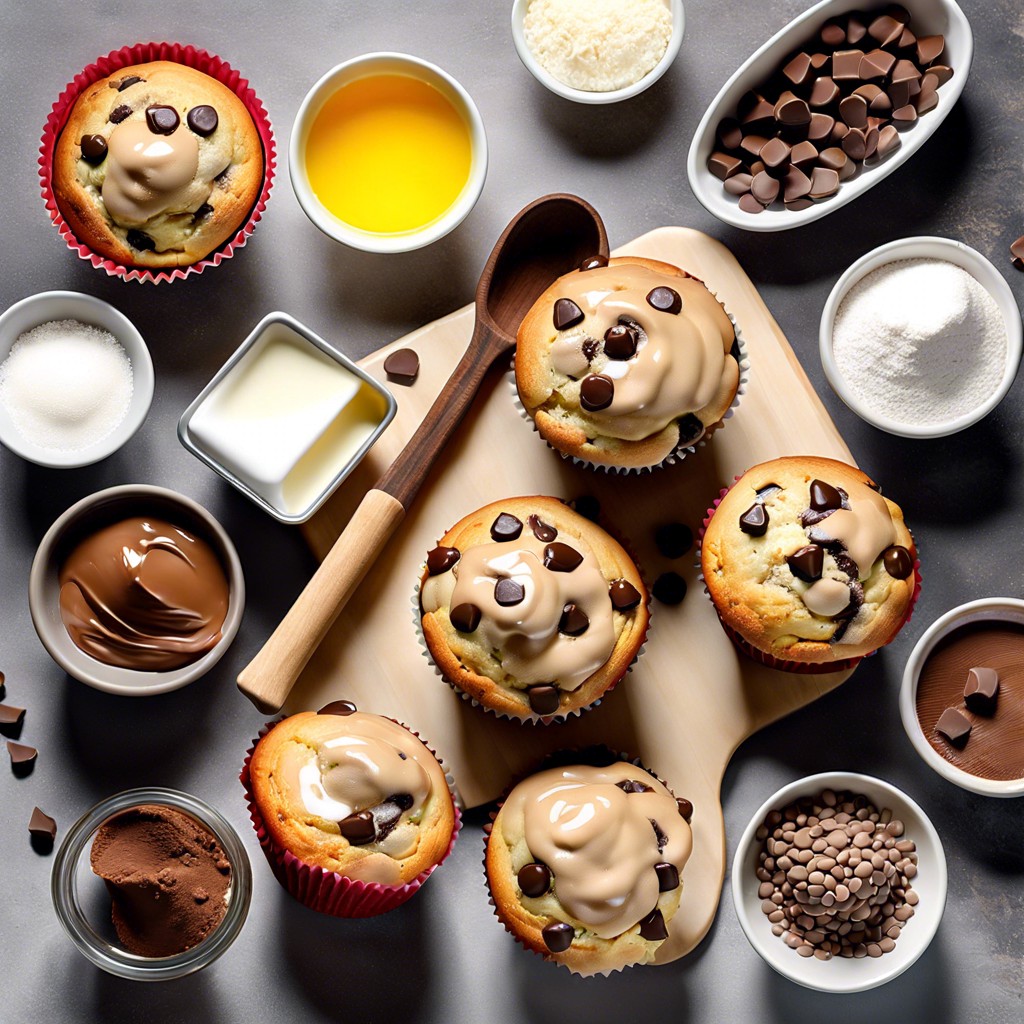
Crafting the perfect chocolate chip muffin begins with a balance of dry and wet ingredients—flour forms the base, with sugar to sweeten the deal. A pinch of salt highlights the flavors, while baking powder gives rise to airy delights.
Opt for brown sugar alongside white for a rich, molasses-like depth. Canola or vegetable oil makes for a tender crumb, but butter, unsalted and melted, adds a luxurious richness. Each liquid element, be it milk or buttermilk, plays a crucial role in moisture, marrying the components harmoniously.
Eggs bind it all, ensuring the batter’s stability as it bakes into golden-edged muffins. And let’s not forget the star of the show—the chocolate chips. Semi-sweet varieties strike a harmonious chord, balancing the sweetness with a welcoming bite.
Remember, ingredient quality can make or break your muffins. Investing in good-quality chocolate pays off with every luscious, gooey morsel. Keep proportions in check; an overzealous hand with baking powder or sugar can lead to less-than-ideal results. Careful measurement is the key to a foolproof bake.
How to Make Chocolate Chip Muffins
Before you dive in, preheat your oven to 375°F (190°C) and line a muffin tin with paper liners. This avoids the heartbreak of muffins sticking to the tin and facilitates a graceful exit for each one.
To start, whisk together your dry ingredients—flour, baking powder, and salt in one bowl. In another, beat sugar and eggs until smooth; a touch of vanilla extract sends the flavor over the moon.
Gradually add softened butter to the egg mixture, blending until you achieve a harmonious, lump-free batter. Slowly integrate the dry mix and milk, starting and ending with the flour, to create a uniform batter without overworking it.
A gentle fold-in of the chocolate chips distributes little pockets of joy throughout, ensuring surprises in every bite. Scoop the batter into the liners, filling 3/4 full for a generous, sky-high rise. Remember, an even divide results in equal baking times and avoids the “peekaboo, I’m undercooked” scenario.
Pop the tray in the oven for about 20 minutes. The kitchen will fill with an aroma that makes taste buds tap-dance in anticipation. Keep an eye out for a golden crown on each muffin; it’s a sign they’re ready. Let them cool a bit before taking a bite—patience is your friend here. A burnt tongue does little for culinary enjoyment. Enjoy the fruits of your labor while warm, maybe with a glass of milk to double down on the comfort factor.
The Secret Trick for Tall Muffin Tops
Craving that bakery-style domed muffin top? The secret lies in a two-temperature baking method. Start with your oven preheated at a high temperature – around 425 degrees Fahrenheit. This initial heat blast rises the batter quickly, creating that coveted peak. But don’t stop there. After about 5 minutes, reduce the oven temperature to 375 degrees Fahrenheit. By doing this, you allow the muffins to cook through without burning the tops.
Another tip is to fill your muffin tins almost to the brim. This might go against the instinct to fill only two-thirds, but for that impressive rise, a full tin is your friend. Just be sure to keep a steady hand – no one enjoys cleaning batter off the oven floor!
Remember: do not open the oven door during the first 15 minutes of baking. This premature peek can cause temperatures to drop, and your muffin tops might not reach their full potential. Patience pays off in the world of muffin-making magic.
How to Store Chocolate Chip Muffins
Fresh out of the oven, your muffins are a delight. But how do you keep that just-baked magic alive? It’s simpler than you might think.
First up, let them cool completely on a wire rack. Jumping the gun and wrapping them up warm leads to soggy bottoms, and nobody wants that for their treat.
Once they’re cool, pick your storage spot. Room temperature is best for maintaining their texture for a couple of days. Slide them into an airtight container or resealable bag. This wards off air and stales, ensuring your muffin’s flavor and moisture are locked in tight.
In a pinch, and if your countertops are prime real estate, tuck them in the refrigerator. They’ll last a bit longer, though you might trade off some tenderness. Before you dive in for a cold one, give it a quick ten-second zap in the microwave. This brings back a hint of that fresh-from-the-oven warmth.
Remember, keep these treasures away from the sun like a vampire avoids daylight; direct heat turns them into dry morsels. Treat your muffins right, and they’ll be the gift that keeps on giving!
Can You Freeze Chocolate Chip Muffins?
Absolutely, stashing your muffins in the freezer is a game-changer for preserving their just-baked taste. Before you relegate them to the icy depths, make sure they’ve cooled down after baking. Wrap each one snugly in plastic wrap to fight off freezer burn, or pop them into a resealable freezer bag. To avoid a muffin mishap, gently remove as much air as possible from the bag before sealing. They’ll play it cool in the freezer for up to three months.
When you’re hankering for a thawed treat, patience is a virtue. Let them defrost on the counter, still wrapped up, to prevent condensation from damping the party. If you crave that fresh-from-the-oven warmth, a short stint in the microwave will do the trick. Just 30 seconds and you’re back to that cozy, chocolate-studded experience.
Here's Something More
 Mouth-Watering Chocolate Sourdough Recipe: A Baker’s Dream
 Decadent Chocolate Pizza: Your Sweet Tooth’s Best Friend
 Perfect Chocolate Bonbon Recipe: Impress With Homemade Delights
 Ultimate Chocolate Biscuit Recipe for Sweet Cravings
 Elevate Your Treat Game: Chocolate Chip Shortbread Recipe