Learn the essential steps for tempering chocolate to achieve a glossy finish and a satisfying snap.
Key takeaways:
- Tempering chocolate aligns crystals for a snappy texture and glossy appearance.
- Choose chocolate with high cocoa butter content for best results.
- Use the bain-marie method or seeding technique for tempering.
- Troubleshoot dull or streaky chocolate with the right temperature and technique.
- Practice and patience are key to achieving perfectly tempered chocolate.
Inside
Structure and Crystals: Why Chocolate Must Be Tempered
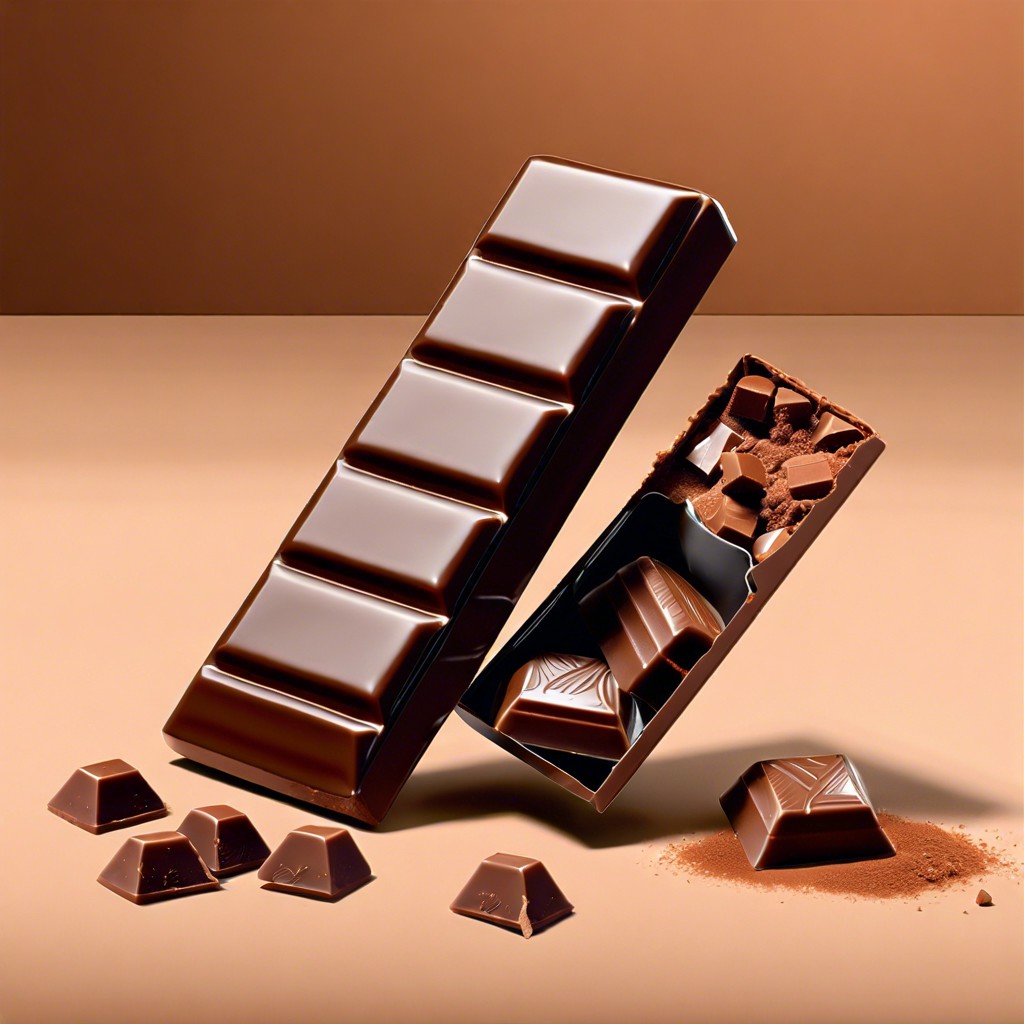
To get that snap and sheen in your chocolate treats, tempering is your golden ticket. This process aligns the cocoa butter crystals, which are naturally occurring fats in chocolate, into a stable form. Here’s the scoop on why tempering is a must:
– Snappy Texture: Properly tempered chocolate hardens with a satisfying snap. If chocolate isn’t tempered, it may be soft or crumbly.
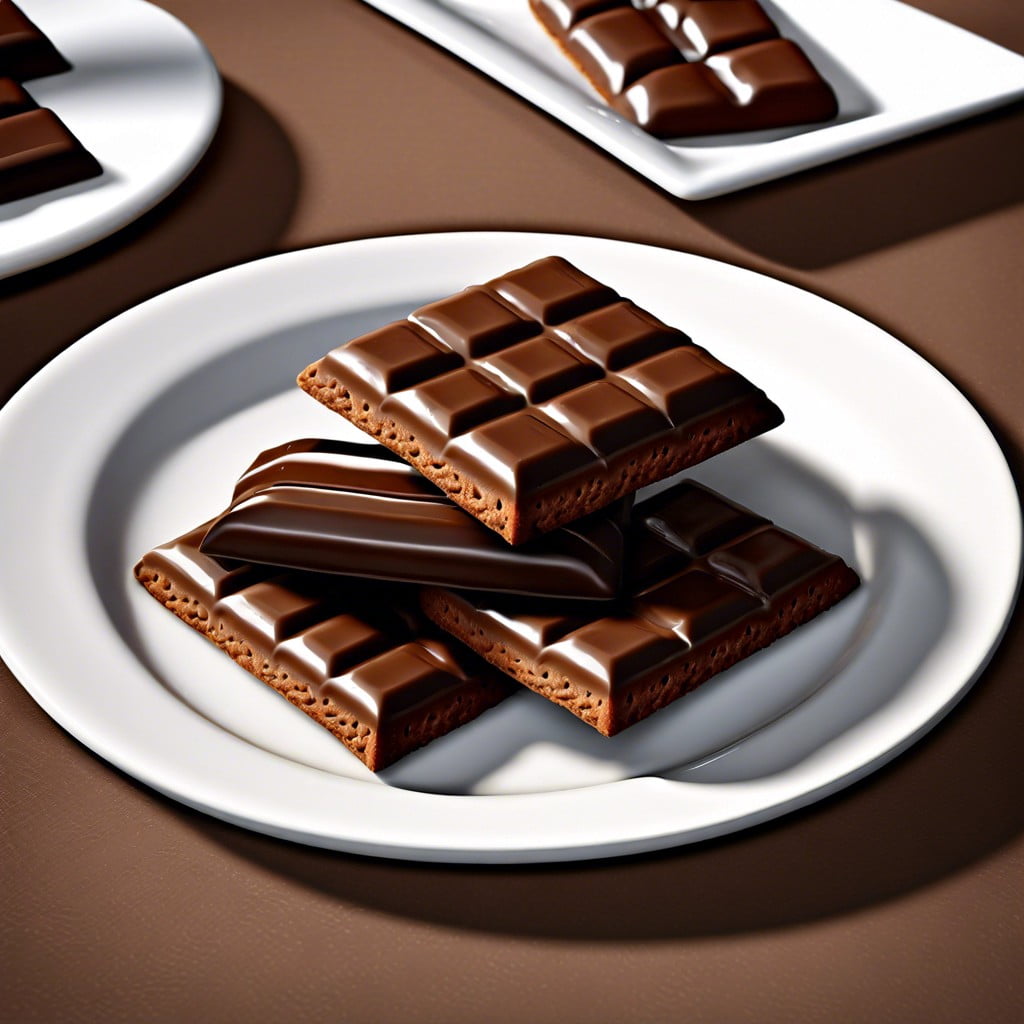
– Glossy Appearance: A well-tempered bar has a glossy finish. Without tempering, chocolate can look dull and mottled.
– Melting Point: Tempered chocolate melts around body temperature, giving that luxurious melt-in-your-mouth feel. Chocolate that hasn’t been tempered might melt inconsistently or cling to your fingers.
Consider tempering akin to training your chocolate to behave—making sure it looks good, feels good, and delivers that delightful crackle with every bite.
Tempering Chocolate: Selecting the Right Chocolate
When you’re on a quest to craft the silkiest, glossiest chocolate creations, the type of chocolate you choose is like picking your dance partner — it needs to move with you, not against you. Look for chocolate with high cocoa butter content; this is your golden ticket for smoother melting and setting.
Couverture chocolate, the darling of professional chocolatiers, is ideal for its higher percentage of cocoa butter. This ensures a satin finish and that satisfying snap we all love. If the label reveals 32-39% of cocoa butter, you’re on the right track.
Steer clear of chocolate chips which are meant to hold their shape when baked. They contain stabilizers that make them resistant to the tempering process — like trying to teach a rock to swim.
Melting chocolate that’s already in temper, like high-quality chocolate bars, can be a good starting point as well. They often only require gentle encouragement to align their crystals correctly. Remember, your end goal is a shiny, snappy treat that elevates any chocolate experience from ordinary to extraordinary.
First Method: Tempering in a Bain-Marie
Dipping your toe into the world of chocolate crafting? Then mastering the bain-marie method of tempering is like harnessing the magic of alchemy in your very own kitchen. Here’s how it works:
Gather your tools: a pot, a heat-proof bowl that nestles snugly on the pot without touching the water, a thermometer, and a spatula. This isn’t rocket science, but precision is your best pal.
Chop the chocolate: Break that bar up into small, even pieces. Chocolate is a team player; it melts uniformly when everyone’s size is equal.
Heat the water: Bring a pot of water to a gentle simmer, not a rolling boil. Think of it as prepping a warm bath for your chocolate to luxuriate in.
Bowl goes on top: Place the bowl filled with chocolate pieces on the pot. The steam from the water gently coaxes the chocolate to melt, avoiding the shock of direct heat. Patience is golden here; let the warmth work its charm slowly.
Stir, but not too much: As the chocolate starts to melt, stir occasionally with a spatula. You’re aiming for a silky texture. Visible lumps mean keep on stirring but resist the urge to go on a stirring spree.
Monitor the temper(ature): Check the temp like you’re checking your heart-rate mid-workout. For dark chocolate, you’re shooting for 115°F (46°C); milk and white chocolates are a touch lower at 110°F (43°C).
Once melted, remove and cool: With your chocolate now in liquid form, take it off the steam bath. Just like after a good work-out, it’s cool-down time. This is the secret handshake between temperature and texture, and it’s how you get that glossy finish.
Remember, magic happens when you take it slow and steady. Keep your eye on the thermometer like a hawk and let the gentle heat be your guide. Happy tempering!
Second Method: Seeding
Seeding is akin to introducing a wise mentor to teach the unruly chocolate crystals the proper way to behave. Begin with finely chopped high-quality chocolate or ready-made seed chocolate. Ensure some of your chocolate is already in tempered form – these are your “seed” crystals. Melt about two-thirds of your chocolate over indirect heat until it’s smooth and fluid.
Now, introduce your seed chocolate to the mix. These solid pieces entice the molten chocolate to form the correct crystal structure. Stir gently, allowing the seeds to melt partially by the residual heat. Remember, patience is key.
The goal is to cool the chocolate down while maintaining motion. This encourages the formation of the desirable beta crystals. These are the ones responsible for the snap and sheen we all adore in perfectly tempered chocolate.
Once those seed pieces are nearly melted, test your chocolate. Dip a knife or the edge of a parchment paper into the chocolate – it should set quickly and look glossy. If it does, congratulations! Your chocolate is tempered and ready to be fashioned into truffles, bars, or whatever sweet treat is on the menu. If not, it might need more seed chocolate or additional time to cool. Keep stirring, keep testing. The magic is in the movement.
Troubleshooting: When Tempering Goes Wrong
So, your chocolate’s throwing a tantrum, looking dull, or streaky? Let’s play detective and crack the case of the tempering blues!
Strike one might be heat. Too hot, and your chocolate’s silky structure breaks down; too cool, and it won’t cozy up into that glossy finish. Aim for that sweet spot—about 88-90 degrees Fahrenheit for dark chocolate, and a smidge lower for milk or white.
If you’re stirring like a whirlwind, take it down a notch. Gentle folds are the way to go. An overzealous stir can invite pesky air bubbles to a party they weren’t even invited to!
Check your tools. Are they as clean as a whistle? Any stray water or crumbs can throw tempering off track. Chocolate’s a bit of a diva—it demands a dry and immaculate stage for its performance.
Lastly, time can be a friend or foe. Work with purpose but don’t rush; chocolate’s temper won’t set in the blink of an eye. Give it a moment to bloom into that snappy, radiant bar that we all adore.
A little hiccup isn’t the end of the world—chocolate is forgiving. Melt it down, take a deep breath, and try, try again. After all, practice makes perfect, and the reward is oh so sweet!
