In this article, you will learn a simple, effective method to thin melted chocolate, enhancing its texture for a variety of culinary uses.
Key takeaways:
- Different chocolate types have different melting points.
- Use high-quality chocolate with higher cocoa butter content.
- Chop chocolate into small pieces for even melting.
- Use a double boiler or microwave for gentle melting.
- Add paramount crystals or cocoa butter to thin chocolate.
Inside
Understanding Chocolate Types and Melting Points
Chocolate varieties, from white to dark, each have unique melting points due to their cocoa butter content. Dark chocolate, high in cocoa, typically melts around 120°F, while milk chocolate’s melting point falls near 110°F due to its added milk solids. White chocolate, which doesn’t contain cocoa solids, has the lowest melting point of around 110°F.
For smooth thinning, ensuring the heat is gentle and consistent is key to avoid overheating, which can cause the chocolate to seize or burn, altering its texture and flavor. Use a thermometer for precision and control during the melting process.
Selecting the Right Chocolate for Melting
High-quality chocolate with a higher cocoa butter content melts more smoothly and is ideal for thinning. Couverture chocolate, often used by professional chocolatiers, contains a higher percentage of cocoa butter, making it an excellent choice for a fluid and glossy finish.
For melting purposes, avoid chocolate chips when possible. These are designed to retain their shape during baking and often contain additives that hinder melting. If using chocolate bars, chop them into uniform small pieces to ensure even melting.
Consider the chocolate’s flavor profile, as it will be prominent in your final product. Dark chocolate, with its rich, deep flavor, may overpower other ingredients, while milk chocolate adds sweetness and creaminess. White chocolate, sensitive to heat, requires extra care during melting to prevent seizing.
Best Practices for Melting Chocolate
Always finely chop the chocolate into uniform pieces to ensure even melting. Use a dry, sharp knife for this task.
Avoid water contact, as even a small amount can cause chocolate to seize. Ensure all utensils and bowls are completely dry.
Opt for indirect heat by utilizing a double boiler, which consists of a heatproof bowl set over a pot of simmering water, but not touching it. This method allows for gentle melting.
In absence of a double boiler, microwave the chocolate in short intervals, stirring after each bout of heat until smooth. Heating in intervals prevents overheating and ensures even distribution of heat.
Stir chocolate frequently with a dry spatula to encourage even melting and to prevent the bottom from scorching.
If using a thermometer, aim for a melting temperature of 32°C to 45°C (90°F to 113°F), depending on the chocolate type—dark, milk, or white.
Keep the heat low and consistent to maintain the chocolate’s temper and to prevent separation or burning.
As the chocolate begins to melt, be patient and avoid increasing the heat, as real chocolate melts at body temperature.
Methods for Thinning Melted Chocolate
To achieve the desired fluidity, gently stir in paramount crystals or cocoa butter. Paramount crystals, often made from a mix of hydrogenated palm kernel oil and soy lecithin, dissolve seamlessly into melted chocolate, promoting a smoother consistency. Similarly, cocoa butter, a natural component of chocolate, enhances flow without altering the taste.
Alternatively, use vegetable oil or shortening, adding just a teaspoon per cup of chocolate and stirring until well combined. These fats won’t interfere with the chocolate’s ability to harden, but they slightly reduce the gloss and snap of the final product.
For water-based thinning, cautiously introduce small amounts of warm milk or cream. Proceed with caution, as even a drop of water can cause chocolate to seize. Nevertheless, this method can impart a richer flavor and creamier texture when executed with precision.
Lastly, if you’re working with candy melts or coating chocolate, specialty thinning products are available and formulated to work specifically with these types of chocolate.
In all cases, moderate heat and patient stirring are key to incorporating these thinners effectively, avoiding overheating to prevent any alteration to the chocolate’s structure.
Testing the Consistency of Melted Chocolate
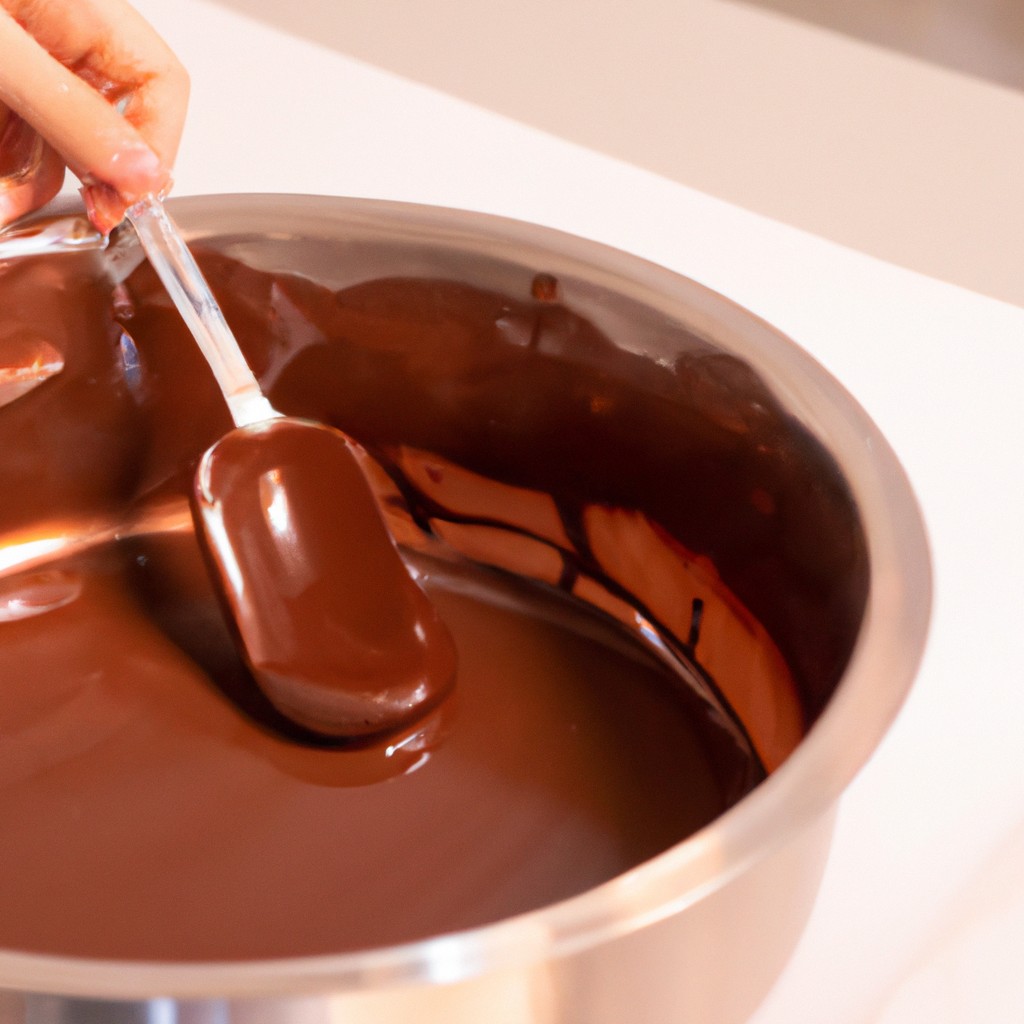
To ensure your melted chocolate has reached the ideal consistency, conduct a simple ribbon test. Drip some chocolate off a spoon back into the bowl—it should fall in a smooth, continuous ribbon. If it breaks or is too thick, additional thinning may be required.
Another practical approach is the coating test. Dip a spoon or a piece of parchment paper in the chocolate and let it set for a couple of minutes. If it sets with a glossy finish and snaps when broken, the consistency is likely correct.
For applications requiring precise viscosity, such as chocolate fountains or intricate decorations, refer to the manufacturer’s recommendations or use a chocolate viscometer if available to achieve an exact measurement of the flow properties.
Here's Something More
 Mouth-Watering Chocolate Sourdough Recipe: A Baker’s Dream
 Decadent Chocolate Pizza: Your Sweet Tooth’s Best Friend
 Perfect Chocolate Bonbon Recipe: Impress With Homemade Delights
 Ultimate Chocolate Biscuit Recipe for Sweet Cravings
 Elevate Your Treat Game: Chocolate Chip Shortbread Recipe