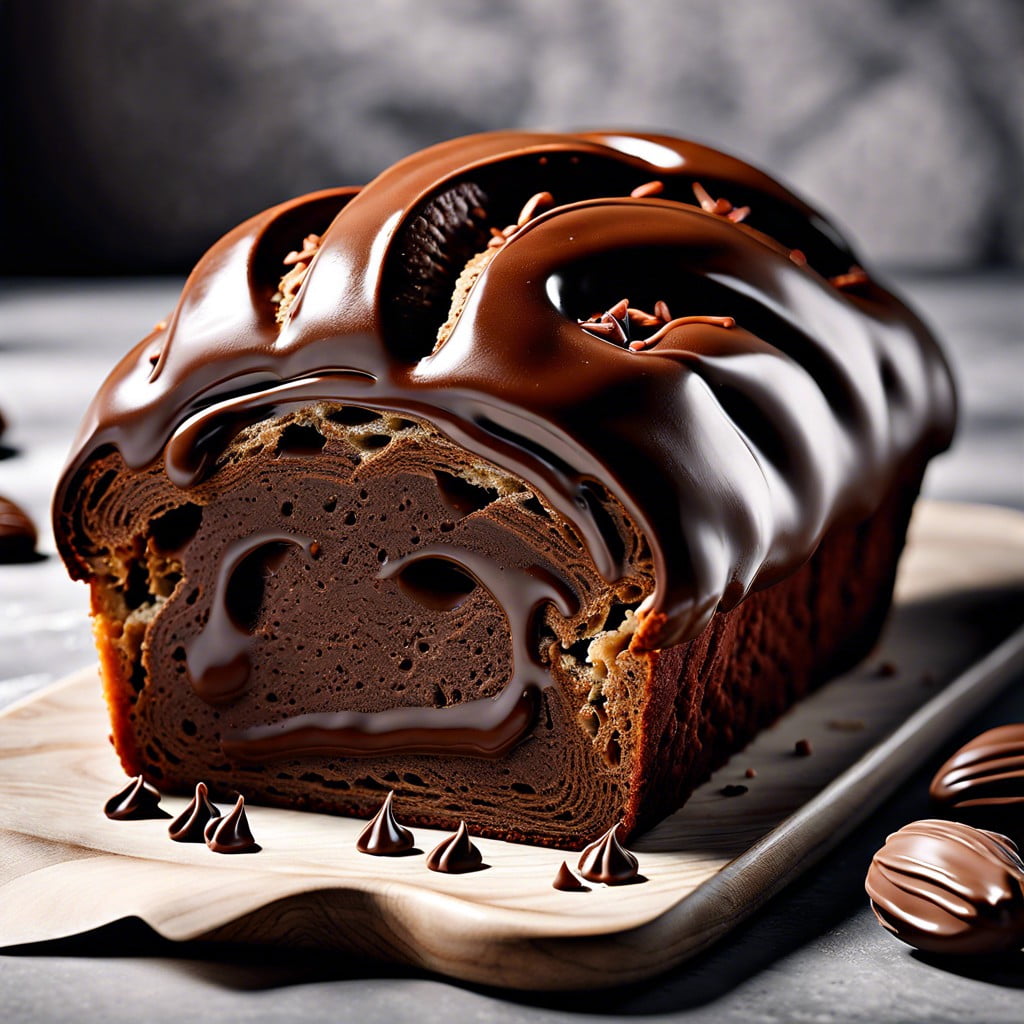
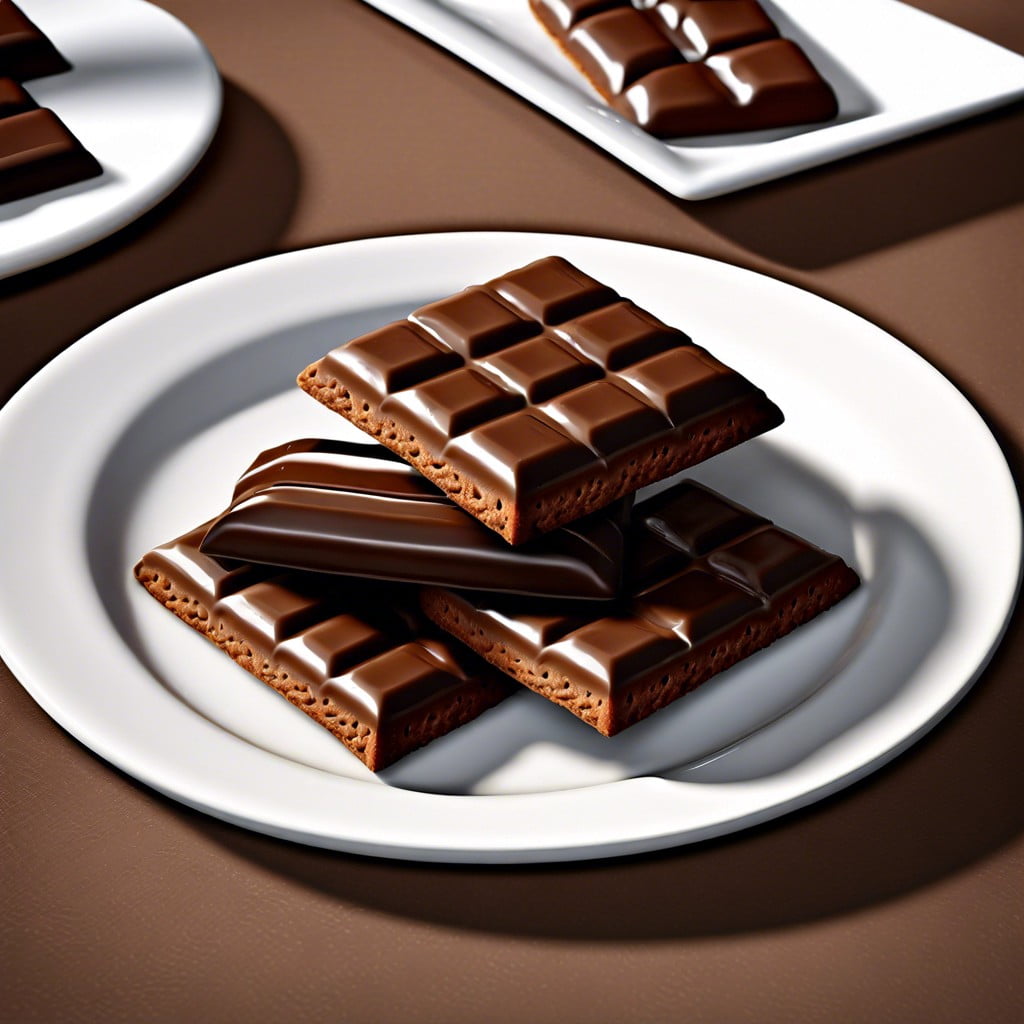
This article will guide you through the steps of tempering chocolate to achieve a smooth, glossy finish, perfect for confectionery, pastries and desserts.
Key takeaways:
- Proper tempering aligns chocolate crystals for a glossy finish.
- Use couverture chocolate for best results.
- Stovetop or microwave method: melt, seed, and temper.
- Food processor/hair dryer method: pulse and warm gradually.
- Select high-quality chocolate, work in a cool environment, and store properly.
Inside
Structure and Crystals: Why Chocolate Must Be Tempered
Chocolate comprises various types of fat crystal structures, each with distinct melting points. Proper tempering aligns these crystals, specifically the stable beta crystals, into a uniform structure that gives the finished product a glossy appearance and a satisfying snap.
Untempered chocolate can have a dull finish and a grainy texture due to unorganized crystals. It may also exhibit “bloom,” where the cocoa butter separates, leaving white streaks or spots.
The tempering process involves carefully heating and cooling the chocolate to encourage the formation of beta crystals while preventing other types from becoming dominant. This precision ensures durability and a melt-in-the-mouth quality, ideal for professional confections and homemade treats alike.
Ingredients
Selecting the right chocolate is pivotal for successful tempering. Use couverture chocolate, which contains a higher percentage of cocoa butter than regular chocolate, ensuring a glossy finish and a satisfying snap.
Dark, milk, and white chocolate can all be tempered, but each has specific temperature ranges to follow for the process.
Avoid chocolate chips as they often contain stabilizers that hinder proper tempering. Check the ingredients for the presence of real cocoa butter rather than vegetable fats which do not temper the same way.
High-quality chocolate will yield the best results; always ensure it’s fresh and free from blooming—white, streaky marks indicating previous poor temperature handling.
Chocolate Tempering Method #1: The Stovetop or Microwave
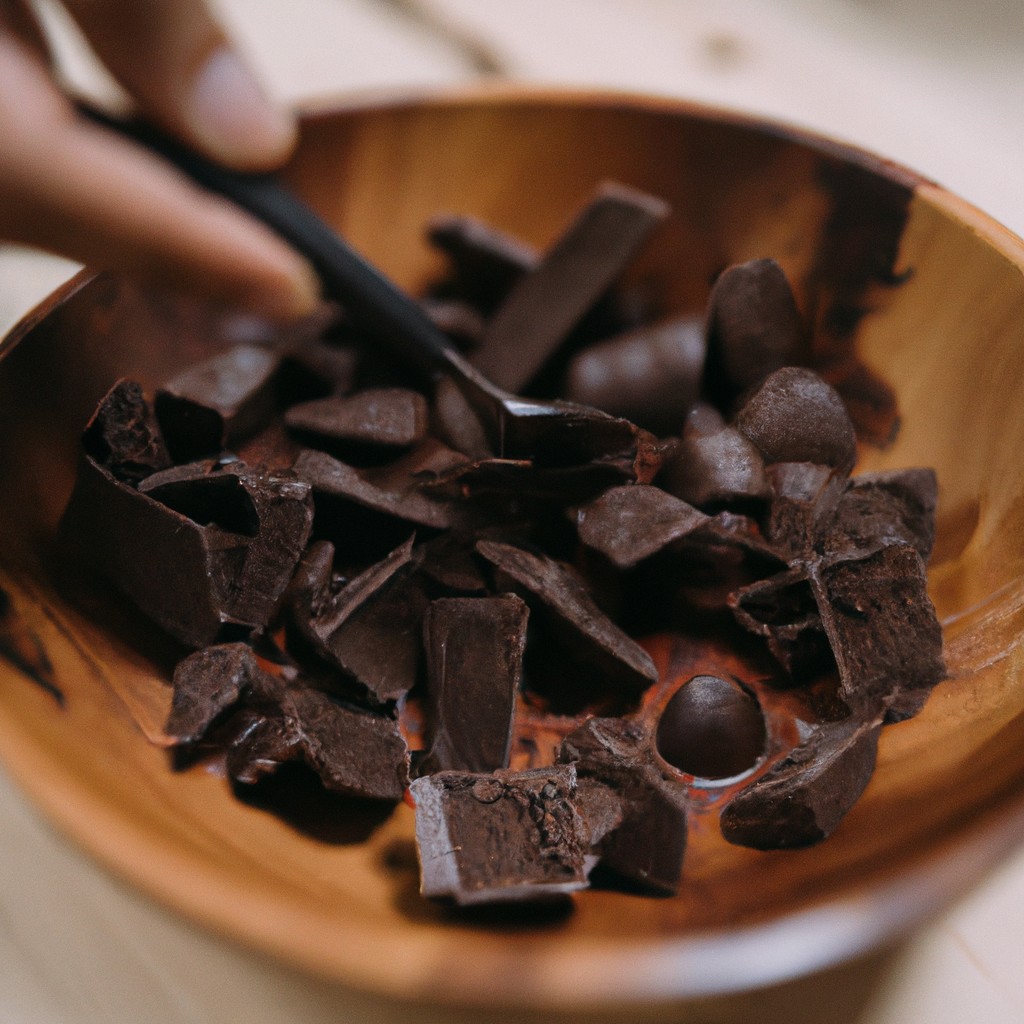
Begin by finely chopping the chocolate, which aids in melting it uniformly and quickly. For stovetop melting, place two-thirds of the chocolate in a heatproof bowl set over a pot of simmering water, ensuring the water does not touch the bottom of the bowl. Stir continuously until the chocolate reaches a temperature of about 115°F (46°C) for dark chocolate or 110°F (43°C) for milk and white chocolate. For the microwave method, heat the chocolate in a microwave-safe bowl at half power in 30-second bursts, stirring between each burst.
Once the proper temperature is reached, remove the bowl from the heat source and add the remaining one-third of the un-melted chocolate, stirring constantly. This process, called ‘seeding,’ introduces stable cocoa butter crystals and begins the tempering process. Continue to stir until the temperature drops to about 80°F (27°C) for dark chocolate or 78°F (26°C) for milk and white chocolate.
Finally, gently reheat the chocolate to working temperature: 88°F – 90°F (31°C – 32°C) for dark chocolate, or 86°F – 88°F (30°C – 31°C) for milk and white chocolate. This ensures that all the cocoa butter crystals are evenly distributed. Your chocolate is now tempered and ready for use, presenting a glossy finish and crisp snap when cool.
Chocolate Tempering Method #2: The Food Processor/Hair Dryer Technique
Begin by chopping your chocolate into small, even pieces to ensure a uniform melt. Place the chocolate into a food processor, pulsing it until finely ground; the smaller particle size promotes even heat distribution.
Next, warm the chocolate. Using a hair dryer set on low heat, intermittently blow warm air into the food processor while pulsing. This method gently raises the temperature of the chocolate, allowing it to melt without overheating.
Monitor the chocolate’s temperature with a thermometer—aim for 110-115°F for dark chocolate or 105-110°F for milk and white chocolate. Once melted, continue to pulse the food processor and use the hair dryer until the chocolate cools to about 81-82°F.
Finally, reheat the chocolate by pulsing and applying brief heat blasts until it reaches its working temperature: 88-90°F for dark and 85-87°F for milk and white. The chocolate is now tempered and ready for use, displaying a glossy finish and snap when set.
Recipe Notes
Selecting the right chocolate is crucial; use high-quality chocolate with a high cocoa butter content for the best tempering results. Avoid chocolate chips as they often contain stabilizers that can affect the tempering process.
Humidity is an enemy of tempered chocolate; work in a cool, dry environment for optimal results.
Consistency is key; use a digital thermometer to ensure precise temperature control during the tempering process.
Storage matters; once tempered, chocolate should be stored in a cool, dark place to preserve its finish and snap.
For a glossy finish and a smooth mouthfeel, stir the chocolate consistently but gently to avoid incorporating air bubbles.
Trial and error is a part of the learning process; if the chocolate doesn’t temper correctly on the first try, it can be remelted and the tempering process can be attempted again.
