Learn the straightforward method to melt chocolate in the microwave, ensuring a smooth and even consistency for your recipes.
Key takeaways:
- Choose a microwave-safe bowl, preferably glass or ceramic.
- Chop chocolate into small, uniform pieces for even melting.
- Microwave in 30-second intervals, stirring every 20-30 seconds.
- Troubleshooting tips for seized, burnt, or unevenly melted chocolate.
- Melted chocolate can be used for various recipes and desserts.
Inside
Pick the Right Bowl for the Microwave
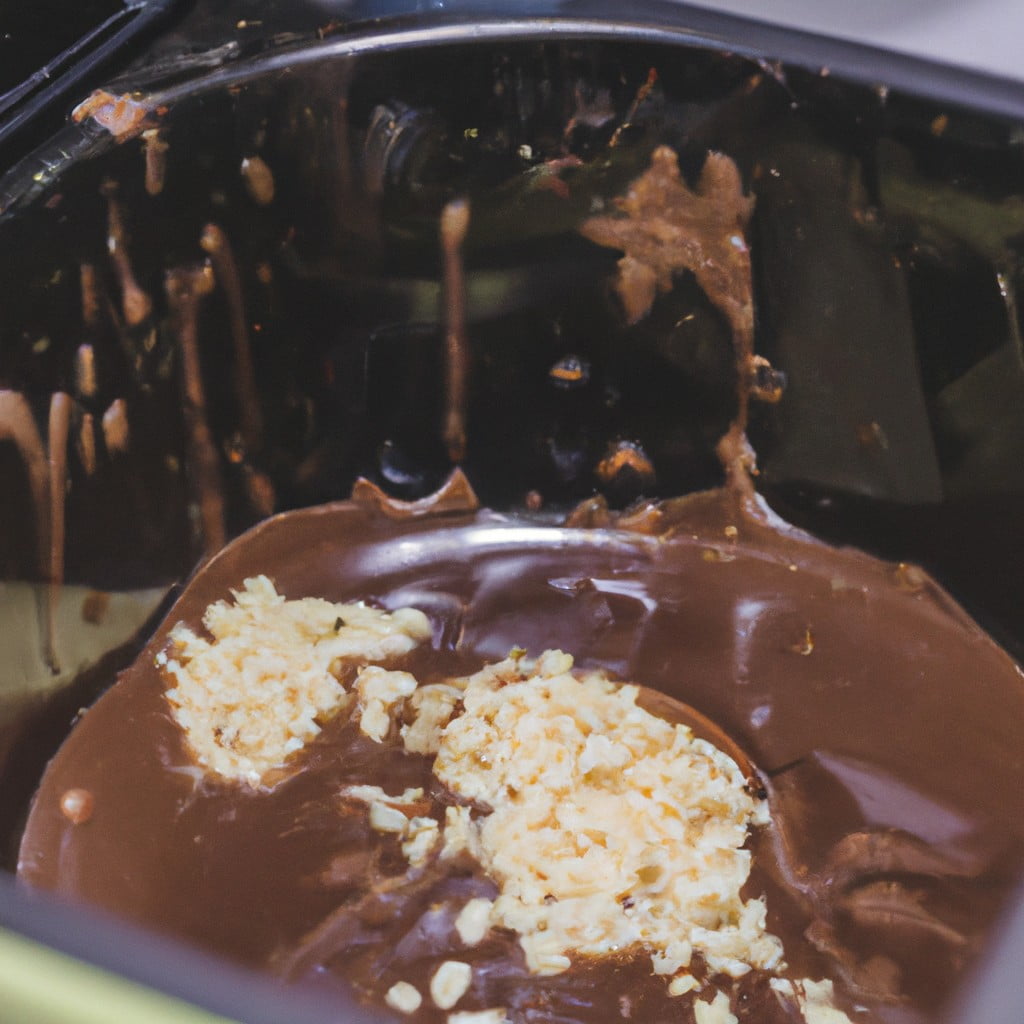
Choosing a microwave-safe bowl is crucial to ensure even melting and prevent accidents. Glass or ceramic bowls are typically best, as they handle the heat well and won’t react with the chocolate. Avoid metal or plastic containers which can warp or melt. Before you start, check the bottom of the bowl for the “microwave-safe” label to be certain it’s appropriate for use. It’s also helpful to select a bowl that’s large enough to allow the chocolate to spread out, which promotes uniform heating and easier stirring.
Chop Up Your Chocolate
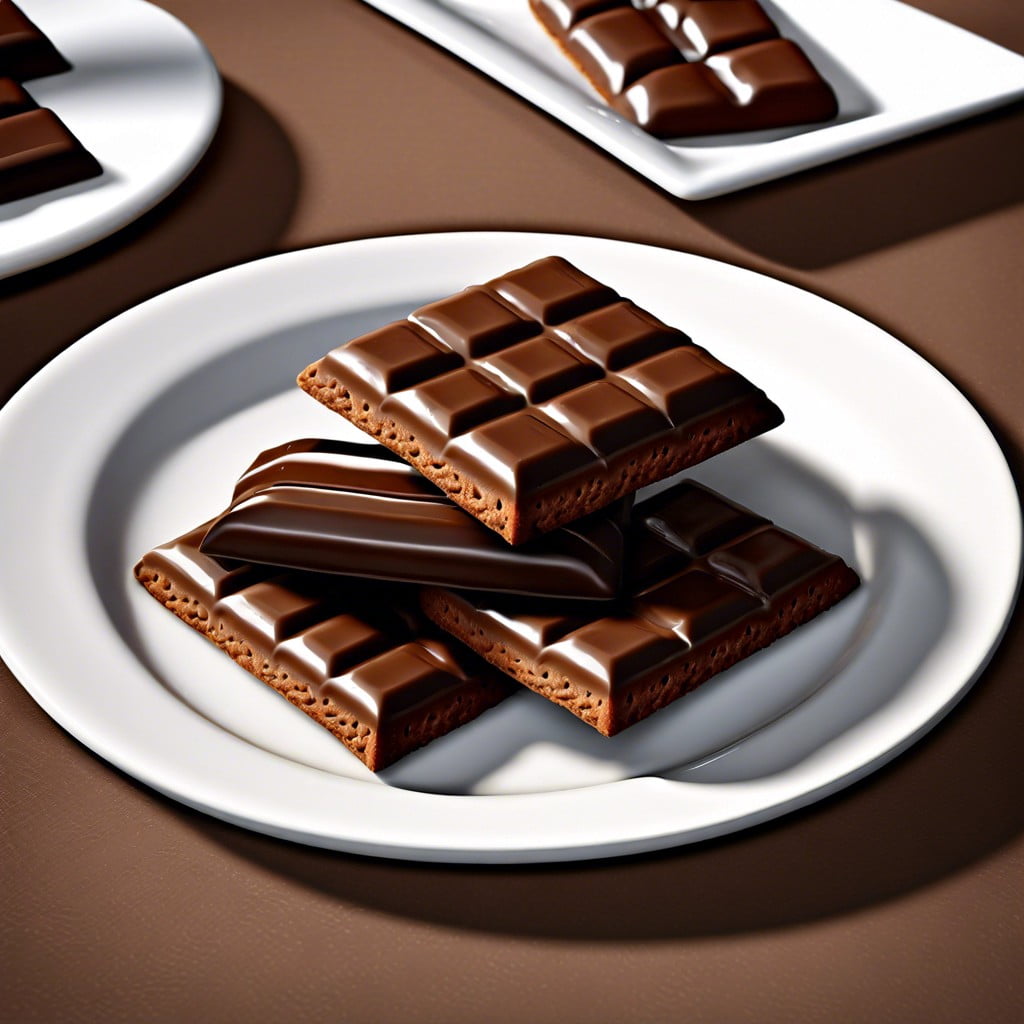
Uniformly sized pieces ensure even melting, so use a serrated knife to carefully chop your chocolate bars or blocks into small chunks or shavings.
If you’re using chocolate chips, they’re already the perfect size for melting.
Remember that smaller pieces melt faster and reduce the chance of overheating, which can lead to seizing or burning.
Keep an eye out for any lingering large chunks and break them down if necessary.
This step will set you up for a smoother melting process in the microwave.
Microwave For 30 Seconds and Stir Every 20-30 Seconds
Begin by microwaving the chocolate on high for an initial 30-second burst. This initial heat kick-starts the melting process. Following that, continue with brief intervals of 20-30 seconds to prevent overheating the chocolate, which can cause it to seize or burn.
After each interval, stir the chocolate, even if it doesn’t appear to have melted much. The residual heat helps to melt the chocolate evenly. Stirring minimizes the risk of hotspots which can scald the chocolate and create a grainy texture.
If after several stirs the chocolate is almost melted with a few small pieces remaining, rely on the existing warm chocolate to melt these last bits. The gentle heat will smooth out the texture without the risk of overheating. Remember, patience is key to achieving perfectly melted chocolate using the microwave method.
Troubleshooting Tips
If your chocolate starts to look dry or gritty, it may have seized due to overheating or contact with water. To rectify this, gradually add a teaspoon of a neutral oil or hot water, stirring gently until the consistency smooths out.
Should your chocolate burn — which is characterized by a harsh smell and change in color — it’s best to discard it and start over, as burnt chocolate is unsalvageable and can impart an unpleasant flavor.
In the event your chocolate isn’t melting evenly, make sure to stir it thoroughly at each interval. If large chunks persist, you can cut them into smaller pieces for more uniform melting.
For chocolate that has hardened or cooled too quickly, simply reheat it in brief 5-10 second bursts, stirring in between to regain a fluid consistency suitable for your needs.
Preventing over-crystallization, which can contribute to a grainy texture, entails tempering the chocolate. However, for most general purposes like coatings or mix-ins, the microwave method provides sufficiently smooth results without the need for tempering.
Uses for Melted Chocolate
Melted chocolate serves as a versatile ingredient in various recipes or as a finishing touch to add a touch of elegance to desserts. Dipping fruit such as strawberries or banana slices into the warm mixture creates an instant treat that pairs the natural sweetness of the fruit with the richness of chocolate.
It also works well for coating homemade truffles, candies, and pretzels, providing a smooth shell that hardens as it cools. Drizzling it over pastries like éclairs and profiteroles can give a professional bakery look right at home.
Additionally, incorporating it into batter or dough for brownies, cakes, or cookies enhances flavor and texture. For a simple yet indulgent snack, spread it on a slice of toast with a pinch of sea salt.
