Discover the simple process of creating delicate white chocolate snowflakes, perfect for enhancing desserts or as standalone treats.
Creating delicate white chocolate snowflakes is a simple yet rewarding process that requires minimal ingredients. By using white chocolate, a snowflake mold, and a bit of patience, anyone can create these charming edible decorations.
This article will provide a detailed step-by-step guide on how to make white chocolate snowflakes, from melting the chocolate to demolding the finished product. It will also offer tips on how to store these snowflakes and incorporate them into your favorite desserts.
Stay tuned for a comprehensive guide that will make this process easy and enjoyable.
Key takeaways:
- Use high-quality white chocolate with at least 30% cocoa butter.
- Choose white chocolate that lists cocoa butter as the first ingredient.
- Melt the white chocolate in a heatproof bowl over simmering water.
- Tap the molds gently to remove air bubbles and refrigerate for 15 minutes.
- Add shimmer sugar for extra sparkle and use snowflakes as cupcake or cake toppers.
Inside
Ingredients for White Chocolate Snowflakes
High-quality white chocolate is the key ingredient here. Opt for a brand with at least 30% cocoa butter. This ensures a smooth and silky texture, perfect for creating delicate snowflakes.
Sugar crystals are optional but recommended. Aside from imparting a sweet taste, they also add a frosty appearance to your creations.
You will also require a heatproof bowl for melting the chocolate and a snowflake-shaped mold. Silicone is preferable as it facilitates the removal of the solidified chocolate.
Lastly, make sure to have greaseproof paper at hand to place your completed creations on for drying.
Choosing the Right Type of White Chocolate for Snowflakes
Quality is key to making fine chocolate snowflakes that both look good and taste delicious. Opt for high-quality white chocolate which has a higher percentage of cocoa butter. Such chocolates melt smoothly, creating better snowflakes due to the wonderful consistency.
Look for white chocolate that lists cocoa butter first in the ingredients. This type of chocolate will give a smoother, more flavorful outcome. It’s essential to remember that some cheaper versions may substitute vegetable oil instead of cocoa butter. This results in a waxy texture that isn’t ideal when melting and shaping into delicate snowflakes.
Finally, consider using white chocolate bars instead of chips. Chips tend to have less cocoa butter and contain more stabilizers. This may prevent them from melting as well as blocks or bars. While opting for the bar or block form will require extra effort for chopping, the quality and consistency of the end product make the additional step worthwhile.
By taking these factors into account, you’ll be on your way to creating beautiful and tasty white chocolate snowflakes.
Instructions On Making White Chocolate Snowflakes
Begin by melting your chosen white chocolate in a heatproof bowl placed over a saucepan of simmering water. Stir occasionally until smooth.
While your chocolate is melting, prepare your snowflake molds. Ensure they are clean, dry, and free of any dust or debris.
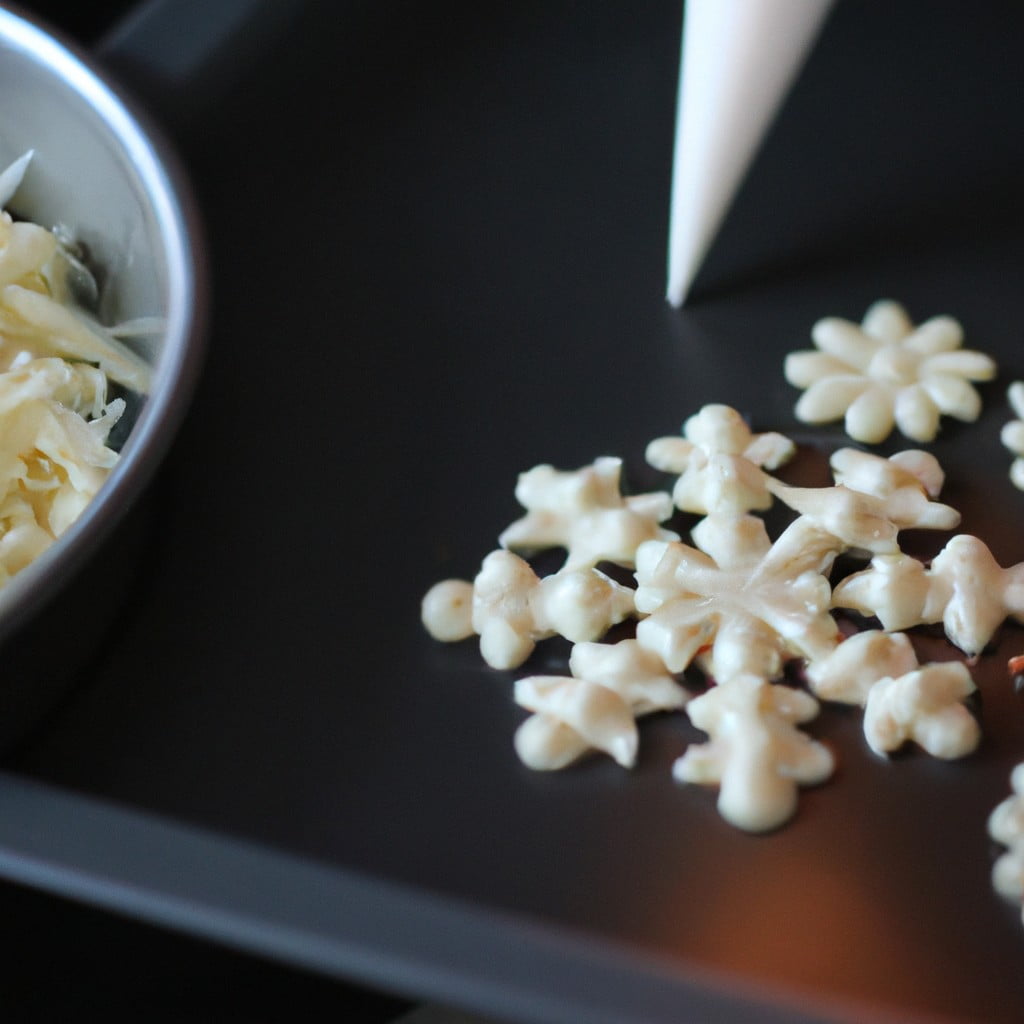
Once the chocolate has fully melted and is smooth, transfer it to a piping bag fitted with a small round nozzle.
Carefully pipe the chocolate into your snowflake molds. Be sure to apply even pressure on the piping bag to ensure a consistent flow of chocolate, and take your time to avoid mistakes.
Next, tap the molds gently on your countertop. This action helps to remove any air bubbles and ensures the chocolate fills all the small details in the mold.
For the chocolate to set, refrigerate your filled molds for about 15 minutes, or until the chocolate is firm.
Finally, remove your white chocolate snowflakes from the molds with a gentle twisting motion, handling them with care to ensure they don’t break.
Adding Shimmer Sugar for Extra Sparkle On White Chocolate Snowflakes
Once the white chocolate snowflakes have been carefully crafted and they are still in a slightly softened state, it’s the perfect time to add a bit of edible embellishment. A small pinch of shimmer sugar, delicately dusted over the surface, is all it takes to turn these treats into a sparkling delight.
In selecting your shimmer sugar, bear in mind that although shimmer sugar comes in a variety of colors, the most recommended for white chocolate snowflakes is silver or pastel toned. These colors will complement the snowflakes’ delicate hue while adding a touch of winter wonder.
Application is simple, just follow these steps:
- Hold the freshly formed white chocolate snowflake in one hand, flat side up.
- With your other hand, take a pinch of shimmer sugar.
- Sprinkle the sugar over the surface of the snowflake.
- Pairing this task with a soft shake of the snowflake can ensure even distribution.
- Set the now-sparkling snowflake aside to fully harden.
If a more uniform scattering of shimmer is desired, opt for a small sifter or similar tool. This can help evenly distribute shimmer sugar and reduce clumps.
Be aware that excess sugar will fall off once the chocolate is fully set, so a tray or parchment paper placed underneath can save valuable cleanup time.
Do note, adding shimmer sugar not only vastly improves the aesthetic appeal, but can also add a fun textural element to these winter-themed confectioneries.
Using White Chocolate Snowflakes As Cupcake and Cake Toppers
White chocolate snowflakes can elevate the look of any dessert in an instant due to their intricate design and eye-catching appeal.
1. Once your cupcakes or cake have been iced, carefully place each white chocolate snowflake on top.
Position them according to your design preference – multiple snowflakes can be arranged in a spiral or positioned randomly across a large cake for a scattered effect. On cupcake frosting, one snowflake is usually enough to make an impact.
2. Use a pair of tweezers or a similar tool when handling delicate snowflakes to prevent them from breaking.
Remember, the snowflakes are relatively thin, and once they’re out of the refrigerator they will begin to soften. It’s advisable to work in a cool space and handle them as little as possible to keep them from melting in your hand.
3. Try coordinating the snowflakes with other decorations such as sprinkles or edible glitter for a more festive look. Use these embellishments sparingly to highlight, not overshadow, your white chocolate creations.
4. Finally, storage conditions can affect the look and quality of your snowflakes. If you’re not planning on using them immediately, ensure they are stored in a cool, dry place.
Transforming your cakes or cupcakes with home-made white chocolate snowflakes adds creativity, personal touch and taste. Enjoy the process, and your guests will surely appreciate your effort.
Storing and Saving Your White Chocolate Snowflakes
To maintain freshness and preserve the delicate shapes of your white chocolate snowflakes, follow these steps:
- Wait for the snowflakes to cool down completely before storing. Any warmth can cause condensation, leading to a “sweated” and discolored chocolate.
- Use a flat, airtight container. Preferably one that’s specifically designed for storing chocolates. Arrange your snowflakes in a single layer, separated by wax or parchment paper.
- Keep the container in a cool, dark place. Store in a pantry, away from direct sunlight or heat to prevent melting. The ideal storage temperature for white chocolate is between 13°C to 18°C.
- Avoid storing in the refrigerator. The humidity and other food odors can adversely affect the quality and taste of your white chocolate snowflakes.
- If stored properly, your white chocolate snowflakes should stay fresh for up to two months.
Keep these points in mind to enjoy delectable chocolate snowflakes even after the holiday season!
Tips for Melting and Tempering White Chocolate
Melting and tempering white chocolate requires careful attention to avoid burning or seizing. Begin by chopping your white chocolate finely to ensure even temperature distribution during melting. Use a heat-proof bowl and place it over a pot of simmering water, not boiling. This technique is called the double boiler method and lets the chocolate melt slowly and evenly.
When your chocolate starts to melt, stir it gently with a spatula. The ideal temperature range for melted white chocolate is between 110 to 113°F (43 to 45°C). Use a kitchen thermometer to monitor the temperature to avoid overheating.
Tempering your white chocolate involves cooling, then re-warming. To start, remove the bowl from the heated pot when your chocolate is about two-thirds melted. Continue stirring outside the heat until it’s fully melted. This process helps to gently reduce the temperature.
Cool the melted chocolate down to about 79°F (26°C) by spreading it on a clean, cool, and dry marble slab or smooth surface, continually moving it around with a spatula. Lastly, re-warm the chocolate to 84°F-86°F (29°C-30°C) over the pot of simmering water and keep it within this temperature range while working.
Remember that while these steps consider the traditional method of tempering, it’s also possible to use premade ‘couverture’ white chocolate which already has the ideal crystal formation, eliminates the need for a tempering process, and still provides a beautiful finish.
Keeping an eye on your temperature and attentively stirring ensures a silky, glossy chocolate finish ideal for creating your snowflakes. It’s worth noting to avoid contact with water, as even a small drop can cause your chocolate to seize, making it grainy and hard. Also, always ensure your utensils are completely dry.
FAQ
Can you pipe melted white chocolate?
Yes, one can pipe melted white chocolate for decorations or other purposes.
What type of white chocolate is best for molding?
High-quality, couverture white chocolate, with a high cocoa butter content, is best for molding due to its smoother texture and easier tempering process.
How can you temper white chocolate at home for making snowflakes?
To temper white chocolate at home for making snowflakes, melt it to 110°F (43°C), cool it down to 80°F (27°C), then reheat to 85-87°F (29-31°C), stirring constantly.
How to store white chocolate snowflakes to ensure they keep their shape and flavor?
Store white chocolate snowflakes in a cool, dry place in an airtight container away from strong odors to maintain their shape and flavor.
Here's Something More
 Mouth-Watering Chocolate Sourdough Recipe: A Baker’s Dream
 Decadent Chocolate Pizza: Your Sweet Tooth’s Best Friend
 Perfect Chocolate Bonbon Recipe: Impress With Homemade Delights
 Ultimate Chocolate Biscuit Recipe for Sweet Cravings
 Elevate Your Treat Game: Chocolate Chip Shortbread Recipe