Learn the step-by-step process of creating your own chocolate from scratch, from selecting the right cocoa beans to refining and conching your mixture into smooth, indulgent chocolate.
Key takeaways:
- Quality ingredients and equipment are essential for making chocolate from scratch.
- Roasting cocoa beans develops flavor; listen for the ‘crack’ sound.
- Grinding cocoa nibs into cocoa liquor creates a smooth texture.
- Tempering stabilizes cocoa butter crystals for a glossy finish.
- Proper molding and setting yields professional-looking, tasty chocolates.
Inside
Equipment and Ingredients
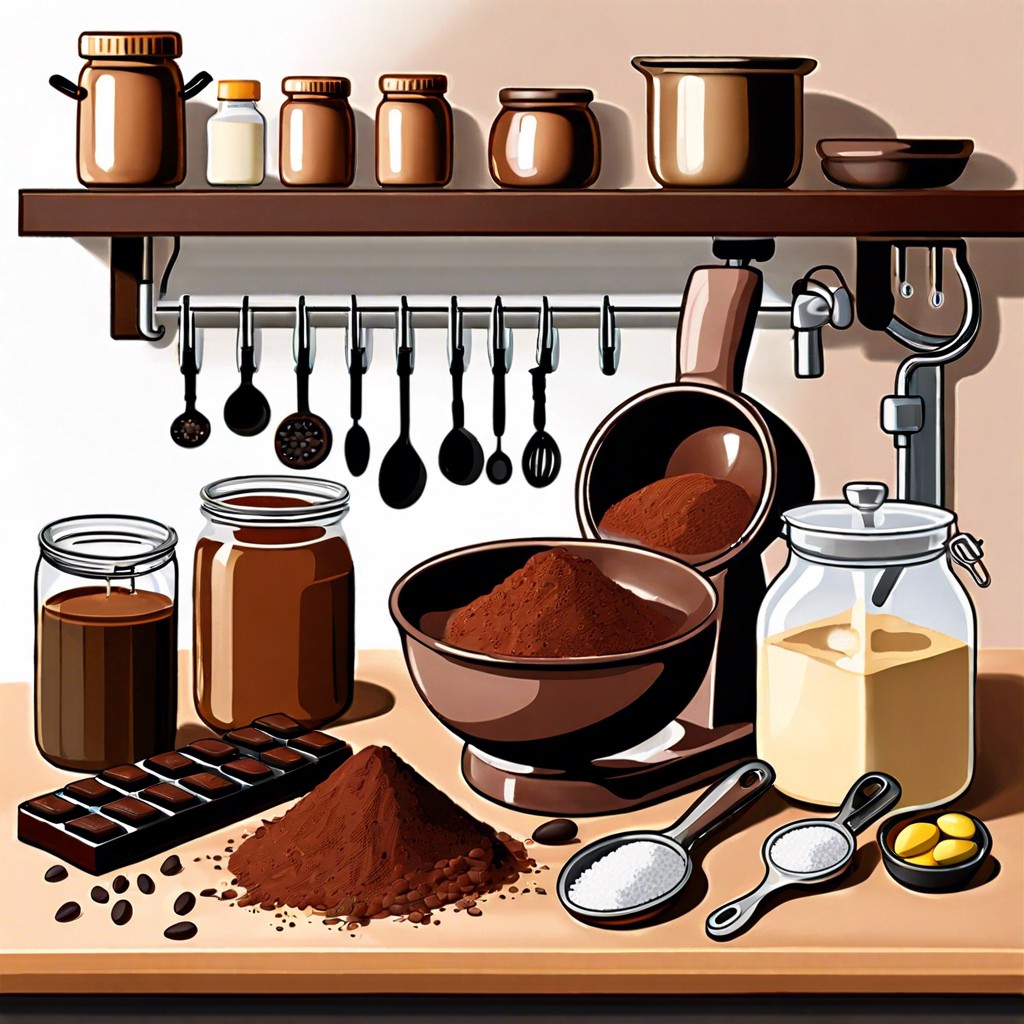
To craft chocolate from scratch, quality ingredients and the right equipment are essential for success. Begin with raw, unroasted cacao beans, which are the foundation of your chocolate. Alongside the beans, you’ll need sugar, and depending on your preference, additional ingredients like milk powder for milk chocolate, or vanilla for flavoring.
For equipment, a roaster is necessary to bring out the beans’ flavors through careful heating. A grinder will convert your roasted beans into a fine paste; a conche refines this paste into smooth chocolate. Lastly, a tempering machine helps achieve a glossy finish and a satisfying snap. If you’re starting at home, you can use basic kitchen tools like an oven for roasting, a food processor for grinding, and a heat source like a microwave or double boiler for tempering.
Roasting the Beans
Roasting cocoa beans is a crucial step in developing the flavor profile of your chocolate. To start, preheat your oven to a temperature between 250-350°F (120-175°C), recognizing that a slower roast at a lower temperature can provide a more complex taste, but takes longer.
Spread your beans in a single layer on a baking sheet, ensuring they’re free of any debris. The roasting process should last about 15 to 20 minutes, but this can vary based on the bean type and your flavor preference. Regular stirring every 5 minutes promotes an even roast.
Stay vigilant as the beans roast, looking for a rich, chocolaty aroma and listening for the ‘crack’ sound similar to popping popcorn, indicating the beans are expanding and the shells are separating. Remove the beans when they reach a dark brown color and let them cool before handling.
The next stage is the winnowing process, where the outer shells are removed, leaving only the cocoa nibs, the true essence and flavor carriers for your chocolate making adventure.
Refining the Cocoa
Once the cocoa beans are roasted and winnowed to obtain nibs, the next critical step is to develop the chocolate’s flavor and texture. Grinding the nibs into cocoa liquor, a thick paste, is the primary goal here. This process releases the fat, or cocoa butter, within the nibs, transforming the solid nibs into liquid.
Refining further improves the chocolate’s texture. A melangeur grinds the cocoa liquor along with any additional ingredients such as sugar and milk powder for several hours. This serves to reduce the particle size of all elements, making the mixture homogenous and smooth to the palate.
Abrasion is key; the rolling and shearing action under the heavy stones of the melangeur creates a finer chocolate. The fineness of the particles is paramount, as the human tongue can detect particles larger than 30 micrometers, which would give the chocolate a gritty texture.
The refining process also influences the flavor development, as the prolonged grinding allows for additional aeration, which can alter the volatile compounds within the chocolate, rounding out its flavor profile. Once the desired fineness and flavor are achieved, the chocolate is ready for the next step: tempering.
Tempering the Chocolate
Proper tempering is essential in achieving a glossy finish and a satisfying snap in your homemade chocolate. This process involves heating and cooling the chocolate to stabilize the cocoa butter crystals. Start by gently melting your chocolate to about 115°F (46°C) for dark chocolate or 110°F (43°C) for milk or white chocolate. Use a double boiler or a microwave at low power, stirring frequently to avoid scorching.
Once melted, cool the chocolate by adding chunks of unmelted chocolate and stir continuously. This seeding method encourages the formation of desirable cocoa butter crystals. As you stir, monitor the temperature until it lowers to about 80°F (27°C) for dark chocolate or 78°F (25°C) for milk or white chocolate.
Following this, gently reheat the chocolate to a working temperature of 88°F (31°C) for dark chocolate or 86°F (30°C) for milk or white chocolate. This final step ensures that any unstable crystals melt, leaving only the stable ones that give chocolate its ideal texture. Keep the chocolate at this temperature while working with it to maintain its tempered state.
Remember, a good temper yields a chocolate that’s smooth to the touch and has a shiny appearance. If the chocolate appears dull or streaky, or has a soft texture, it may need to be re-tempered before use.
Molding and Setting the Chocolate
Once the tempered chocolate achieves a glossy sheen and a smooth consistency, it’s ready for molding. Molds come in various shapes and sizes, suitable for different chocolate creations.
Pour the chocolate into the molds, ensuring an even distribution to avoid air bubbles. Gently tap the mold on the work surface to settle the chocolate and to help release any trapped air.
For filled chocolates, fill the molds partially, add the filling, then cover with more chocolate. The correct temperature maintenance is critical during this step to ensure a strong bond between the layers.
Allow the chocolate to cool and set at a stable, cool room temperature. Cooling too quickly can cause the chocolate to contract unevenly, leading to deformations or a dull appearance.
Once fully set, carefully unmold the chocolates. They should release with ease and have a crisp, professional look, with a satisfying snap when broken. Properly tempered chocolate will also have a longer shelf life and enhanced flavor profile.
Here's Something More
 Mouth-Watering Chocolate Sourdough Recipe: A Baker’s Dream
 Decadent Chocolate Pizza: Your Sweet Tooth’s Best Friend
 Perfect Chocolate Bonbon Recipe: Impress With Homemade Delights
 Ultimate Chocolate Biscuit Recipe for Sweet Cravings
 Elevate Your Treat Game: Chocolate Chip Shortbread Recipe