This how-to guide will provide clear, step-by-step instructions on making homemade chocolate.
Key takeaways:
- Select high-quality chocolate ingredients: consider cacao bean type, sugar content, and additional ingredients.
- Essential equipment for chocolate making: melanger, double boiler, molds, thermometer, spatulas, scraper.
- Grind cacao nibs to create chocolate liquor: use a grinder or melanger, monitor temperature.
- Temper chocolate for stability and shine: heat, cool, and reheat within specific temperature ranges.
- Properly store homemade chocolate: temperature, humidity, light, air, separation.
Inside
Selecting High-Quality Chocolate Ingredients
Selecting the proper ingredients is crucial for crafting exceptional chocolate. The type of cacao bean significantly influences flavor profiles; look for Criollo or Trinitario beans for a more complex taste, while Forastero beans offer a stronger, more robust chocolate flavor. Always use beans that are uniformly fermented and dried, as this ensures a purer taste and better end product.
When it comes to sugar, opt for a high-quality granulated type that will blend well without overpowering the chocolate’s natural flavors. For darker chocolate varieties, reducing sugar content emphasizes the beans’ nuanced flavors.
The choice of additional ingredients, like milk powder for milk chocolate, should align with the desired texture and taste. Select full-fat milk powder to attain a creamy, rich feel. For those aiming to enhance their chocolate with nuts, spices, or extracts, source fresh and premium quality options for maximum impact on the final taste.
Consider the origin and processing of each ingredient for ethical and sustainability concerns. Ethically sourced and organic ingredients can contribute to responsible consumption while ensuring better taste and quality.
Lastly, the percentage of cacao in the mixture defines the chocolate’s intensity. A higher percentage leads to bolder, richer flavors suitable for dark chocolate, while a lower cacao content creates a sweeter, milder chocolate, ideal for those who prefer less bitterness. Experiment and find the perfect balance to suit your palette.
Necessary Equipment for Chocolate Making
To begin your chocolate-making journey, a few key pieces of equipment will ensure a smooth process:
- Melanger or Chocolate Grinder: A specialized tool for grinding cacao nibs into smooth liquid chocolate.
- Double Boiler: This helps melt chocolate without the risk of burning, essential for ensuring a well-homogenized product.
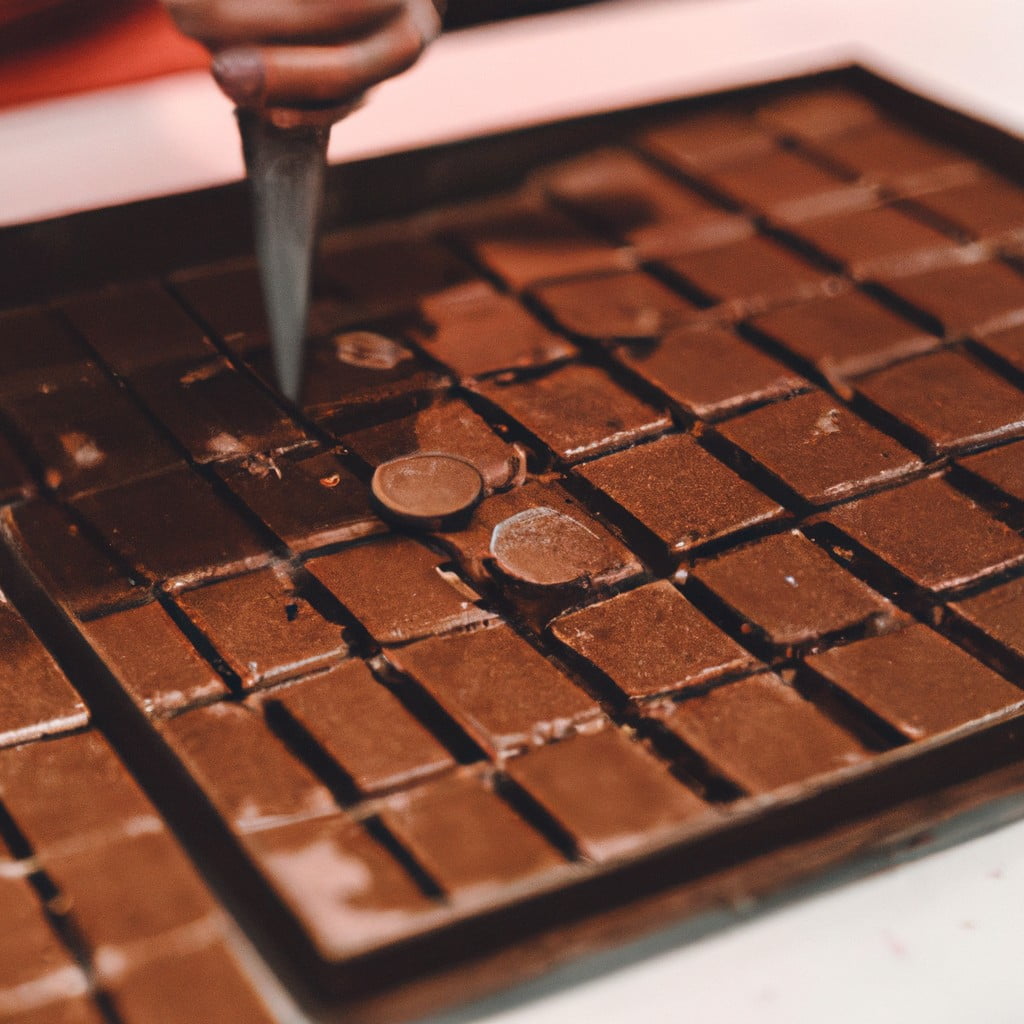
- Chocolate Molds: Provide shape and form to your confections; available in silicone or polycarbonate for professional results.
- Thermometer: Monitoring temperature is critical, especially during tempering. A digital thermometer is ideal for precision.
- Spatulas and Scrapers: Silicone or rubber utensils aid in stirring and ensure every bit of chocolate is utilized without waste.
- Bench Scraper: A versatile tool for chopping chocolate and cleaning work surfaces.
- Microwave (Alternative Melting Method): Can be used instead of a double boiler for melting small amounts of chocolate with careful attention to prevent overheating.
Each tool plays a vital role in creating a finished product with the desired flavor, texture, and appearance. Investing in the right equipment from the start will enhance your chocolate-making experience.
Grinding the Cacao Nibs to Produce Chocolate Liquor
Grinding cacao nibs is a crucial step that transforms the nibs into a paste known as chocolate liquor. This process releases the cacao butter within the nibs, contributing to the chocolate’s final texture and flavor. To achieve a smooth consistency, a grinder or chocolate melanger is typically used. It’s important to grind the nibs until the granules become fine and the mixture turns fluid. Patience is key—the grinding can take several hours, depending on the desired fineness.
Temperature also plays a significant role at this stage; too much heat can cause the chocolate to become too thick, while insufficient heat might prevent the release of the cacao butter. A steady, moderate temperature enables the nibs to be ground thoroughly without compromising the flavor profile or consistency.
Throughout the process, regularly check the texture and flavor. Adjust grinding time accordingly, ensuring the nibs evolve into a rich, velvety chocolate liquor that provides the perfect base for further refinement and flavor additions.
Tempering the Chocolate for Stability and Shine
Tempering is a heat treatment technique that involves carefully raising and lowering the temperature of melted chocolate. This process aligns the cocoa butter crystals, ensuring the finished product has a glossy appearance and a satisfying snap when broken.
1. Heat gently: Begin by slowly warming the chocolate to between 110-115°F (43-46°C) for dark, 105-110°F (40-43°C) for milk, or 95-100°F (35-37°C) for white chocolate.
2. Cool down: Once the chocolate reaches the target temperature, cool it to 80-82°F (27-28°C) by adding unmelted chocolate pieces, which acts as ‘seed’ crystals.
3. Reheat slightly: Finally, reheat the chocolate to 88-90°F (31-32°C) for dark, 86-88°F (30-31°C) for milk, or 82-84°F (28-29°C) for white. Maintain this temperature while working with the chocolate.
Staying within these temperature ranges encourages Type V crystals to form, which are responsible for chocolate’s ideal texture and sheen. Always use a thermometer to monitor temperatures and prevent the chocolate from becoming too hot or too cold.
How to Store Homemade Chocolate
To ensure your homemade chocolate maintains its quality and flavor, proper storage is essential. Here are some key points to bear in mind:
1. Temperature: Aim to store chocolate in a cool, dry place at a consistent temperature between 60°F and 70°F. Fluctuations can cause blooming, where sugar or fat crystals rise to the surface, impacting texture and appearance.
2. Humidity: Keep humidity below 50% to prevent moisture from spoiling the chocolate or causing sugar bloom.
3. Light: Minimize exposure to light, especially sunlight, as it can cause the chocolate to degrade and potentially change its taste.
4. Air: Wrap chocolate tightly in foil or plastic wrap, then place it in an airtight container to shield it from strong odors, as chocolate easily absorbs nearby smells.
5. Separation: If storing different types of chocolate, keep them separated. This prevents the mingling of flavors and the risk of cross-contamination if one variety has fillings that could spoil.
6. Refrigeration: If your environment is warmer, refrigerating chocolate is possible, but ensure it’s tightly sealed. When removing it, let it come to room temperature before unwrapping to reduce condensation that can affect its texture.
Here's Something More
 Mouth-Watering Chocolate Sourdough Recipe: A Baker’s Dream
 Decadent Chocolate Pizza: Your Sweet Tooth’s Best Friend
 Perfect Chocolate Bonbon Recipe: Impress With Homemade Delights
 Ultimate Chocolate Biscuit Recipe for Sweet Cravings
 Elevate Your Treat Game: Chocolate Chip Shortbread Recipe