Discover the joy of creating a delightful chocolate piñata, an interactive dessert that surprises and delights with every smash.
Creating a chocolate piñata is a fun and rewarding project that offers a sweet surprise at parties and gatherings. This article will guide you through the process of crafting a chocolate piñata, from selecting the right type of chocolate to techniques for molding and filling your creation.
With clear, step-by-step instructions, you’ll learn how to make a chocolate piñata that not only looks impressive but also breaks open to reveal a cascade of your favorite candies.
Whether you’re a beginner or an experienced chocolatier, this comprehensive guide has everything you need to create a memorable chocolate centerpiece.
Key takeaways:
- Select the right chocolate for the piñata: consider type, quality, and ease of melting.
- Gather necessary ingredients: high-quality chocolate, cocoa butter, various candies, toys, and parchment paper.
- Use proper equipment: molds, double boiler or microwave-safe bowl, thermometer, pastry brush, and sturdy work surface.
- Choose suitable molds: consider size, flexibility, food-safety, and simplicity.
- Follow steps to create the piñata shell: melt chocolate, apply layers to mold, allow to set, and carefully remove from mold.
Inside
Selecting the Right Chocolate for a Piñata
When scouting for the perfect chocolate, there are three key characteristics to consider:
Firstly, consider the type of chocolate. Whether milk, dark or white, the choice will impact not only the color and texture, but the overall flavor of your piñata.
Secondly, ensure the chocolate is good quality. A good-quality chocolate will result in a better tasting and more aesthetically pleasing piñata. Look for chocolate that contains a high percentage of cocoa solids.
Lastly, select a chocolate that is specifically designed for easy melting. Some chocolates, such as those labeled as ‘couverture‘, contain more cocoa butter making it ideal for crafting molded shapes.
Remember, the perfect chocolate will result in a piñata that is as stunning visually as it is delicious to taste.
Necessary Ingredients for a Chocolate Piñata
To craft a festive chocolate piñata, several ingredients are essential. High quality chocolate is crucial, it forms the main structure of the piñata. Depending on personal preference, choose between dark, milk, or even white chocolate. The variety used also depends on the characteristics of the fillings. For a contrasting note, consider using a mix of different chocolate types.
A reliable method to make an impeccable shell is to use a tempering process, for which you’ll need cocoa butter. Keep in mind that this ingredient is optional. Tempering brings out the chocolate’s best features, like a glossy finish and a satisfying snap when broken.
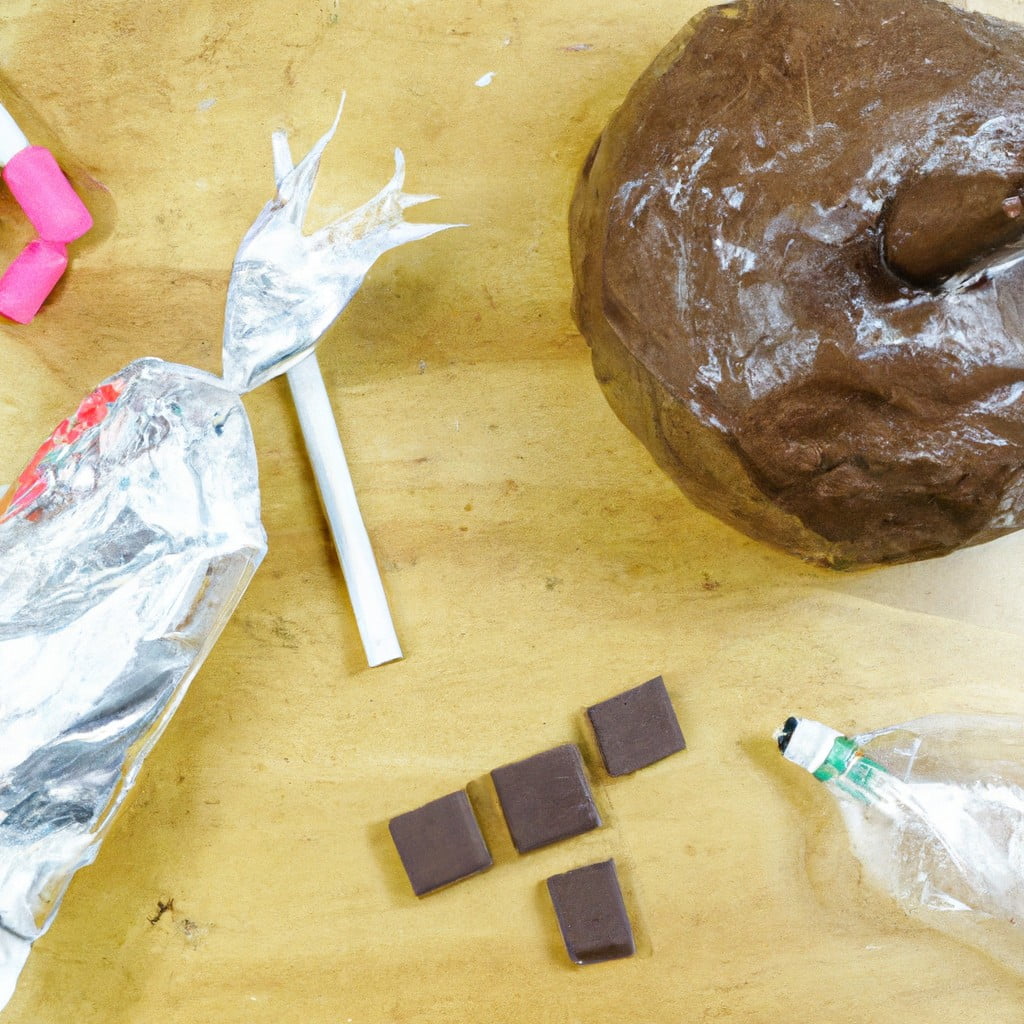
As for the interior of the piñata, consider multicolored candies and small toys. Chocolates, marshmallows, tiny hard candies, or gourmet jelly beans prove popular. For admirers of a surprise element, small trinkets or notes can be included. Just ensure anything added adheres to safety standards, especially for a party with small children.
Lastly, you’ll need baking parchment. It serves as a non-stick surface when you start building your piñata’s distinctive form on it. Acquiring these ingredients marks the first step towards creating the delightful centerpiece of any celebration.
Required Equipment for Making a Chocolate Piñata
In creating your chocolate piñata, specific equipment aids in efficiency and precision. A good-quality, food-safe plastic or silicone mold is indispensable, as the design and shape of your piñata depend on it. If you’re aiming for a traditional piñata shape, consider obtaining a sphere or donkey-shaped mold.
You’ll also need a double boiler or a microwave-safe bowl and spatula for melting the chocolate. To ensure the chocolate is smooth and well-tempered, a chocolate thermometer will be incredibly useful. Once the melted chocolate is ready for the mold, a pastry brush will help apply the chocolate evenly.
Finally, a sturdy and clean work surface such as a marble board or a countertop will provide space for the assembly phase. Having protective elements like parchment paper should also be considered to avoid messy spills or drips.
Remember, when working with chocolate, the temperature control and cleanliness are crucial. Hence, measuring cups and spoons, along with a dish towel or paper towels, help manage these essentials thoroughly.
Choosing Proper Molds for Chocolate Piñata
Selection is crucial when it comes to molds. Choose a mold that’s of a size suitable for the number of guests you’ll have – a larger crowd may require a bigger piñata, while a smaller, intricate mold may be ideal for intimate gatherings.
Bear in mind, the mold will need to be flexible to eject the set chocolate without breaking it. Silicone is usually the go-to choice for flexibility and ease of demolding. Always ensure your chosen mold is food-safe.
Opt for a simpler shape at the beginning, such as a half-sphere. Complex shapes might pose difficulty while assembling.
Remember, you’ll need two halves to make a complete piñata so ensure the mold can make two identical pieces.
Lastly, before pouring in the chocolate, prepare the mold by cleaning it thoroughly. Dust off any dirt or unwanted particles to achieve a smooth finish on your chocolate shell. For an added shine, consider using a spray oil or a kitchen towel to lightly coat the interior of the mold.
Creating the Chocolate Piñata Shell
Start by melting the chosen chocolate slowly over a bain-marie. Ensure not to overheat it to avoid a gritty texture. Once the chocolate is a smooth, glossy consistency, it is ready for the molding process.
Collect your chosen mold and, using a food-safe brush, apply a generous layer of the melted chocolate, attending to every corner. Place the coated mold in a refrigerator to set. This process may take up to 40 minutes.
After the chocolate has hardened, apply another layer of chocolate. This will ensure your piñata shell is strong and won’t break under the pressure of the fillings. Back to the fridge it goes for another set.
Repeat this process one or two more times until the wall of the shell measures around 1cm in thickness. This level of thickness should secure the integrity of the chocolate piñata while still being breakable.
Leave the final coat to set overnight in the refrigerator to ensure it’s fully hardened. The next day, gently separate the mold from the chocolate. This needs to be done carefully to prevent the shell from cracking. With the chocolate piñata shell now complete, it’s ready to be filled.
Ideas for Piñata Fillings
Fillings greatly contribute to the overall experience of cracking a chocolate piñata. Consider incorporating a variety of textures and flavors to keep the surprise element alive.
Small, individually wrapped candies work well as they maintain their form and assure cleanliness. Mini milk chocolate or dark chocolate bars can add an extra chocolatey surprise.
Mints can provide a refreshing twist, while jelly beans can lend a splash of fruity flavors. If aiming for a gourmet twist, consider small packs of artisanal chocolates, macarons, or truffles. Just ensure these are well-wrapped to prevent any damage or change in flavor.
Non-edible small surprises are also a popular choice. This could include rubber bounce balls, figurines, stickers, or small toys. Be sure to take note of the age of those who will be busting the piñata, and avoid small items that could pose a choking hazard for younger children. Always remember to keep the surprises light in weight to avoid cracking the piñata prematurely.
For a more personal touch, one can even create small handwritten messages or luck notes. These small notes can bring a personal and heartwarming touch to the piñata-busting experience.
A combination of these choices should be considered to provide a unique, mouth-watering, and fun piñata experience.
Remember to fill it to the brim for an overflow of surprises when the chocolate piñata is broken open.
Finalizing and Stuffing the Chocolate Piñata
After the chocolate shell has fully hardened, it’s time to
- Add the goodies: Choose tiny wrapped chocolates, pieces of candy, or small toys, making sure to diversify to enhance the fun factor.
- Ensure you have a large enough opening: The chocolate shell should ideally have a pre-made opening for stuffing the treats. If not already prepared, carefully carve out a hole with a warm knife.
- Fill the piñata: Add the treats through the hole until the chocolate shell is nearly full.
- Seal the opening: Melt a little extra chocolate and use it as glue. Apply it around the edges of the opening, and carefully place a chocolate disc or another piece of the shell over it.
- Let it set: Place the chocolate piñata in the refrigerator and allow it to set completely. This process may take a few hours.
Note: This process calls for special attention to the thickness of the piñata. Too thin and it may break while being filled, too thick, and it may be too hard to break open. It’s all about striking that perfect balance.
Techniques to Crack Open a Chocolate Piñata
Gently tapping the piñata with a wooden spoon could provide a good start, ensuring not to hit too hard. This might reveal cracks showing where to strike next. Always remember to secure the piñata so it won’t roll away.
Another technique could involve using a smaller, pointed object, such as a knife tip. Please take safety precautions when using sharp objects. Aim this at the predicted weak points of the piñata exposed by the spoon tapping.
If you wish for a dramatic, party-pleasing moment, consider dropping the piñata from a low height onto a padded, safe surface. This provides an element of surprise and allows for easy access to the enclosed goodies.
Remember to always remove all chocolate shell pieces before allowing guests to reach for the treats inside the piñata. It ensures nobody gets an accidental piece of the shell mixed with their chosen surprise.
FAQ
Which chocolate is best for piñata?
The best chocolate for a piñata is compound vanilla white chocolate due to its optimum melting temperature, while milk chocolate is not recommended as its lower melting temperature risks the piñata shell falling apart.
What’s in a chocolate pinata?
A chocolate piñata typically contains dark chocolate, fresh fruit, and housemade churros that can be dipped into various complementary sauces for added sweetness.
Will chocolate melt in a piñata?
Yes, chocolate may melt in a piñata, particularly in warm climates or during summer.
How does the thickness of chocolate affect the structure of a piñata?
The thickness of the chocolate influences the piñata’s structure by determining its durability and how easily it will break when hit.
What techniques can be used to evenly distribute chocolate in a piñata mold?
To evenly distribute chocolate in a piñata mold, one can employ the technique of slowly rotating the mold while progressively cooling it to ensure an even, comprehensive coverage.
Can you add edible decorations to a chocolate piñata, and if so, which ones work best?
Yes, you can add edible decorations to a chocolate piñata, and popular options include sugar sprinkles, edible glitter, fondant shapes, and candied fruits.
Here's Something More
 Mouth-Watering Chocolate Sourdough Recipe: A Baker’s Dream
 Decadent Chocolate Pizza: Your Sweet Tooth’s Best Friend
 Perfect Chocolate Bonbon Recipe: Impress With Homemade Delights
 Ultimate Chocolate Biscuit Recipe for Sweet Cravings
 Elevate Your Treat Game: Chocolate Chip Shortbread Recipe