Learn how to restore smoothness to seized chocolate and prevent it from happening during your next culinary endeavor.
Key takeaways:
- Seized chocolate is caused by moisture and temperature changes.
- Avoid water-based ingredients and mix gently.
- Quick fixes: add boiling water or oil to thin the chocolate.
- Gradual fixes: use low heat or add small amounts of fat.
- Prevent seizing by keeping utensils dry and using a double boiler.
Inside
Understanding Seized Chocolate

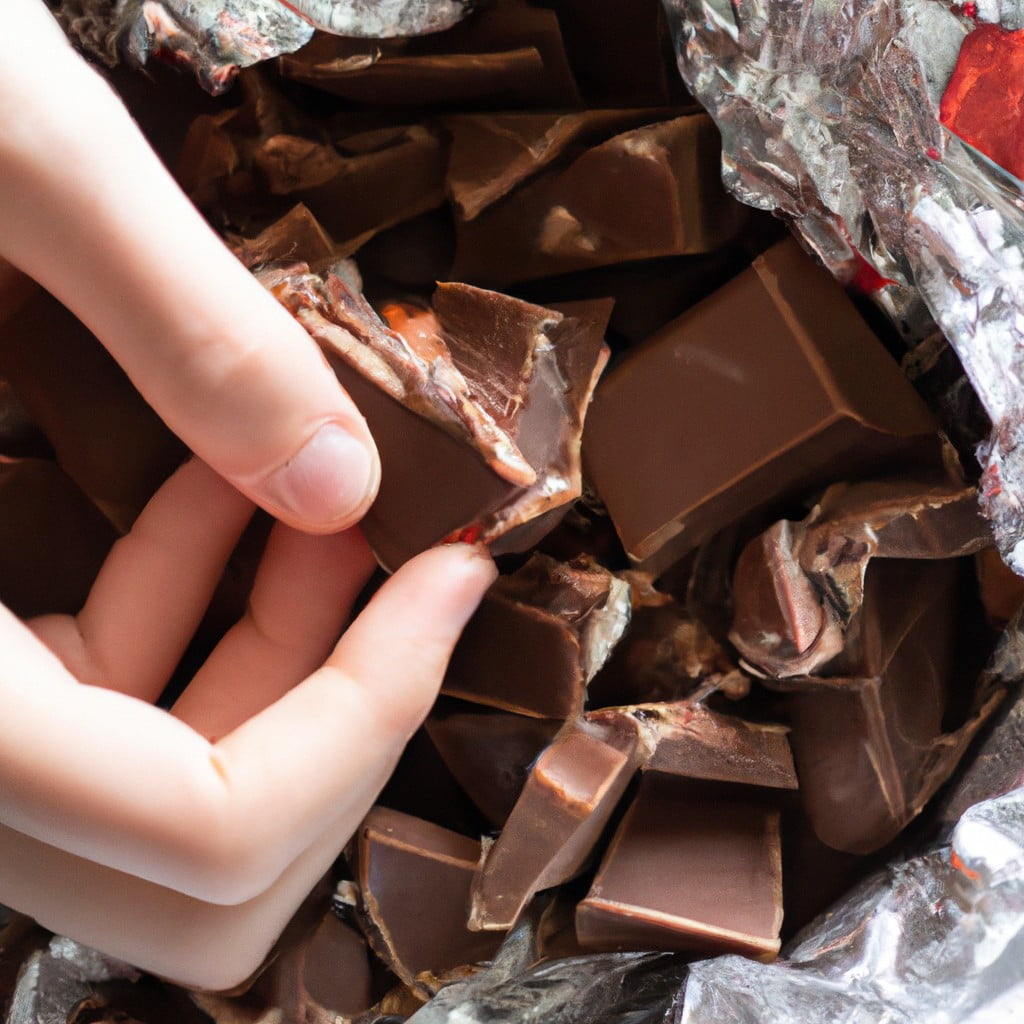
Seized chocolate occurs when moisture interacts with the cocoa powder in melted chocolate, causing the sugar to dissolve and adhere to the cocoa particles. This results in a grainy and thick texture as the chocolate clumps together.
Even a small droplet of water can cause this reaction, which is why it is crucial to ensure all utensils and surfaces are completely dry when working with melted chocolate.
Temperature changes can also contribute to seizing. Chocolate is sensitive to heat fluctuations and may seize if it’s exposed to sudden cold or overheated during melting.
Additionally, incorporating other ingredients too quickly or roughly into melted chocolate may lead to seizing, as the emulsion of cocoa butter and solids gets disrupted.
Causes of Seized Chocolate
Seized chocolate usually results from moisture contact. Even a small amount can disrupt the crystalline structure of melted chocolate, causing it to clump and harden.
Temperature fluctuations can also lead to seizing. If the chocolate is heated too quickly or at too high a temperature, it may seize in response to the sudden change.
Additionally, mixing incompatible ingredients like water-based liquids into melted chocolate will often lead to seizing due to the differing properties of water and cocoa butter.
Quick Fixes for Seized Chocolate
If you’re in a pinch and need a swift solution to restore your chocolate’s smooth texture, there are a few methods you can employ. Adding a small amount of boiling water—one teaspoon at a time—while stirring vigorously can often bring chocolate back from its grainy state. This introduces enough moisture to re-emulsify the cocoa solids and fats.
Alternatively, for dark chocolate, a dash of vegetable oil or clarified butter can dilute the seized particles, thinning the mixture. However, these quick fixes may affect the final texture and taste, so they’re best used for recipes where chocolate isn’t the star, like frostings or brownies.
Remember to evaluate if the adjustment suits the purpose of your chocolate to avoid compromising your end product.
Gradual Rescuing Techniques
If chocolate seizes, it’s not the end of the road. Using low, gentle heat can sometimes coax the chocolate back to a smooth state. Begin by transferring the chocolate to a dry bowl, if it’s not already in one. Place the bowl over a pot of warm (not boiling) water, creating a double boiler. Stirring constantly and gently, allow the heat to gradually melt the seized clumps.
Alternatively, adding a small amount of a fat like vegetable oil, butter, or cream can help to smooth out the texture. Start with one teaspoon for every six ounces of seized chocolate, stirring constantly until the chocolate begins to melt and smooth out. Be cautious: too much liquid can cause further seizing, so proceed with increments as small as 1/2 teaspoon.
Some chocolatiers recommend introducing an immersion blender to gently, but quickly, smooth out the mixture. This technique can salvage the chocolate for uses that don’t require a perfect temper, but smoothness is still key, such as chocolate sauce or ganache.
Preventive Measures for Seizing
To guard against chocolate seizing during melting:
- Ensure all utensils and bowls are completely dry before use as moisture causes chocolate to seize.
- Chop the chocolate into uniform pieces for even melting.
- Use a double boiler and keep the heat low and consistent to prevent overheating.
- Stir chocolate gently as it melts to distribute heat without incorporating too much air.
- Avoid direct contact with steam by keeping the bottom of the bowl above the water in a double boiler.
These precautions can help maintain a smooth and glossy chocolate consistency, ideal for your culinary creations.


