In this article, we’ll uncover the best methods to clean your chocolate fountain thoroughly and efficiently.
Cleaning a chocolate fountain can seem like a daunting task, but with the right approach, it can be simple and hassle-free. This article will provide a step-by-step guide on how to effectively clean your chocolate fountain, ensuring it remains in optimal condition for your next chocolatey adventure.
From dismantling the fountain to cleaning each part, and finally reassembling it, every detail will be covered to help you maintain your fountain with ease. Stick around to discover the best practices, tips, and tricks for keeping your chocolate fountain clean and ready for use.
Key takeaways:
- Unplug and cool down the chocolate fountain before cleaning.
- Disassemble the fountain carefully, following the manufacturer’s instructions.
- Scrape off excess chocolate and clean each component with warm, soapy water.
- Take care when cleaning the base, avoiding submersion in water.
- Dry all components thoroughly and reassemble the fountain correctly.
Inside
Preparing the Chocolate Fountain for Cleaning
Ensure the fountain is unplugged to avoid any electrical incidents. Allow the fountain to cool down completely after use to prevent potential burns.
Remove major chocolate chunks using a rubber spatula before the chocolate hardens. This should be done over a trash can or lined bowl, being careful to avoid splashing or spilling.
Use the manufacturer’s guide as a reference, noting down each part’s placement before making any further moves, this will aid significantly during the reassembling process.
Switching Off and Disassembling the Chocolate Fountain
Before initiating the cleaning process, ensure the fountain is switched off, and completely cool, to avoid potential burns from residual heated areas. Unplugging the machine from the power source is a critical safety measure.
Start by disassembling the fountain. Usually, this involves tackling the top tier first, then gradually working downwards. Consult specific instructions from the manufacturer if available, as different models may have unique disassembling processes.
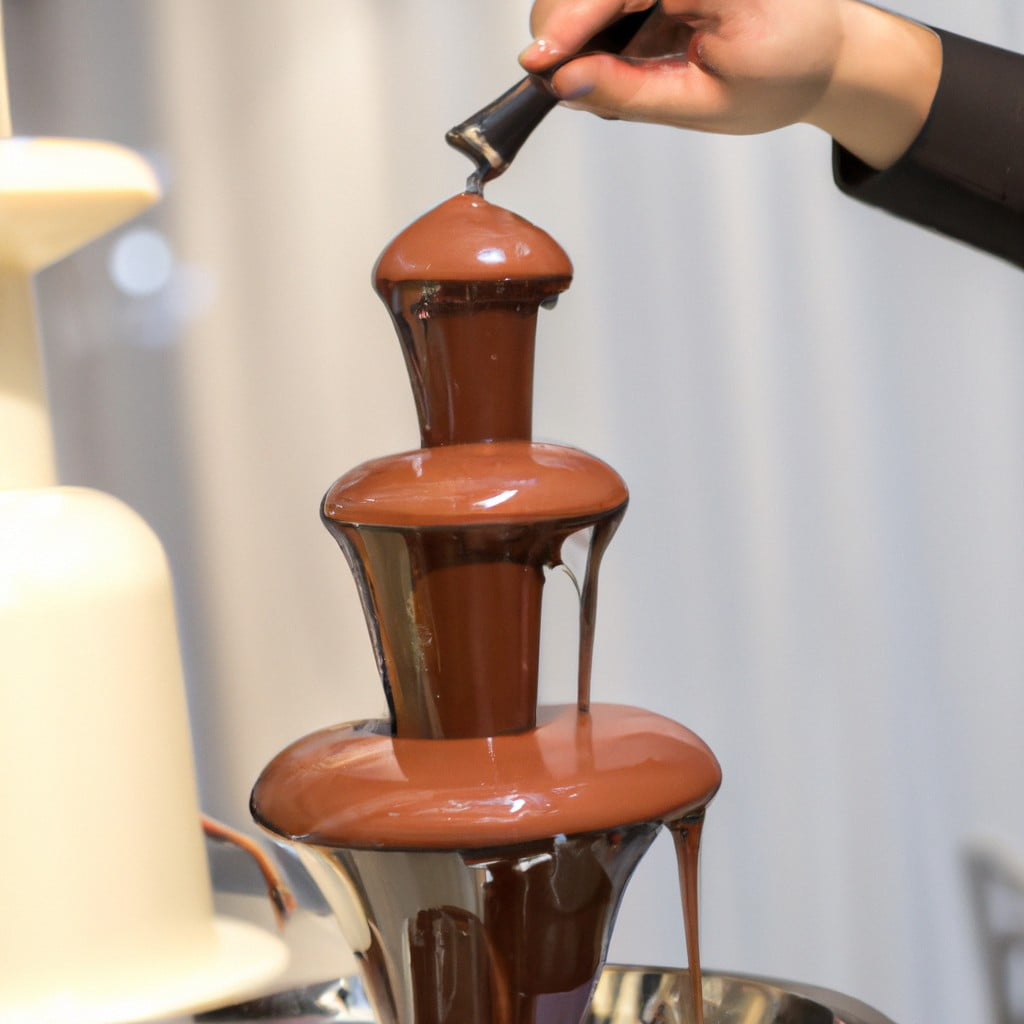
Take care during disassembly to avoid any damage; the parts are not only prone to breakage but also hard to replace. Keep the pieces in a safe area, so none get lost during the cleaning process. Generally, a chocolate fountain will have the following parts: a crown, tiers or auger (often several), a cylinder, a base, and often a bowl or basin. This process does not involve the use of any tools and should be done manually.
The procedure could get messy due to leftover chocolate, so prepare working conditions accordingly – consider laying down some old towels or cleaning cloths on your working surface to catch any drips.
Removing Excess Chocolate
Begin the process by letting the fountain cool if it was recently used. Once cool, scrape off as much of the remaining chocolate as possible using a rubber spatula. Beware of sharp edges on the tiers.
Should there be hardened chocolate that’s difficult to remove, consider gently warming the tiers to soften it, but avoid overheating as it can damage the fountain. While doing so, remember not to immerse the fountain base in water or any other liquid.
The chocolate basin can be wiped clean with a soft, damp cloth or non-abrasive sponge. Ensure all excess chocolate is discarded properly to prevent the risk of a clogged sink.
Cleaning the Fountain Components With Warm Soapy Water
Begin by separating the basin from the body of the fountain. Soak these pieces in warm soapy water to loosen any chocolate that may have hardened on the surface. Use a non-abrasive cloth or sponge to gently scrub each part, taking extra care with intricate details where chocolate may be lodged.
The auger, which transports the chocolate to the top of the fountain, will need careful attention as chocolate often accumulates in its crevices.
Ensure that the crown and tiers are also immersed in warm soapy water. These parts often have the most chocolate residue as they constantly come into contact with the flowing chocolate. Using a soft brush can facilitate removing chocolate from hard to reach places.
For any electrical parts, dampen a cloth with your soapy solution and gently wipe down. Never submerge electrical pieces in water.
Finally, rinse all components with warm water until the water runs clear, indicating that all soap and chocolate has been removed.
Cleaning and Rinsing the Base
Begin by carefully detaching the base from the tower. Be cautious to avoid submerging the base in water to protect the electrical parts. Use a wet sponge or wipe, dunked and squeezed in warm soapy water. Thoroughly scrub the outside of the base where chocolate can accumulate over time.
Next, focus on the inside parts of the base, avoiding submersion. Use a toothbrush or a smaller detailing brush soaked in warm soapy water can be effective. It allows reaching into the crevices and tiny corners.
Then, proceed to rinsing the base. A spray bottle filled with water can be used for this process. Spray the water lightly over the base, taking care to avoid the motor or electrical components.
The last step involves wiping the base dry with a clean towel. If any moisture remains, leave the base to air dry before storing it or reassembling the fountain. Make sure the base is fully dried to prevent any potential electrical malfunctions.
Drying and Reassembling the Chocolate Fountain
After cleaning and rinsing, use soft, clean towels to thoroughly dry all the fountain components. Remember, any residual moisture can stimulate bacterial growth or cause the chocolate to seize up the next time you use the fountain.
When all parts are completely dry, start reassembling the fountain. Pay careful attention to the manufacturer’s instructions to ensure each component is correctly reassembled. Incorrect assembly can lead to malfunction or even damage.
Ensure the tiers and auger is securely attached. The base and fountain bowl should be tightly sealed to prevent leaks.
Test the fountain without chocolate to ensure it works perfectly. Just switch it on and watch if the auger moves smoothly. Avoid over-tightening as it might strip the threads.
Store the reassembled chocolate fountain in a clean, dry area to have it ready for your next event.
Regular Maintenance of Chocolate Fountain
To maintain and prolong the lifecycle of your chocolate fountain, it’s crucial to develop a regular maintenance schedule.
First in line, routinely inspect the fountain before and after use for any signs of damage. This includes chipped or cracked parts, rust, faulty electric wires, or abnormal sounds when the machine is operating. Early detection of these issues can prevent more severe problems in the future.
Cleaning the fountain immediately after use is another preventative measure. It prevents the buildup of dried or hardened chocolate, which can clog your machine and affect its performance. However, ensure to let the fountain cool down entirely before embarking on the cleaning process.
Different fountain models have specific cleaning requirements. Familiarize yourself with these by referring to the fountain manual. Using inappropriate cleaning techniques can void the manufacturer’s warranty or result in irreparable damage.
Once cleaning is complete, store your chocolate fountain in a dry, cool area. Humidity or exposure to heat can cause internal parts to corrode or melt.
For optimal performance, lubricate moving parts as recommended by the manufacturer. It reduces friction and eases the operation.
Keep the fountain disassembled when not in use. It helps prevent buildup and contamination, making it easier to clean before the next use.
The last aspect of maintenance is regularly replacing worn-out parts. Over time, components such as tiers, auger, or motor can wear down and need replacement. Refer to the fountain manual for ordering the right parts, and ensure you replace these in a timely manner to keep your fountain functioning at its best.
FAQ
How do you clean chocolate fountain?
To clean a chocolate fountain, remove any residual chocolate with a soft, damp cloth or paper towel, then thoroughly dry the fountain before storing it for next use, and remember, never wash the base in water or in a dishwasher.
How do you remove hardened chocolate from a chocolate fountain?
To remove hardened chocolate from a chocolate fountain, activate the heating element to melt the chocolate, then apply a hair dryer or heat gun to the tiers and auger tube to further melt the chocolate and free the auger and tier set.
Are chocolate fountains easy to clean?
Chocolate fountains, such as the Sephra Home Chocolate Fountains, are not hard to clean, requiring only a modest amount of common sense during the process.
Can I run water through my chocolate fountain?
Yes, you can run water through your chocolate fountain for testing, but remember it’s too thin to be effectively transported by the auger.
What type of cleaner is safe for use on a chocolate fountain?
A non-abrasive dish detergent is safe to use when cleaning a chocolate fountain.
Can leftover chocolate in the fountain be reused or stored?
Yes, leftover chocolate in the fountain can be cooled, hardened, stored in airtight conditions, and reheated for later use.
Is it advisable to disassemble a chocolate fountain for thorough cleaning?
Yes, it is advisable to disassemble a chocolate fountain for thorough cleaning to ensure hygiene and longevity.
Here's Something More
 Mouth-Watering Chocolate Sourdough Recipe: A Baker’s Dream
 Decadent Chocolate Pizza: Your Sweet Tooth’s Best Friend
 Perfect Chocolate Bonbon Recipe: Impress With Homemade Delights
 Ultimate Chocolate Biscuit Recipe for Sweet Cravings
 Elevate Your Treat Game: Chocolate Chip Shortbread Recipe