Learn the proper technique for heating milk to create the perfect cup of hot chocolate.
Key takeaways:
- Choose the right milk for a creamy or dairy-free hot chocolate.
- Heat milk slowly and avoid boiling to preserve flavor.
- Use a candy thermometer or watch for small bubbles to determine optimal temperature.
- Gradually add chopped chocolate and stir for a smooth blend.
- Personalize your hot chocolate with whipped cream and toppings.
Inside
Selecting the Best Milk
The choice of milk can turn a humble hot chocolate into a velvety indulgence. Full-fat milk delivers a rich, creamy texture, acting as the perfect backdrop for your cocoa to shine. For those counting calories or on a dairy-free diet, almond, soy, or oat milk serves as excellent alternatives, offering their own distinct flavors and creaminess.
Whole milk’s natural sweetness complements the bitter notes of chocolate, while its fat content carries the cocoa seamlessly through the liquid. On the flip side, non-dairy options may require a pinch more sweetener or a splash of vanilla to round out the flavor profile.
Temperature plays a key role in unlocking the full flavor potential of milk. Heat it slowly and avoid boiling. This is crucial for preserving the milk’s flavor and avoiding that dreaded skin on the surface.
Remember, the type of milk you choose is the foundation of your hot chocolate experience. Tailor it to your taste and dietary needs for a cup that hits the spot.
Stovetop Method
Start by pouring your milk into a small saucepan—no need to fill it to the brim, just enough for your cup of hot chocolate. Crank up the heat to medium and keep your eye on the prize. While you might be tempted to walk away, remember: watchful waiting pays off. Stir occasionally with a whisk or spoon to prevent a skin from forming and to encourage even heating.
As bubbles start to form around the edges and the surface begins to steam, it’s time. Don’t let it boil—unless you fancy cleaning up a milky volcano! A mercury pop is not what we’re going for. Remember, Scorched milk can leave a burnt taste faster than you can say “chocolate”, so gentle heat is your trusty sidekick here.
When your milk’s temperature feels like a warm bath (about 180°F if you’re into numbers) and steam plays peek-a-boo, it’s showtime for your chocolate to dive in. Keep the heat’s enthusiasm at bay and your potion smooth by stirring as the chocolate melds with the milk. Do it right, and your taste buds are in for a velvety treat!
Optimal Heating Temperature
Heat milk gently and the reward is a smooth, creamy hot chocolate that warms the soul. Push it too far, you’re in for a scorched mess that could make a grown-up weep. Aim for the sweet spot, 180 degrees Fahrenheit (82 degrees Celsius). At this cozy temperature, two wonderful things happen: it’s hot enough to marry with the chocolate for a smooth blend but cool enough to prevent a skin from forming on top or, heaven forbid, a burnt taste.
A candy or instant-read thermometer can be your sidekick here. However, if you’re without one, look for small bubbles around the milk’s edge and steam rising from the surface—signs it’s time to lower the heat and add your chocolate. Keep a sharp eye; milk can go from perfect to overcooked quicker than a rabbit on a date. Gentle heat and patience are your allies. Stir frequently, and don’t walk away unless you fancy scrubbing a pot instead of sipping bliss.
Adding Chocolate to Heated Milk
Once your milk is warm, the next step is to introduce the chocolate. For a smooth blend, chop chocolate bars into small pieces which will allow them to melt quickly and evenly. If using chocolate chips, consider high-quality ones that melt well.
To prevent the chocolate from clumping, sprinkle it into the milk gradually, stirring consistently. The key here is patience; rapid pouring can create lumps. A whisk will be your ally, ensuring a velvety consistency.
For those who worship at the altar of deep flavor, consider mixing a bit of cocoa powder with the milk before adding your chocolate. This can intensify the chocolatey essence, hitting those bliss notes for serious cacao fanatics.
Remember, the chocolate is the star in this liquid symphony, so keeping the heat gentle after adding it will avoid scorching. Now, let the concoction dance over low heat, stirring as the chocolate serenades the milk into rich harmony.
Serving Suggestions
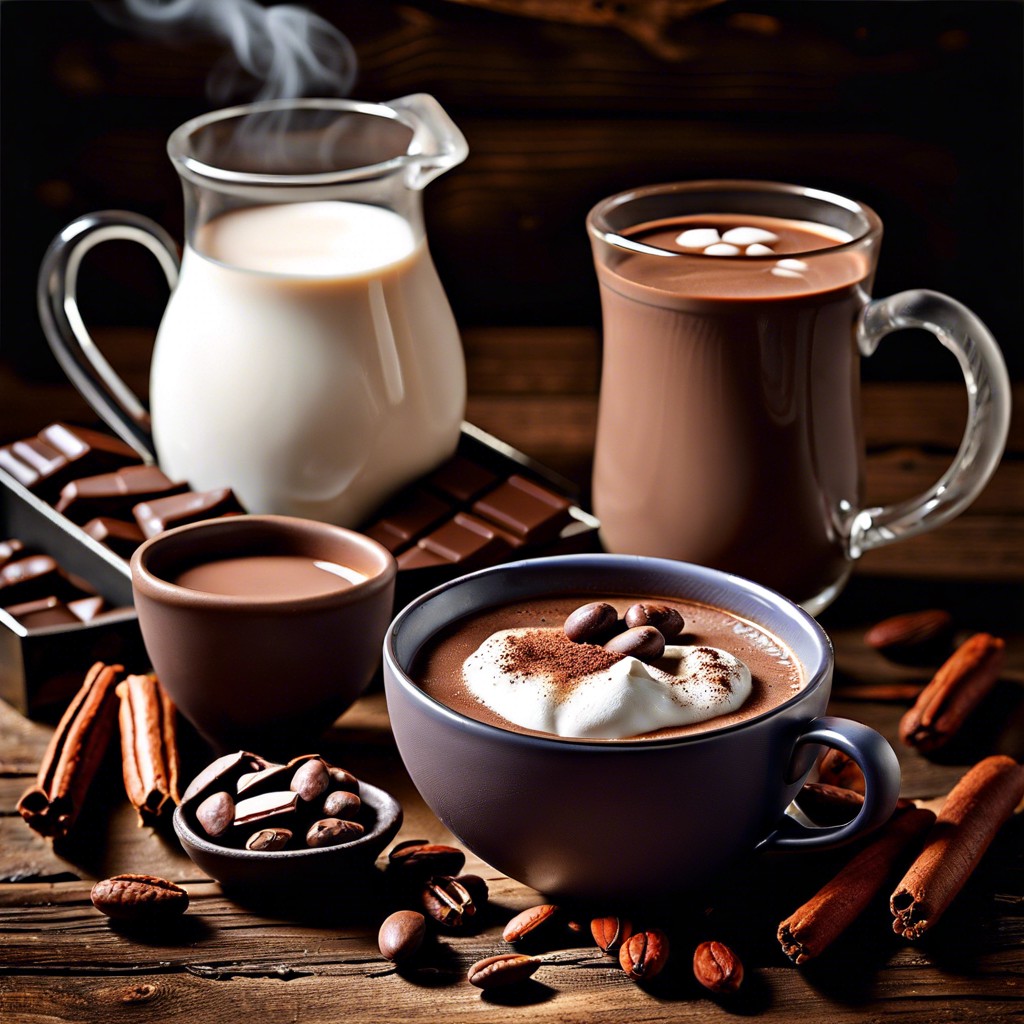
Once your hot chocolate is rich and steamy, the fun of personalization begins. Whip up your cream until it stands in soft peaks, then dollop it gently on top of your beverage. For an extra touch of indulgence, grate a bit of dark chocolate over the cream. If you savor a hint of spice, a dash of cinnamon or a swirl of caramel can elevate the flavor profile.
For gatherings, consider a DIY toppings station. Offer mini marshmallows, sprinkles, or crushed peppermint. This not only adds a visual feast but allows guests to customize their cup. A cinnamon stick or a pair of chocolate-dipped spoons can add both function and flair, serving as stirrers that infuse your drink with additional flavor.
Remember, the vessel you choose can impact the experience. A transparent mug showcases the layers and colors, while a sturdy ceramic cup keeps the concoction warm. Take the time to select a mug that feels just right in your hands – it’s the final, satisfying detail in the hot chocolate experience.
Here's Something More
 Mouth-Watering Chocolate Sourdough Recipe: A Baker’s Dream
 Decadent Chocolate Pizza: Your Sweet Tooth’s Best Friend
 Perfect Chocolate Bonbon Recipe: Impress With Homemade Delights
 Ultimate Chocolate Biscuit Recipe for Sweet Cravings
 Elevate Your Treat Game: Chocolate Chip Shortbread Recipe