Learn how to create your own chocolate-covered Oreos with this simple step-by-step guide.
Key takeaways:
- Choose Oreos, melting chocolate, optional coconut oil/shortening, and toppings
- Melt chocolate, dip Oreos, add toppings, and let set
- Thin chocolate for smooth dipping, tap off excess chocolate
- Cool on parchment-lined tray, don’t refrigerate for too long
- Experiment with different chocolates, toppings, and fillings
Inside
Ingredients Needed
To create delectable chocolate-covered Oreos, you’ll need a few simple yet essential items:
- Oreos: Choose your favorite variety—Classic, Double Stuf, or Golden Oreos all work well.
- Melting Chocolate: High-quality chocolate chips or melting wafers offer a smooth, rich coating. Dark, milk, or white chocolate are suitable options.
- Coconut Oil or Shortening (optional): A small amount can be added to thin the chocolate for a more refined texture and glossy finish.
- Toppings (optional): Sprinkles, crushed nuts, or drizzles of contrasting chocolate can add a festive touch.
Ensure all ingredients are at room temperature to avoid the chocolate seizing during the dipping process.
How To Make Chocolate Covered Oreos
Begin by melting your choice of chocolate—dark, milk, or white—in a microwave-safe bowl or using a double boiler, stirring frequently until smooth. Ensure the chocolate is not overheated to maintain a glossy finish.
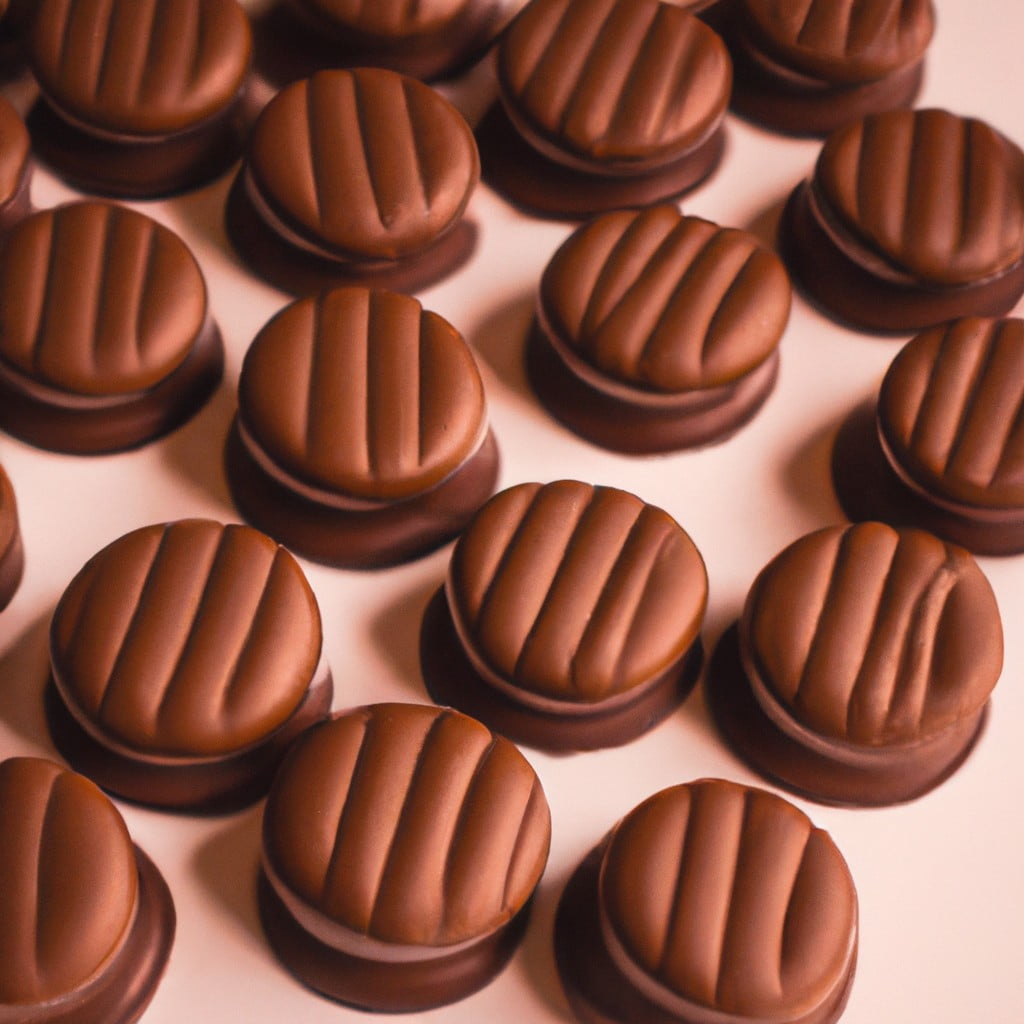
Dip each Oreo cookie into the melted chocolate using a fork, letting the excess drip off by tapping the fork gently against the side of the bowl.
Place the chocolate-coated cookies on a parchment-lined baking sheet. If desired, add sprinkles, crushed nuts, or drizzles of contrasting chocolate while the coating is still wet to adhere properly.
Allow the chocolate to set completely at room temperature or refrigerate for 10-15 minutes for faster setting. The cookies are ready once the chocolate shell is firm to the touch.
Recipe Tips
For smooth dipping, ensure the melting chocolate has a thin consistency, which can be achieved by adding a teaspoon of coconut oil or vegetable shortening.
Dip Oreos using a fork, tapping off excess chocolate for an even coating. If adding toppings, sprinkle them on immediately before the chocolate sets.
Cool the chocolate-covered Oreos on a parchment-lined tray to prevent sticking. Chill briefly in the refrigerator to set the chocolate faster, but avoid keeping them chilled for too long as condensation may cause the chocolate to bloom.
Use candy melts for a variety of colors without the need for tempering, but if using real chocolate, consider tempering for a professional, glossy finish.
Always store in an airtight container to maintain freshness.
Recipe Variations
Experimenting with different types of chocolate, such as milk, dark, white or flavored varieties like mint or orange can add a twist to the classic taste.
Incorporating toppings such as crushed nuts, sprinkles, sea salt, coconut flakes, or candy pieces before the chocolate sets creates additional texture and flavor contrasts.
For a festive spin, colored chocolate or themed decorations align with holidays or special occasions.
For those who prefer a filling, adding a layer of peanut butter or caramel between the Oreo and the chocolate shell offers a surprise element.
Swirling multiple chocolate types can create a marbled effect, pleasing to both the palate and the eye.
Here's Something More
 Mouth-Watering Chocolate Sourdough Recipe: A Baker’s Dream
 Decadent Chocolate Pizza: Your Sweet Tooth’s Best Friend
 Perfect Chocolate Bonbon Recipe: Impress With Homemade Delights
 Ultimate Chocolate Biscuit Recipe for Sweet Cravings
 Elevate Your Treat Game: Chocolate Chip Shortbread Recipe