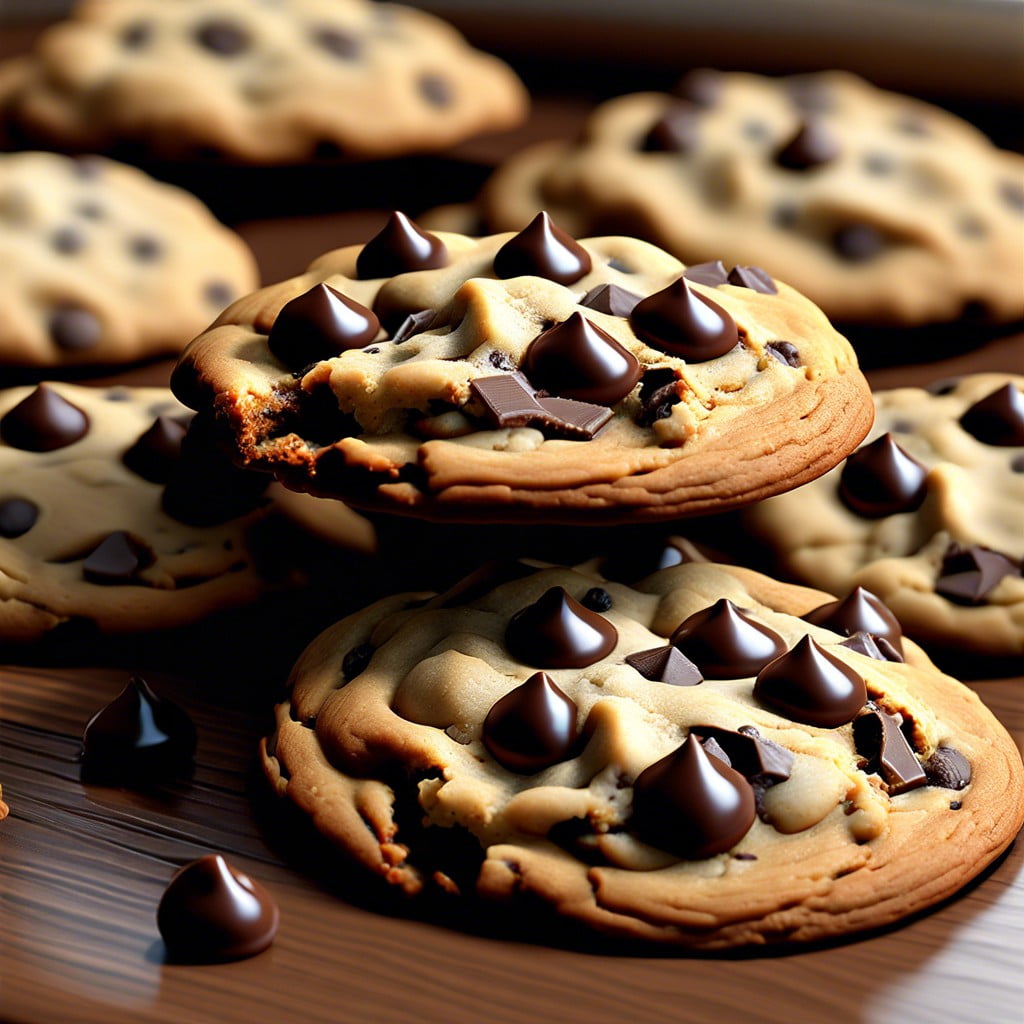
Indulge in the ultimate comfort treat with these classic chocolate chip cookies, crispy on the edges and gooey in the center.
Craving the ultimate chocolate chip cookie that dreams are made of? You’ve just stumbled upon a recipe so good, your taste buds will dance! Clear, detailed steps await to turn your kitchen into a cookie paradise. Let’s get baking and have some fun!
Inside
Choco-Chippy Fun Fiesta
Who doesn’t love the perfect blend of gooey, chewy, and crispy that only chocolate chip cookies can offer? Prepare yourself for this mouth-watering adventure! These are not your average cookies; they are the ultimate treat. Ready, steady, gobble!
- Cooking Method: Baking
- Prep Time: 15 minutes
- Cook Time: 10-12 minutes
- Cuisine Type: American
Ingredients
- 1 cup unsalted butter, softened
- 1 cup granulated sugar
- 1 cup packed brown sugar
- 2 large eggs
- 1 tsp vanilla extract
- 3 cups all-purpose flour
- 1 tsp baking soda
- 1/2 tsp baking powder
- 1/2 tsp salt
- 2 cups semi-sweet chocolate chips
Cooking Instructions
- Preheat your oven to 375°F (190°C). Definitely do not forget this first step!
- In a large bowl, cream together the butter, granulated sugar, and brown sugar until smooth and fluffy. Think: Smooth like a velvety cloud!
- Add in the eggs one at a time, beating well with each addition. Then add the vanilla extract.
- In a separate bowl, whisk together the flour, baking soda, baking powder, and salt. So satisfying, right?
- Gradually mix the dry ingredients into the butter-sugar mixture until fully combined. Try not to eat it all with a spoon—resist the temptation!
- Fold in the chocolate chips. The more, the merrier!
- Drop by rounded tablespoon onto ungreased cookie sheets. Space them out, they need their room!
- Bake for 10-12 minutes, or until the edges are golden brown. The wait will be worth it!
- Allow to cool on the cookie sheets for a few minutes before transferring to wire racks to cool completely.
Suggestions
- Alternative Ingredients: Swap semi-sweet chocolate chips for white chocolate or butterscotch chips for a flavor twist. Want chewy cookies? Add a tablespoon of cornstarch.
- Garnishing Options: Sprinkle a pinch of sea salt on top before baking for a delightful salty-sweet contrast. Or press a walnut half onto the top of each cookie for added crunch.
- Cooking Tips: For a more uniform shape, use a cookie scoop. Always bake a test cookie first to perfect your baking time. Love crispy edges? Press dough balls slightly flat before baking.
Here's Something More
 Mouth-Watering Chocolate Sourdough Recipe: A Baker’s Dream
 Decadent Chocolate Pizza: Your Sweet Tooth’s Best Friend
 Perfect Chocolate Bonbon Recipe: Impress With Homemade Delights
 Ultimate Chocolate Biscuit Recipe for Sweet Cravings
 Elevate Your Treat Game: Chocolate Chip Shortbread Recipe