In this how-to guide, learn how to create a delicious homemade chocolate bar with simple ingredients and easy-to-follow steps.
Key takeaways:
- Choose high-quality cocoa beans for delectable dark chocolate.
- Emulsifiers and flavorings can enhance the chocolate’s complexity.
- Careful tempering is essential for a glossy finish and firm snap.
- For milk chocolate, incorporate powdered milk and cocoa powder.
- Store homemade chocolate bars in a cool, dry place.
Inside
Dark Chocolate Bar Ingredients
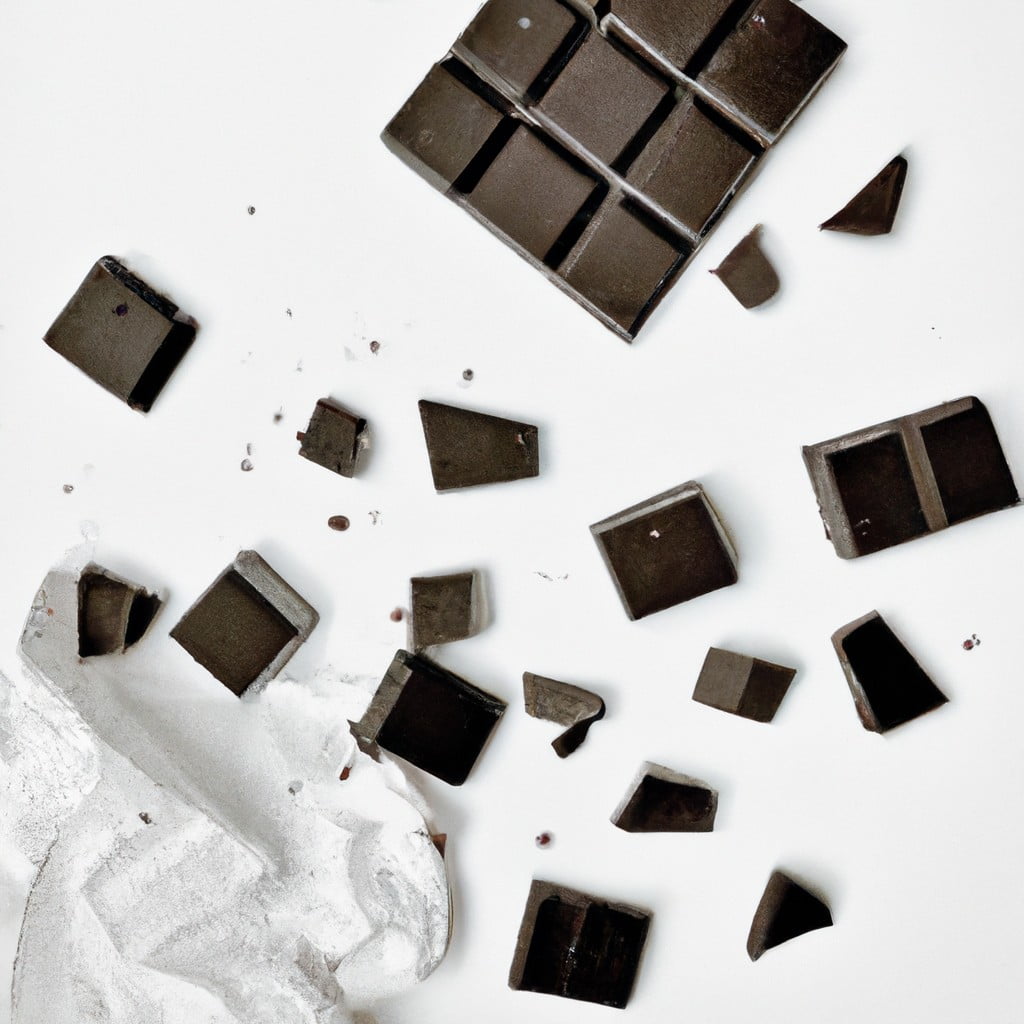
Selecting high-quality cocoa beans is the foundation for a delectable dark chocolate bar. These beans should be properly fermented and roasted to your taste preference, with a bitterness-sweetness balance that suits your palate.
Cocoa butter is the next critical component, bringing creaminess and setting the stage for a smooth mouthfeel. The fat content here impacts the chocolate’s texture, so adjust according to your desired richness.
For a typical homemade dark chocolate bar, sugar is an essential ingredient. Granulated sugar is common, but experimenting with brown or coconut sugar can introduce interesting flavor notes. Be mindful of the sugar-to-cocoa ratio to keep the chocolate’s depth intact.
An emulsifier such as soy lecithin is optional but can be added in minute amounts to ensure a homogenous mixture and prolong shelf life.
If desired, a touch of pure vanilla extract or a pinch of sea salt can elevate the bar’s complexity, but use sparingly to avoid overpowering the inherent cocoa flavors.
Always ensure that all ingredients are measured with precision for consistent results.
How to Make Chocolate Bars
Begin by gathering the necessary tools: a double boiler, chocolate molds, and a spatula. Select quality cocoa beans or cocoa mass; they are the heart of your chocolate. If using beans, roast them to enhance flavor then grind them into a fine paste, known as chocolate liquor.
If you’ve opted for cocoa mass, gently melt it using a double boiler to avoid overheating. Avoid water contact, as it can cause the chocolate to seize. Alongside the cocoa mass, melt cocoa butter for a smoother texture and rich mouthfeel. Incorporate sweetener—like sugar or a sugar substitute—to taste, and a pinch of salt to balance flavors.
Carefully combine the melted cocoa mass, cocoa butter, and sweetener. Maintain a consistent temperature, ideally between 110°F and 115°F, to ensure even melting and proper emulsification. For added smoothness and to break down any sugar crystals, consider conching the mixture using a spatula against the side of the bowl.
Temper the chocolate next. This process involves cooling and then gently reheating your mixture to stabilize the cocoa butter crystals. This will produce a glossy finish and a firm snap when the chocolate is broken. Pour into clean, dry molds once you reach the tempering stage, which is crucial for setting the chocolate’s final texture and appearance.
Tap the molds gently to release any air bubbles, then allow the chocolate to set at room temperature. Refrain from refrigerating as it can cause blooming, where sugar or fat rises to the surface and creates a whitish coating.
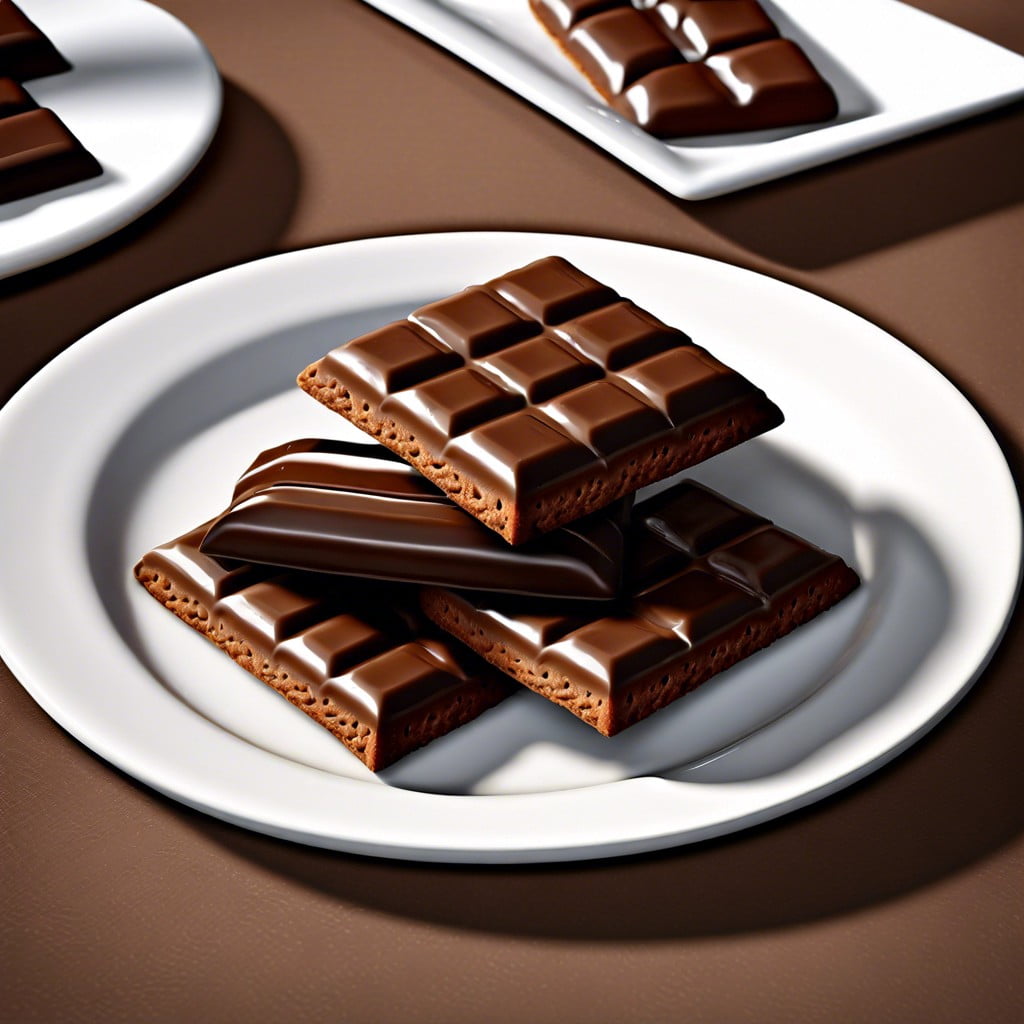
Once the chocolate is set, remove from the molds—and you’ve created your own chocolate bars. Enjoy the fruits of your labor or share them as a homemade treat.
How to Make Milk Chocolate Bars
To start, melt cocoa butter in a double boiler until it’s smooth and free of lumps. Mix in powdered milk and sugar, ensuring they’re thoroughly combined with the melted cocoa butter. Introduce cocoa powder slowly to avoid clumping, stirring consistently to create a uniform mixture.
Next, incorporate a small amount of vanilla extract for aroma and an optional pinch of salt to enhance the chocolate’s flavor.
After all ingredients are well-blended, pour the chocolate mixture into molds, tapping them gently to remove any air bubbles. Chill the molds in the refrigerator until the chocolate sets, typically around an hour.
Once solidified, carefully remove the bars from the molds. Handling them with care maintains their glossy finish. Store the finished milk chocolate bars in a cool, dry place, away from direct sunlight.
Tips for Making Chocolate At Home
Select high-quality cocoa beans or cocoa powder to ensure a richer flavor and smoother texture. If possible, source beans with a known origin for a unique taste profile.
Temper your chocolate properly to achieve a glossy finish and a satisfying snap. This involves slowly heating and cooling your chocolate to stabilize the cocoa butter crystals.
Use a candy thermometer to monitor the temperature precisely during tempering and to avoid burning the chocolate.
Experiment with flavorings, such as vanilla, sea salt, or chili, by adding them to the melted chocolate mixture. Ensure they are thoroughly combined for an even taste distribution.
Invest in silicone molds or a chocolate bar mold for professional-looking bars with a uniform shape and thickness.
Avoid water contact with melted chocolate as it can cause the mixture to seize and become grainy.
Incorporate nuts, dried fruits, or puffed rice into your bars for added texture and flavor variety.
Store your finished chocolate bars in a cool, dry place to preserve their quality and prevent melting.
Remain patient during the process, as mastering homemade chocolate requires practice and attention to detail.
Storage Instructions
To preserve the quality and flavor of your homemade chocolate bars, proper storage is crucial. Keep them in a cool, dry place at a consistent temperature between 60-70°F (15-21°C) to avoid melting and sugar bloom, where sugar rises to the surface, causing a white coating. High humidity levels can lead to chocolate bloom as well, where cocoa butter separates resulting in a grayish-white appearance.
To prevent absorption of odors, wrap chocolate bars in aluminum foil and then place them in an airtight container. Refrigeration is not recommended as it can cause condensation, but if necessary, ensure the chocolate is tightly wrapped and slowly brought to room temperature before unwrapping to minimize condensation and sugar bloom. For long-term storage, chocolate can be frozen, following similar preventive measures as with refrigeration.
Enjoy your homemade chocolate within a few months to savor its fresh taste, as over time the flavor can diminish even with proper storage.
