Learn the optimal method for heating milk for a rich and creamy hot chocolate, ensuring the perfect temperature every time.
Key takeaways:
- Choose the right type of milk for your hot chocolate
- Heat milk gradually on low to medium heat on the stovetop
- Stir gently and consistently to achieve a smooth and creamy texture
- Monitor the temperature to avoid scalding and boiling
- Add finely chopped or grated chocolate to heated milk for a rich hot chocolate experience
Inside
Selecting the Right Type of Milk

Choosing between whole milk, 2% milk, skim milk, or plant-based milk varieties like almond, soy, or oat will influence the creaminess and flavor profile of your hot chocolate.
Whole milk will yield a rich and creamy texture, while 2% offers a slightly less decadent mouthfeel with reduced fat content.
Skim milk provides a lighter version, though at the sacrifice of some creaminess.
Plant-based alternatives are excellent for those with dietary restrictions or preferences but note that they each bring their unique taste to the mix.
For a balanced approach, consider a blend that combines the richness of dairy with the nuanced flavors of plant-based milks.
Always use fresh, high-quality milk for the best results.
Stovetop Method
Gently warm the milk on low to medium heat, allowing it to gradually reach the desired temperature without boiling. Constant supervision is key to prevent scalding or a skin forming on top.
Use a heavy-bottomed pot to distribute heat evenly and minimize the risk of hot spots that can burn the milk. Stir occasionally, scraping the bottom of the pot to ensure even heating and to incorporate the natural sugars and fats for a smooth consistency.
Employing a thermometer is advisable; aim for a temperature of around 180°F (82°C) – hot enough for the chocolate to melt when added, but not so hot as to cause the milk to boil over or develop a burnt taste.
Stirring Techniques
To achieve a smooth and creamy texture, stirring is integral as it prevents milk from scalding and ensures even heating. Use a whisk or spoon to stir gently and consistently, making sure to reach the bottom of the pan to avoid sticking, which can lead to a burnt flavor. Incorporate air with a gentle whisking motion if a frothier consistency is desired.
When chocolate is added, switch to a whisk and stir vigorously to fully blend the chocolate with the milk, breaking up any clumps for a uniform mixture. Regular stirring also helps distribute the heat evenly, crucial for a perfectly warmed beverage.
Temperature Monitoring
To achieve the perfect hot chocolate, aim to heat your milk to 180°F (82°C). This temperature is hot enough to melt your chocolate thoroughly while preventing the milk from scalding. Use a kitchen thermometer to accurately gauge the heat. If you don’t have one, watch for small bubbles to form around the edge of the pan, which signals it’s time to remove the milk from the heat before it reaches a full boil.
Be sure to remove the milk from the stove as soon as it reaches the desired temperature to avoid a potential skin forming on the surface. Regularly stirring the milk can also help distribute heat evenly and prevent a skin from developing.
Adding Chocolate to Heated Milk
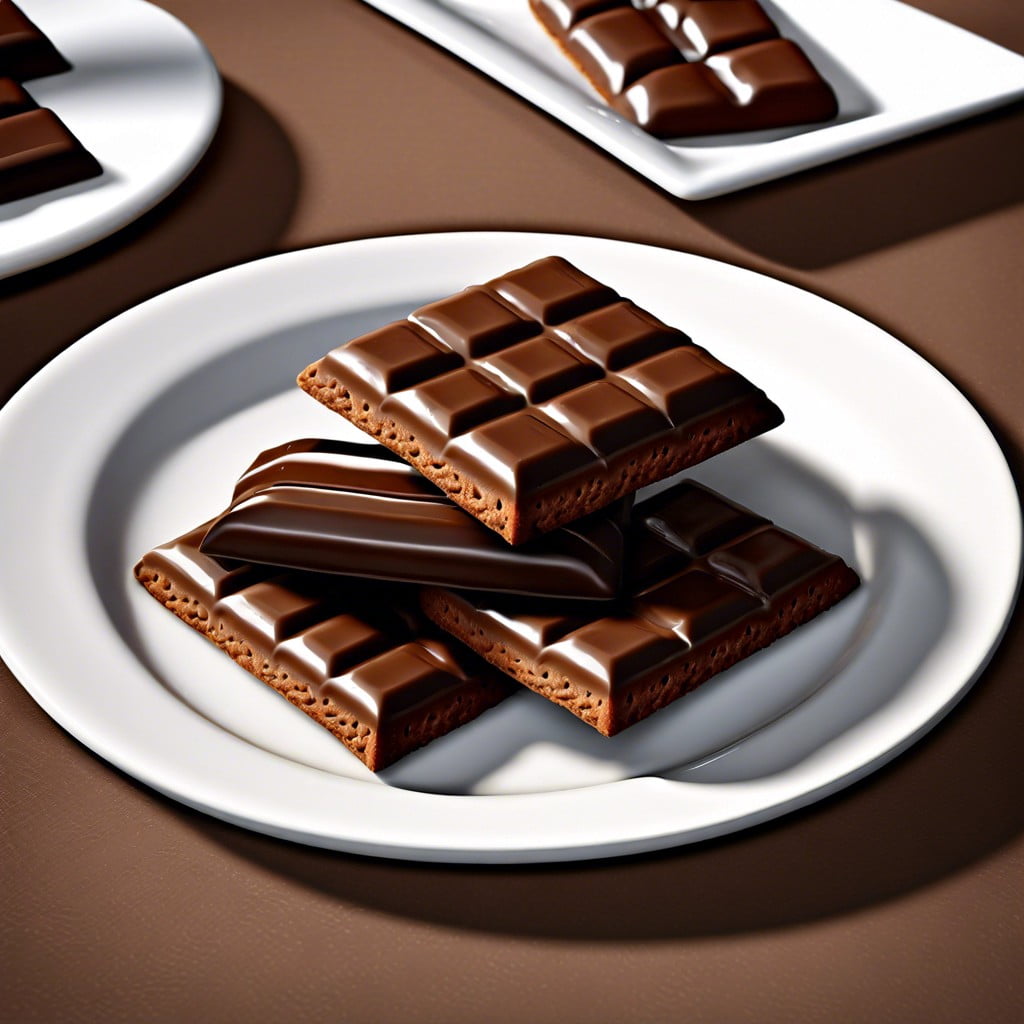
To ensure a smooth and rich hot chocolate, finely chop or grate the chocolate before adding it to the milk. This allows for quicker and more even melting. Dark chocolate with a high cocoa content is ideal for a deep, intense flavor, while milk chocolate offers a sweeter, creamier taste. For a touch of luxury, a piece of a chocolate bar can be more flavorful than cocoa powder.
Introduce the chocolate to the milk off the heat to prevent scorching. Whisk vigorously to create a homogeneous mixture, where the chocolate is fully incorporated, avoiding any lumps. If desired, a splash of cream can be mixed in for added richness. Utilize a low heat if further warming is necessary, constantly stirring to keep the texture consistent and silky. For a thorough melt and infusion with the milk, patience is key.
