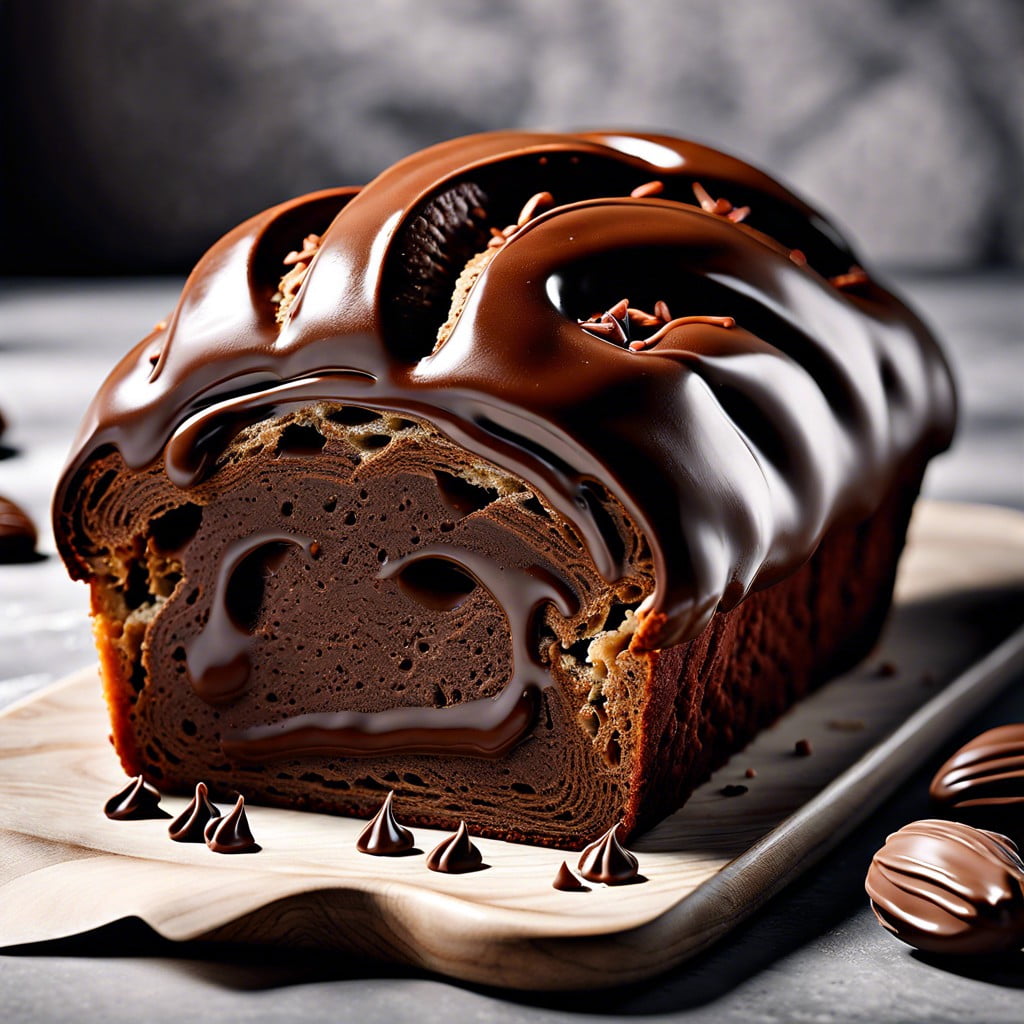
Learn how to master the art of chocolate drizzling to add an elegant touch to desserts.To drizzle chocolate effectively, start by choosing the right type of chocolate, as different chocolates have different melting points and viscosities. Semisweet or bittersweet chocolate is often used for drizzling due to its smooth melting characteristics. Before melting the chocolate, chop it into small, uniform pieces to ensure even melting.Melting chocolate can be done using a double boiler or a microwave. If using a double boiler, place the chocolate in the bowl on top, making sure the water is simmering, not boiling, to prevent the chocolate from scorching. Stir occasionally until it’s completely melted. For microwaving, use a microwave-safe bowl and heat the chocolate in short bursts, stirring in between, until it’s fully melted. Once melted, let the chocolate cool slightly, which will help achieve the right consistency for drizzling. If the chocolate is too runny, it will not hold its shape on the dessert. If it’s too thick, it will not flow easily from your tool. To test, dip a spoon into the chocolate and drizzle it back into the bowl – it should flow in a smooth, continuous stream.Transfer the melted chocolate to a piping bag fitted with a small round tip for precision, or use a makeshift piping bag by snipping the corner of a zip-top bag. You can also use a fork or a spoon for a more rustic drizzle. When drizzling, hold the tool about 6 to 8 inches above the dessert for a fine, thread-like decoration. Apply even pressure while moving in a back-and-forth, zigzag motion to create a pattern.For best results, let the drizzled chocolate set at room temperature or in the refrigerator to harden. Once set, it should have a glossy appearance and a firm texture that holds its shape. Drizzling chocolate is a simple yet impactful way to add visual interest and flavor to a variety of desserts, from cakes and cookies to fruits and ice creams.
Key takeaways:
- Choose the right type of chocolate for drizzling
- Melt the chocolate properly using a double boiler or microwave
- Test the consistency of the melted chocolate before drizzling
- Use different techniques for different desserts
- Allow the drizzled chocolate to set and store it correctly
Inside
Choosing the Right Chocolate for Drizzling
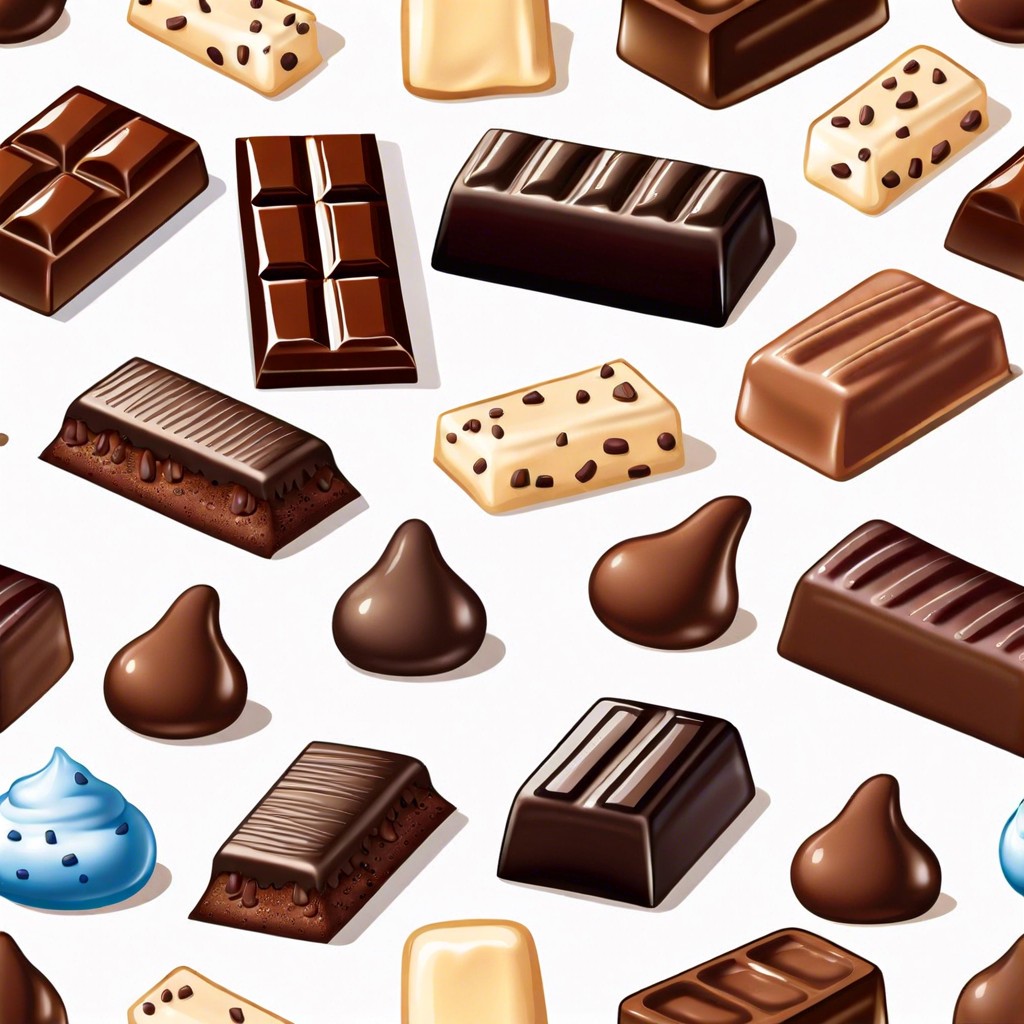
Selecting the ideal chocolate for drizzling hinges on flavor preference and the intended use. Couverture chocolate, high in cocoa butter, offers a glossy finish and delicate snap, making it a popular choice for professional bakers. Semi-sweet or bittersweet varieties enhance desserts with a deeper chocolate taste, while milk chocolate provides a creamy, smooth flavor loved by many.
White chocolate, though not true chocolate as it lacks cocoa solids, can be a visually appealing option for drizzling, offering contrast on dark desserts. Using quality chocolate bars over chips may yield better results due to their composition; chips often contain stabilizers that can affect melting.
Consider the dessert’s flavor profile and appearance when deciding on the chocolate. For instance, dark chocolate may complement a rich, decadent treat, whereas a sweeter milk chocolate could balance a dessert with tangy or bitter elements. Always use chocolates without added flavors or fillers to ensure a clean, pure drizzle that hardens correctly and showcases the dessert.
Melting Chocolate Perfectly
Tempering is essential when melting chocolate to ensure a smooth, glossy finish. Start by chopping the chocolate into small, uniform pieces to promote even melting. A double boiler is optimal, as it gently heats the chocolate, preventing it from scorching. If a double boiler is not available, a microwave can suffice, heating in short intervals and stirring frequently to avoid hotspots. The chocolate should reach a temperature of about 110°F (43°C) for dark chocolate or 108°F (42°C) for milk or white chocolate before removing it from the heat.
Once removed from the heat, the cooling phase begins. Stirring the chocolate continuously while it cools helps to prevent crystallization and achieve the desired consistency for drizzling. If you notice the chocolate thickening too much, it can be gently reheated, but care should be taken not to overheat and cause separation.
Using a thermometer to keep track of the temperature is a best practice. Precision counts; overheated chocolate becomes coarse and grainy, while underheated chocolate won’t flow smoothly. Aim for a velvety, fluid texture that can be easily drizzled with a spoon or piped through a bag.
Achieving Optimal Drizzling Consistency
The consistency of your chocolate is crucial for a smooth drizzling experience. Ideally, it should flow off the spoon in a ribbon-like fashion, not too thick that it clumps or too thin that it runs off immediately.
To achieve this, after melting, the chocolate may need to be thinned out. A small amount of oil—preferably a flavorless type like vegetable or canola—can be added to the melted chocolate. Start with just a half teaspoon for every cup of chocolate, mixing thoroughly and adding more in tiny increments if needed.
Be vigilant with heat exposure. Excessive heat can cause the chocolate to become too thin and lose its ability to set properly. Conversely, if the chocolate starts to cool and thicken while you are working with it, gently reheat it, watching closely to ensure it does not scorch.
Testing the chocolate’s flow on a piece of parchment before beginning your drizzling project can save frustration later on. Adjust the chocolate’s consistency as necessary to make sure it drizzles effortlessly and sets with a glossy finish.
Drizzling Techniques for Different Desserts
To add a professional touch to cakes, hold the spoon high above and move your hand back and forth swiftly for even lines. When working with cookies, a squeeze bottle offers more control for intricate designs or writing messages. For a rustic look on brownies, use a fork, and let the chocolate fall in crisscross patterns. With fresh fruit, dip a small brush in melted chocolate and flick it gently over the surface for a delicate splatter effect. For ice cream, chill the dessert first to ensure the drizzled chocolate hardens upon contact for a satisfying crunch. Experimenting with different tools like piping bags with fine tips or toothpicks for marbling effects on cheesecakes. Remember to work quickly to prevent the chocolate from cooling and thickening, which could result in clumpy lines.
Setting and Storing Drizzled Confections
Once you’ve masterfully drizzled your chocolate, it’s crucial to allow it to set properly to ensure a crisp finish. Chocolate sets best at cool room temperature, away from direct sunlight which could cause it to soften or become dull. Humidity is another factor to consider; too much moisture in the air can prevent the chocolate from setting correctly and may lead to a sticky finish.
For a quick set, you can place your confections in the refrigerator for a few minutes. However, take care not to leave them in for too long; chocolate can absorb odors and the sudden change in temperature can cause condensation to form, affecting the texture and appearance.
When it comes to storage, a dry, cool place is ideal. If the chocolate drizzle is on baked goods or candy, make sure they are completely cool before covering to avoid moisture buildup. Airtight containers will help keep your treats fresh and prevent the chocolate from absorbing any refrigerator smells if you choose chilled storage.
Keep these items separated from strong-smelling foods; chocolate can easily take on other odors which might spoil its delicate flavors. When storing chocolate-draped treats over a few days, consider placing a piece of parchment paper between layers to prevent sticking. These simple steps will help maintain the quality and texture of your chocolate artwork.
