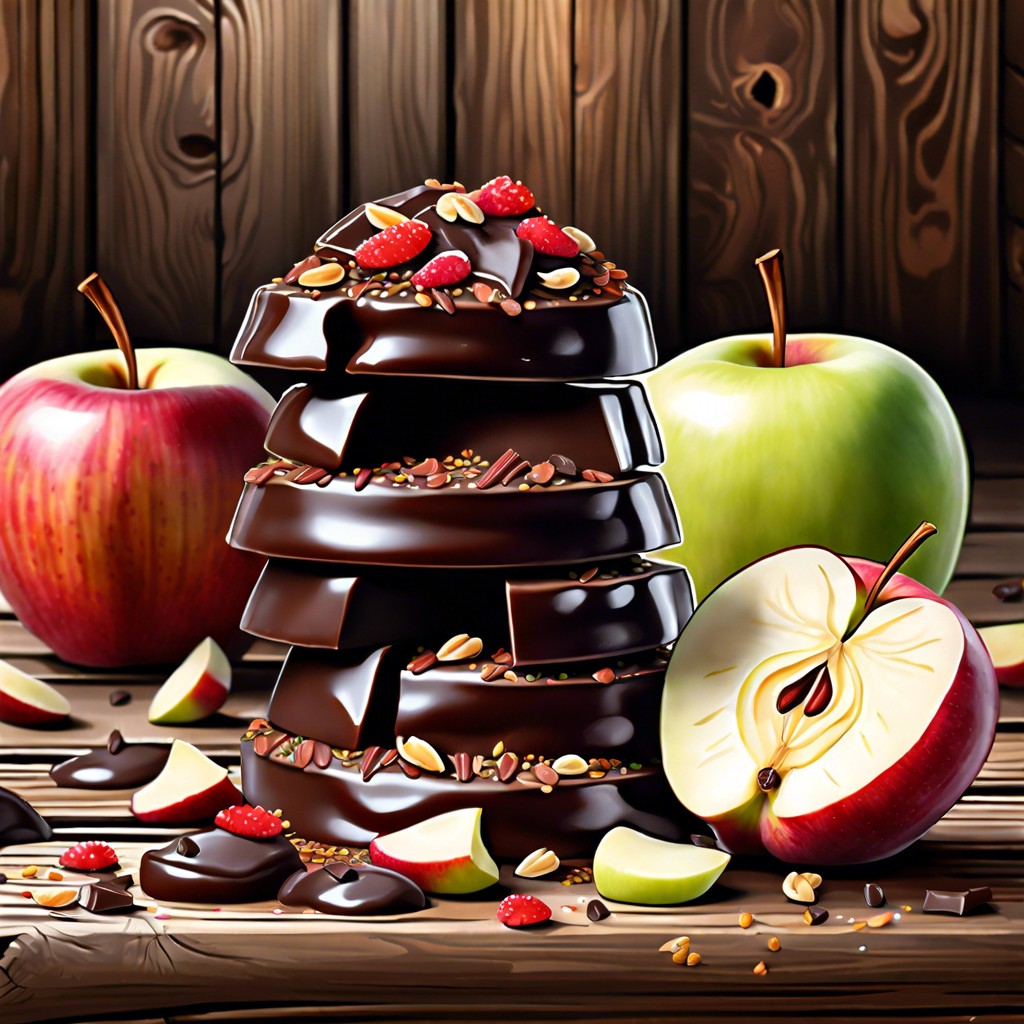
This article will provide you with a step-by-step guide to making delectable apple chocolate-covered treats that will satisfy your sweet tooth.
Key takeaways:
- High-quality chocolate and firm apple varieties are key.
- Slice apples into rounds and prevent browning with lemon juice.
- Dunk apple slices in chocolate, coat with toppings, and chill.
- Best apple choices: Granny Smith, Fuji, Gala, or Honeycrisp.
- Store in the fridge, separate layers with parchment paper.
Inside
Ingredients for Chocolate Bark Apples

To set the stage for a delectable adventure with chocolate bark apples, you’ll need a harmonious blend of flavors and textures. Start with high-quality chocolate, which will be the shining star of your creation. Semisweet or dark varieties work beautifully, lending a rich depth that complements the apple’s natural sweetness.
Consider the apple as the canvas for this edible art. Go for firm, crisp varieties like Granny Smith or Honeycrisp that can stand up to dipping and add a zesty tang.
For a dazzling finish and a textural contrast, gather a medley of toppings. Nuts offer crunch, dried fruit brings chewiness, and spices like cinnamon or nutmeg introduce warmth. Sea salt, meanwhile, can create a delightful sweet-salty dance on the palate.
Lastly, a touch of shortening mixed with the chocolate can achieve a silky, glaze-like texture that adheres smoothly to the apple slices. It’s these details that transform simple ingredients into a sumptuous treat.
How to Cut Apples Into Rounds
Slice off the top and bottom of each apple to create flat surfaces. This promotes stability and makes for safer slicing. Stabilize the apple on your cutting board before you cut.
Select a sharp knife, ideally a serrated bread knife, which can grip the apple skin without slipping. Carefully slice the apple horizontally into rounds that are about 1/4 to 1/2 inch thick. Aim for uniform thickness to ensure even chocolate coating and drying.
To prevent browning, immediately immerse the apple slices in a mixture of cold water and a spoonful of lemon juice. Pat them dry before dipping in chocolate. This step preserves their fresh appearance.
For a festive twist, use cookie cutters to create shapes from thick apple slices—perfect for holidays or special occasions. Remember, the core will be present, so neatly remove any seeds or tough bits with the tip of your knife or a small cookie cutter.
By preparing apples this way, you provide a flat, stable surface ideal for a generous layer of chocolate that adheres well, optimizing the flavor balance between fruit and chocolate.
Assembling the Chocolate Dipped Apple Slices
After slicing your apples and melting the chocolate, you’re at the sweet spot—dip time! Here’s the drill: grab an apple slice by the stick, and give it a good dunk into the chocolate. Let it take a chocolate bath, ensuring every nook is coated. Lift and let the excess drip back into the bowl—like a chocolate waterfall for excess baggage.
Now, the fun part: sprinkle town. While that chocolate’s still thinking about setting, shower your apple slice with your choice of toppings. Think nuts, sprinkles, or even a dash of sea salt for a savory twist. The aim? To let those toppings stick like they’ve found their forever home.
Plop those chocolate-dressed slices onto a tray lined with parchment paper. This is like giving them their own non-stick dance floor to settle on. Room in the fridge is the next stop—chill those slices till they’re as firm as your resolve to eat just one.
Remember to leave a bit of space between each slice on the tray. We don’t want them to get all cozy and stuck together. Social distancing for apple slices is key here. Now, watch the magic happen as they transform from mere apple slices to chocolaty delights.
Best Apples to Use
When reaching for the crisper to whip up chocolate bark apples, texture and taste are front-runners. Tart Granny Smiths offer a zesty contrast to sweet, silky chocolate, holding their own like champions of crunch and freshness. Meanwhile, Fuji or Gala varieties bring a milder sweetness and a firm bite, perfect companions to a rich coating. Want a balance? Honeycrisp apples, with their juicy sweetness, walk the line between tart and sugary, pairing wonderfully with chocolate’s indulgence. But steer clear of softer kinds like Red Delicious; they lack the necessary firmness, turning the chocolate apple experience into a squishy affair. With the right apple in hand, your treat transforms into an edible symphony: crisp, succulent, and harmonious with every chocolate-dipped bite.
Storage
After crafting your delectable treats, proper storage is critical to maintaining their freshness and flavor. Chocolate-covered apple slices fare best when refrigerated. Place slices in an airtight container, separating layers with parchment paper to prevent sticking. For optimal taste, enjoy within two days, as apples begin to lose their crispness.
If you’re planning ahead for an event, chocolate-covered apples can be frozen. Wrap each slice individually in plastic wrap, then again in aluminum foil. Thaw in the fridge several hours before serving to retain moisture without causing sogginess. Remember, freezing can alter texture, so refrigeration is preferable for shorter periods. Always serve at a cool room temperature for that perfect bite.


